Roof Inspection Report Template: What to Capture, Photograph, and Write Before You Leave
A roof inspection report template only helps if it matches how inspectors actually observe roofs in the field.
That is where a lot of roof reporting gets weak. The inspector may have walked the roof, viewed it from the eaves, checked it by drone, or assessed it from a ladder at the edge. But if the notes do not clearly separate what was observed, what was limited, what was photographed, and what needs correction, the roof section gets softer every hour after the inspection.
This roof inspection report template is built for inspectors who want to leave the site with the important roof facts already captured. The goal is not to create a prettier blank form. The goal is to help you document roof coverings, drainage details, penetrations, visible defects, limitations, and recommendation language while the evidence is still in front of you.
Note
Strong roof reporting follows the same core discipline reflected in the ASHI Standard of Practice and InterNACHI's guidance on inspecting roof systems: document observable conditions, note access and safety limits clearly, and avoid claiming hidden conditions you did not verify.
What a Roof Inspection Report Template Should Actually Do
A roof inspection report template should do more than give you a place to type "roof okay" or "roof needs repair."
For field inspectors, it should help you do five things:
- identify exactly which roof area or slope you are describing
- capture the roof covering type and visible age or wear clues
- separate defect observations from access limitations
- tie findings to photos before the photo order gets messy
- turn field observations into report-ready language without rebuilding the roof section later
That last point matters more than it sounds. Roof details blur fast once you are back on the ground and halfway into the attic, the crawlspace, or the electrical panel. You may remember that there was damaged flashing near a vent stack or granular loss on a rear slope, but if you do not anchor the finding right away, the narrative gets vague.
If your current workflow depends on sorting all that out later, pair this with our roofing inspection checklist, roof leak inspection, and inspection photo log template.
The Best Field Order for a Roof Inspection Report Template
A good roof inspection report template should follow inspection logic, not software logic.
One practical sequence is:
- roof access method and limitations
- roof covering type and overall condition
- flashing, penetrations, and transitions
- drainage details such as gutters, downspouts, scuppers, or low-slope drainage points
- visible signs of prior repairs, active damage, or moisture-related concerns
- recommendation language and next step
That order works because it mirrors how inspectors typically build confidence in a roof finding. First, you establish how the roof was viewed. Then you describe what was actually visible. Then you get specific about the conditions that matter.
It also keeps the final report easier to read. Clients can follow the roof story when the section moves from access and scope into materials, defects, and recommendations. They get confused when comments jump randomly from "rear valley flashing" to "gutters" to "front slope shingles" with no structure.
Roof Inspection Report Template: Core Sections to Include
Below is the structure worth repeating on every roof inspection.
1. Access and inspection method
Start by documenting how the roof was inspected:
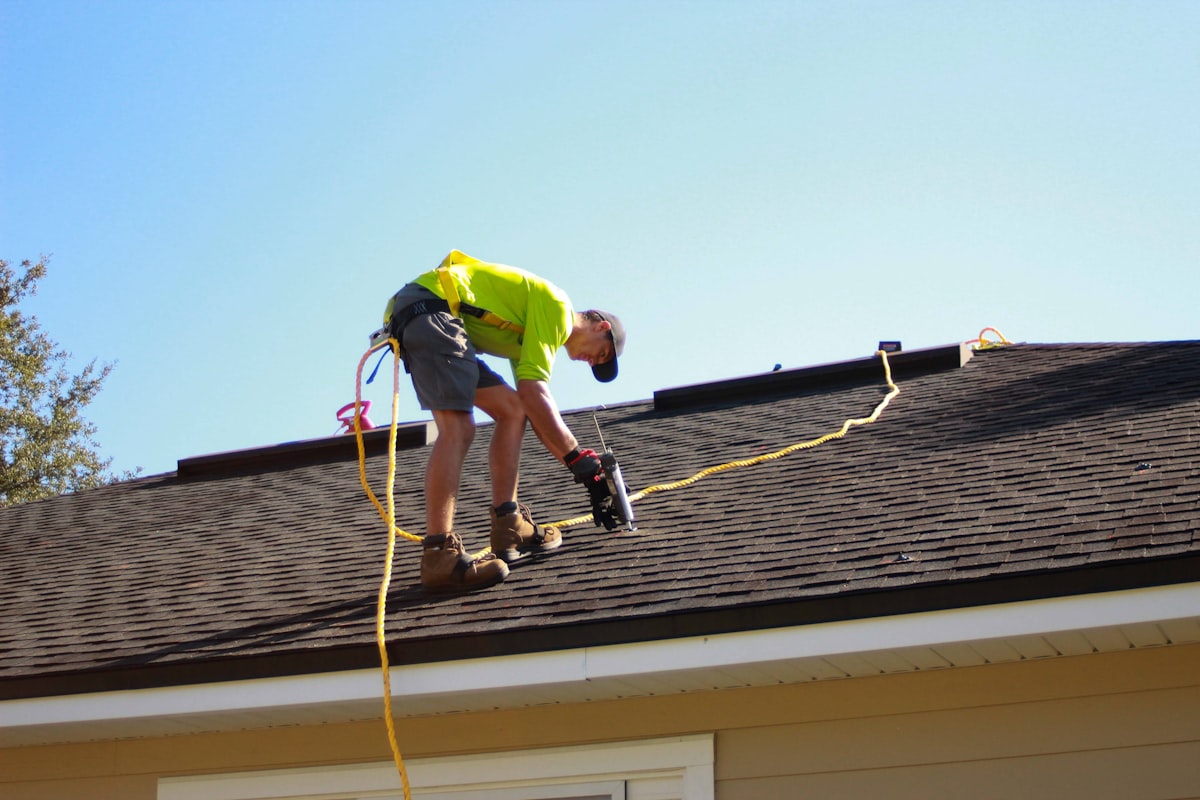
- walked directly
- viewed from ladder at edge
- viewed from ground with binoculars
- viewed from windows, deck, or adjacent accessible surfaces
- viewed with drone imagery if that is part of your process
Also note any meaningful limitations:
- roof too steep
- surface too fragile
- wet conditions
- unsafe access
- limited visibility due to debris, snow, tree cover, or solar panels
This section matters because a roof recommendation has more weight when the client understands what level of observation supported it.
2. Roof covering overview
Document the basics clearly:
- roof covering material observed
- approximate age if known or estimated cautiously
- number of layers if visible and relevant
- apparent wear pattern
- whether the roof looked uniform or showed patchwork repairs
This is the section that keeps later defect comments anchored. If the report says "damaged shingles at rear slope," it helps to already know whether the roof covering is architectural asphalt, three-tab asphalt, metal, tile, or low-slope membrane.
3. Flashing and penetrations
Many meaningful roof findings show up here, not in the field of the roof covering itself.
Your roof inspection report template should leave room to capture:
- vent flashing condition
- chimney flashing and cricket details where present
- skylight flashing
- wall-to-roof transitions
- exposed fasteners or heavy sealant dependence
- signs of patching around penetrations
If roof leak history or staining is part of the story, this section should work well with your roof leak inspection workflow so the exterior observation lines up with any attic or interior evidence.
4. Drainage and edge details
Drainage is where a lot of avoidable roof deterioration starts.
Document:
- gutters and downspouts present or absent
- loose, clogged, or damaged gutter sections
- signs of overflow at eaves
- low-slope ponding indicators where visible
- drip-edge presence where observable
- drainage discharge concerns affecting roof edges or wall surfaces
Clients often hear "roof condition" and think only about the shingle field. But edge metal, gutter performance, and water discharge patterns are often part of why the roof is aging poorly in the first place.
5. Defects, limitations, and recommendations
This is where the roof inspection report template either helps you or slows you down.
It should make it easy to separate three things:
- what was observed
- what could not be fully observed
- what follow-up is appropriate
That separation matters because "roof needs further evaluation" is too broad on its own. The recommendation should connect to a visible condition, a limitation, or both.
What to Photograph for a Strong Roof Inspection Report
Photos are what make the roof section easier for clients to trust and easier for inspectors to defend.
At minimum, your roof inspection report template should push you to capture:
- one context photo of each main roof area or slope
- one photo showing the inspection vantage point when access was limited
- one overall photo of penetrations or transition areas that produced findings
- one close-up photo of each defect you specifically call out
- one photo showing drainage conditions if gutter or overflow concerns are part of the recommendation
- one photo of visible interior or attic evidence if it materially supports the roof finding
The strongest roof photo sets usually include both context and detail.
For example:
- context: rear roof slope viewed from ladder or adjacent grade
- detail: lifted shingle tab, exposed fastener, or damaged vent boot
That pairing cuts down on the classic callback question: "Where exactly was this?"
Key Takeaway
If you are recommending repair, try to leave the property with one location photo and one closer defect photo for every roof finding that matters. Roof narratives become much easier to defend when the image sequence matches the wording.
The Fastest Way to Write Better Roof Narratives
Most weak roof write-ups fail in one of four ways:
- they skip the exact slope or location
- they overstate certainty about concealed leakage or remaining life
- they describe the conclusion without describing the condition
- they give a generic recommendation with no visible basis
Your roof inspection report template should help you document each finding in this sequence:
- location
- observed condition
- implication or concern
- recommended action
That can be as simple as:
Location:
Observed condition:
Why it matters:
Recommended action:
Here are a few examples that fit a field-ready roof inspection report template.
Example: damaged shingles
"At the rear roof slope, multiple shingles were observed damaged and locally displaced at the time of inspection. Damaged roof coverings can allow moisture intrusion and accelerate deterioration of adjacent materials. Recommend repair by a qualified roofing contractor."
Example: flashing concern at penetration
"At the plumbing vent penetration above the main roof area, flashing appeared weathered and overly dependent on sealant. Deteriorated flashing details can allow water entry at roof penetrations. Recommend roofing-contractor evaluation and repair."
Example: gutter overflow evidence
"Staining and debris patterns consistent with overflow were observed at portions of the front gutter system. Overflow conditions can contribute to accelerated deterioration at roof edges and adjacent exterior surfaces. Recommend cleaning, correction, and further evaluation of gutter performance as needed."
Example: limitation language
"Roof access was limited by slope and surface conditions at the time of inspection. The roof was evaluated from accessible vantage points only. Conditions not visible from those vantage points may not have been identified."
These examples are not there to become canned phrases for every job. They are examples of how the roof inspection report template should preserve your field logic before it gets lost.
For more wording patterns across systems, our home inspection narrative examples guide is a useful companion.
Common Roof Findings Your Template Should Not Let You Miss
If you want your roof inspection report template to be useful in practice, make sure it leaves room for the findings that show up repeatedly in real inspections:
- damaged, missing, or brittle shingles
- exposed fasteners
- deteriorated flashing at penetrations or transitions
- patchwork repairs with heavy sealant use
- debris retention in valleys or gutters
- loose or damaged gutter sections
- low-slope drainage concerns or ponding indicators
- tree contact or abrasion against roof surfaces
- visible roof-covering wear that supports budgeting or repair recommendations
It should also leave room for limitations that materially affect confidence. A steep roof viewed from grade is not the same as a walkable roof inspected up close, and your report should make that distinction obvious.
The National Roofing Contractors Association's homeowner-facing roof maintenance guidance is also a useful external reference when you need to explain why drainage, debris, and flashing details matter over time: NRCA roof maintenance tips.
A Simple On-Site Workflow for Using This Roof Inspection Report Template
The best roof inspection report template still fails if the capture workflow is clumsy.
One practical rhythm looks like this:
- document how you accessed or viewed the roof
- capture overall roof-area photos before chasing details
- move systematically by slope or section, not randomly
- dictate findings while the roof area is still in front of you
- tie each dictated note to the matching photo before moving on
- record limitations in the same moment you encounter them
That workflow matters because roof notes age badly. By the time you finish the attic, exterior, and interior moisture clues, it becomes harder to remember whether the concern was left-side step flashing, rear gutter overflow, or front-slope exposed fasteners.
Voice capture is especially useful here because roof findings are often easier to say than type while balancing photos, ladders, and movement around the site. If you can speak the slope, condition, implication, and recommendation in one pass, the report cleanup becomes editing instead of reconstruction.
Final Word
A strong roof inspection report template does not just give you blank places to type. It helps you collect the right roof facts while they are still visible, tie them to the right photos, separate defects from limitations, and turn them into clear recommendation language before you leave the property.
If you are still rebuilding your roof section from memory at the end of the day, that is the workflow problem worth fixing first. ReportWalk is built for inspectors who want to document findings with voice instead of typing, keep photos attached to the right observation, and leave the site with structured report language already taking shape. If that sounds closer to how you actually work, you can try ReportWalk on the App Store.