Roof Leak Inspection: Step-by-Step Field Process + How to Dictate Findings on Site
Roof leak calls are rarely “a hole in the roof.” More often it’s flashing, a penetration, a valley transition, or gutter overflow — and the interior stain can be far from the entry point.
As an inspector, your goal is to:
- document evidence clearly
- identify likely contributors (without overpromising certainty)
- recommend the right next step
Here’s a fast, defensible field workflow.
Important
Only access roofs when safe and within your SOP. If unsafe, inspect from accessible vantage points and document the limitation.
Step 1: Start Inside (Evidence)
- Photograph the stain/damage (context + close-up)
- Note if it feels soft/swollen (if you do contact checks)
- Use a moisture meter as supporting evidence (baseline + elevated readings)
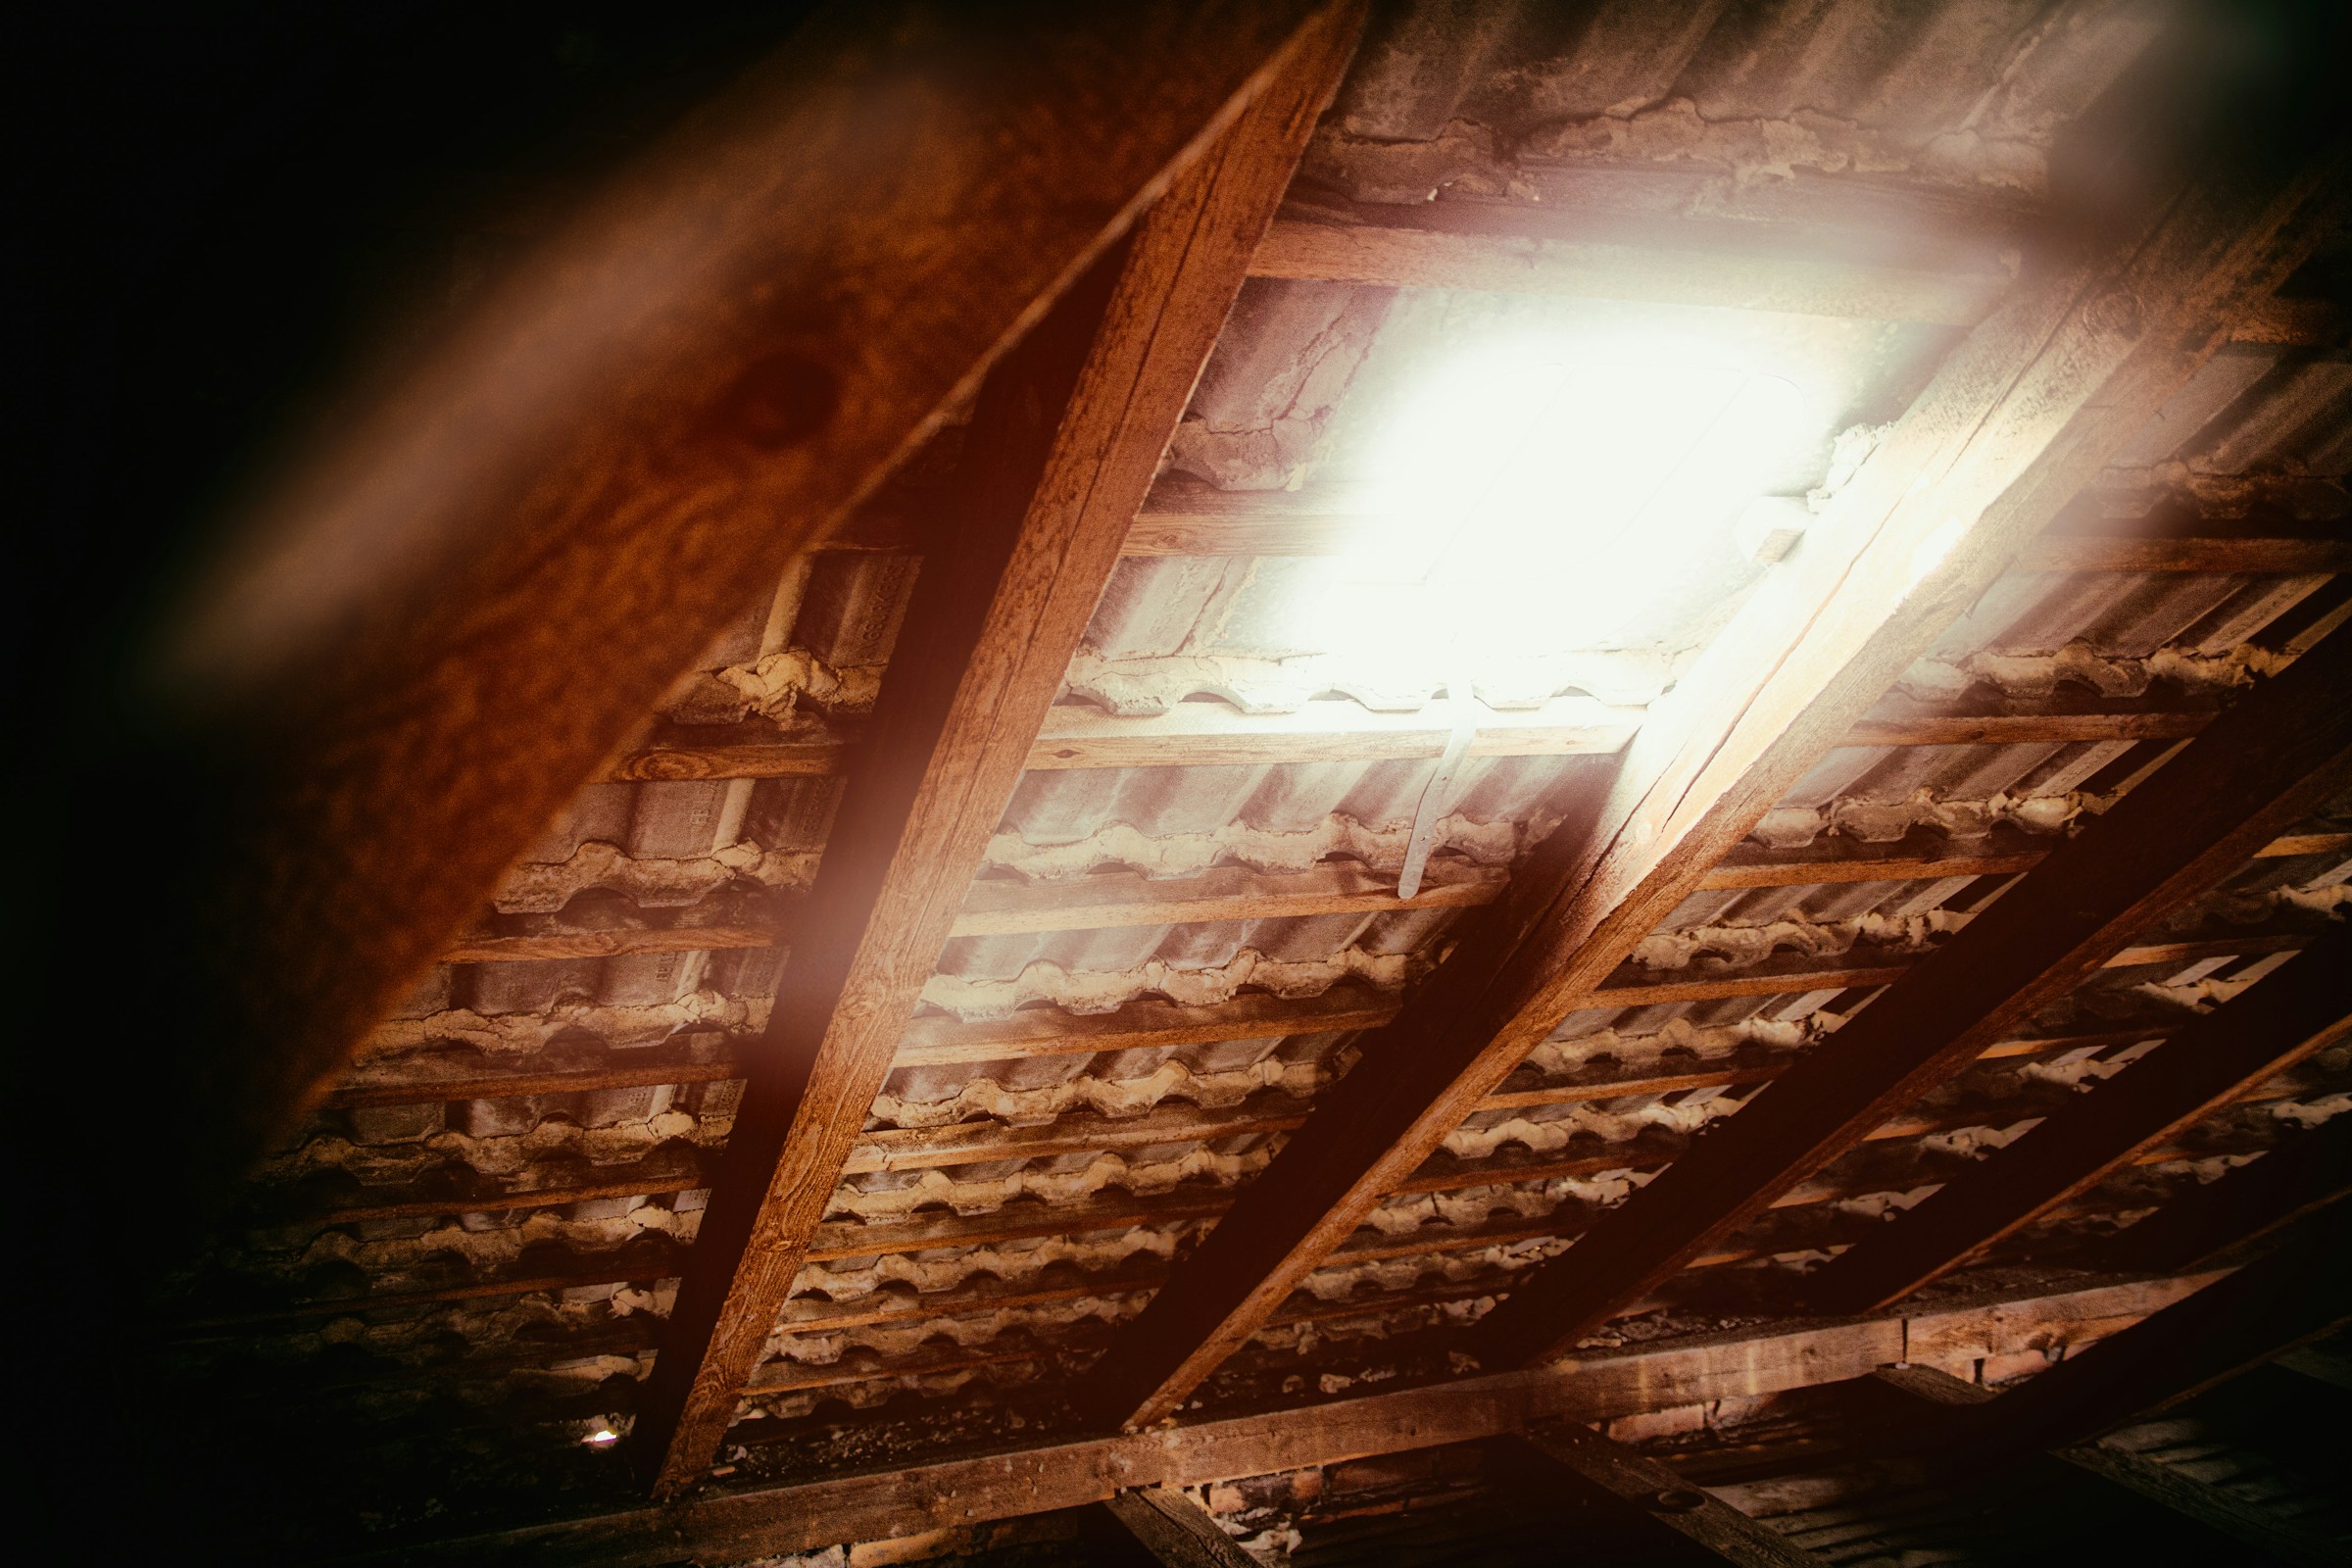
Step 2: Check Above (Attic if Accessible)
Look for:
- staining at roof sheathing
- wet insulation trails
- nail point rust
- daylight at penetrations
If attic is blocked/unsafe, state the limitation.
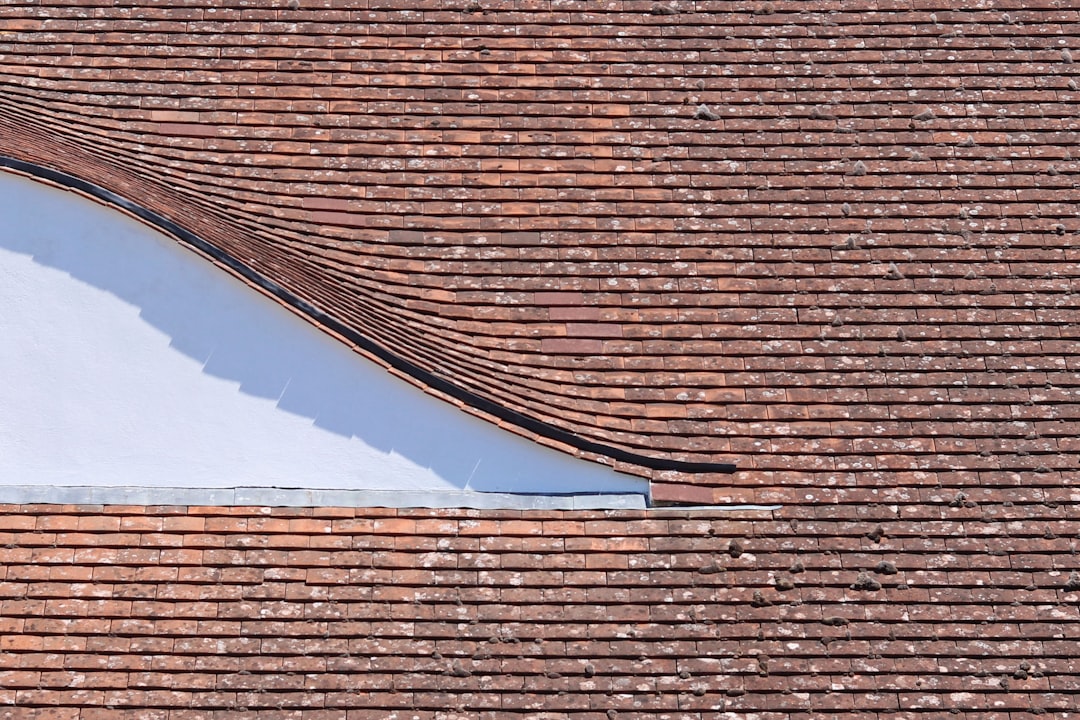
Step 3: Exterior Suspects (Most Common)
- plumbing vent flashing
- chimney flashing/counterflashing
- skylight flashing
- sidewall step flashing
- valleys (debris/wear)
- missing shingles / exposed fasteners
- gutter overflow back under drip edge
Step 4: Match Roof Features to Interior Location
- Stain at exterior wall line → suspect sidewall/kickout/penetrations
- Stain mid-ceiling → suspect penetrations upstream/valleys
Defensible Report Language Templates
Source not confirmed
“Water staining observed at ____ . No active leakage was observed at time of inspection. Due to the limitations of a visual inspection and potential concealed pathways, the exact source could not be confirmed. Recommend evaluation by a qualified roofing contractor.”
Likely flashing contributor
“Defects observed at roof flashing/penetration(s) (____). Flashing defects are common leak sources. Recommend roofing contractor repair and re-check after the next rain event.”
Limited roof access
“Roof inspection was limited due to ____ (height/slope/weather). Roof was observed from accessible vantage points. Recommend further evaluation by a qualified roofing contractor for additional certainty.”
Dictation Script (10 seconds)
“Location ____ : stain observed. Attic evidence ____ (or limitation). Roof observed ____ . Likely contributor(s) ____ . Recommend roofing contractor evaluation/repair.”
Where ReportWalk Helps
Leak narratives are easy to underwrite (“stain noted”) or overpromise (“leak from vent”). ReportWalk helps you dictate a clean, defensible observation and attach the supporting photos fast.