Roof Leak Inspection: How to Trace the Source & Document It Fast (Inspector Field Guide)
Roof leaks are rarely a single obvious hole. More often it’s a flashing detail, a penetration, a valley transition, or even gutter overflow — and the interior evidence can be far from the entry point.
As an inspector, your job is to document what you can observe, avoid overpromising certainty, and recommend the right next step. This field guide gives you a repeatable workflow and a photo plan that makes your report defensible.
Important
Only access roofs when safe and within your SOP. If conditions are unsafe (wet/steep/brittle/high), inspect from accessible vantage points and document the limitation.
Step 1: Start Inside (Evidence First)
- Photograph the stain/damage (context + close-up)
- Note location precisely (room + ceiling area + nearest window/door)
- If using a moisture meter, capture baseline + elevated reading (photo the display)
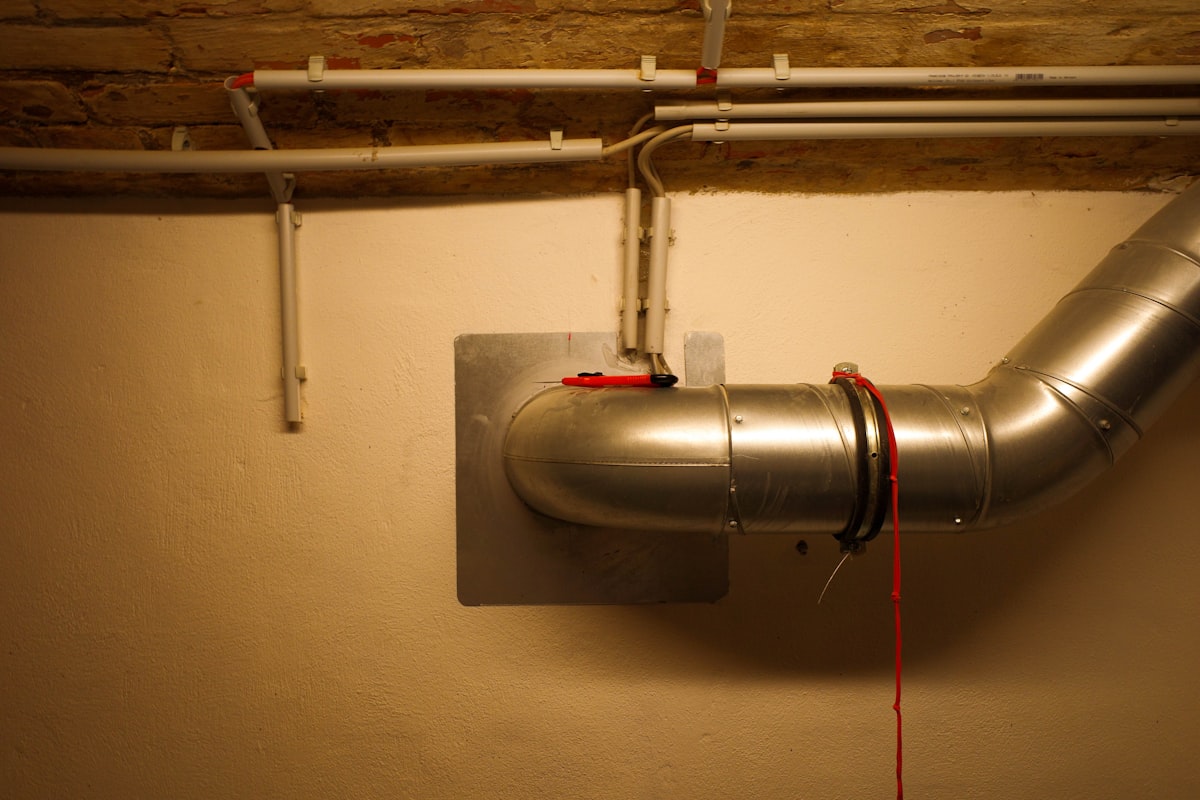
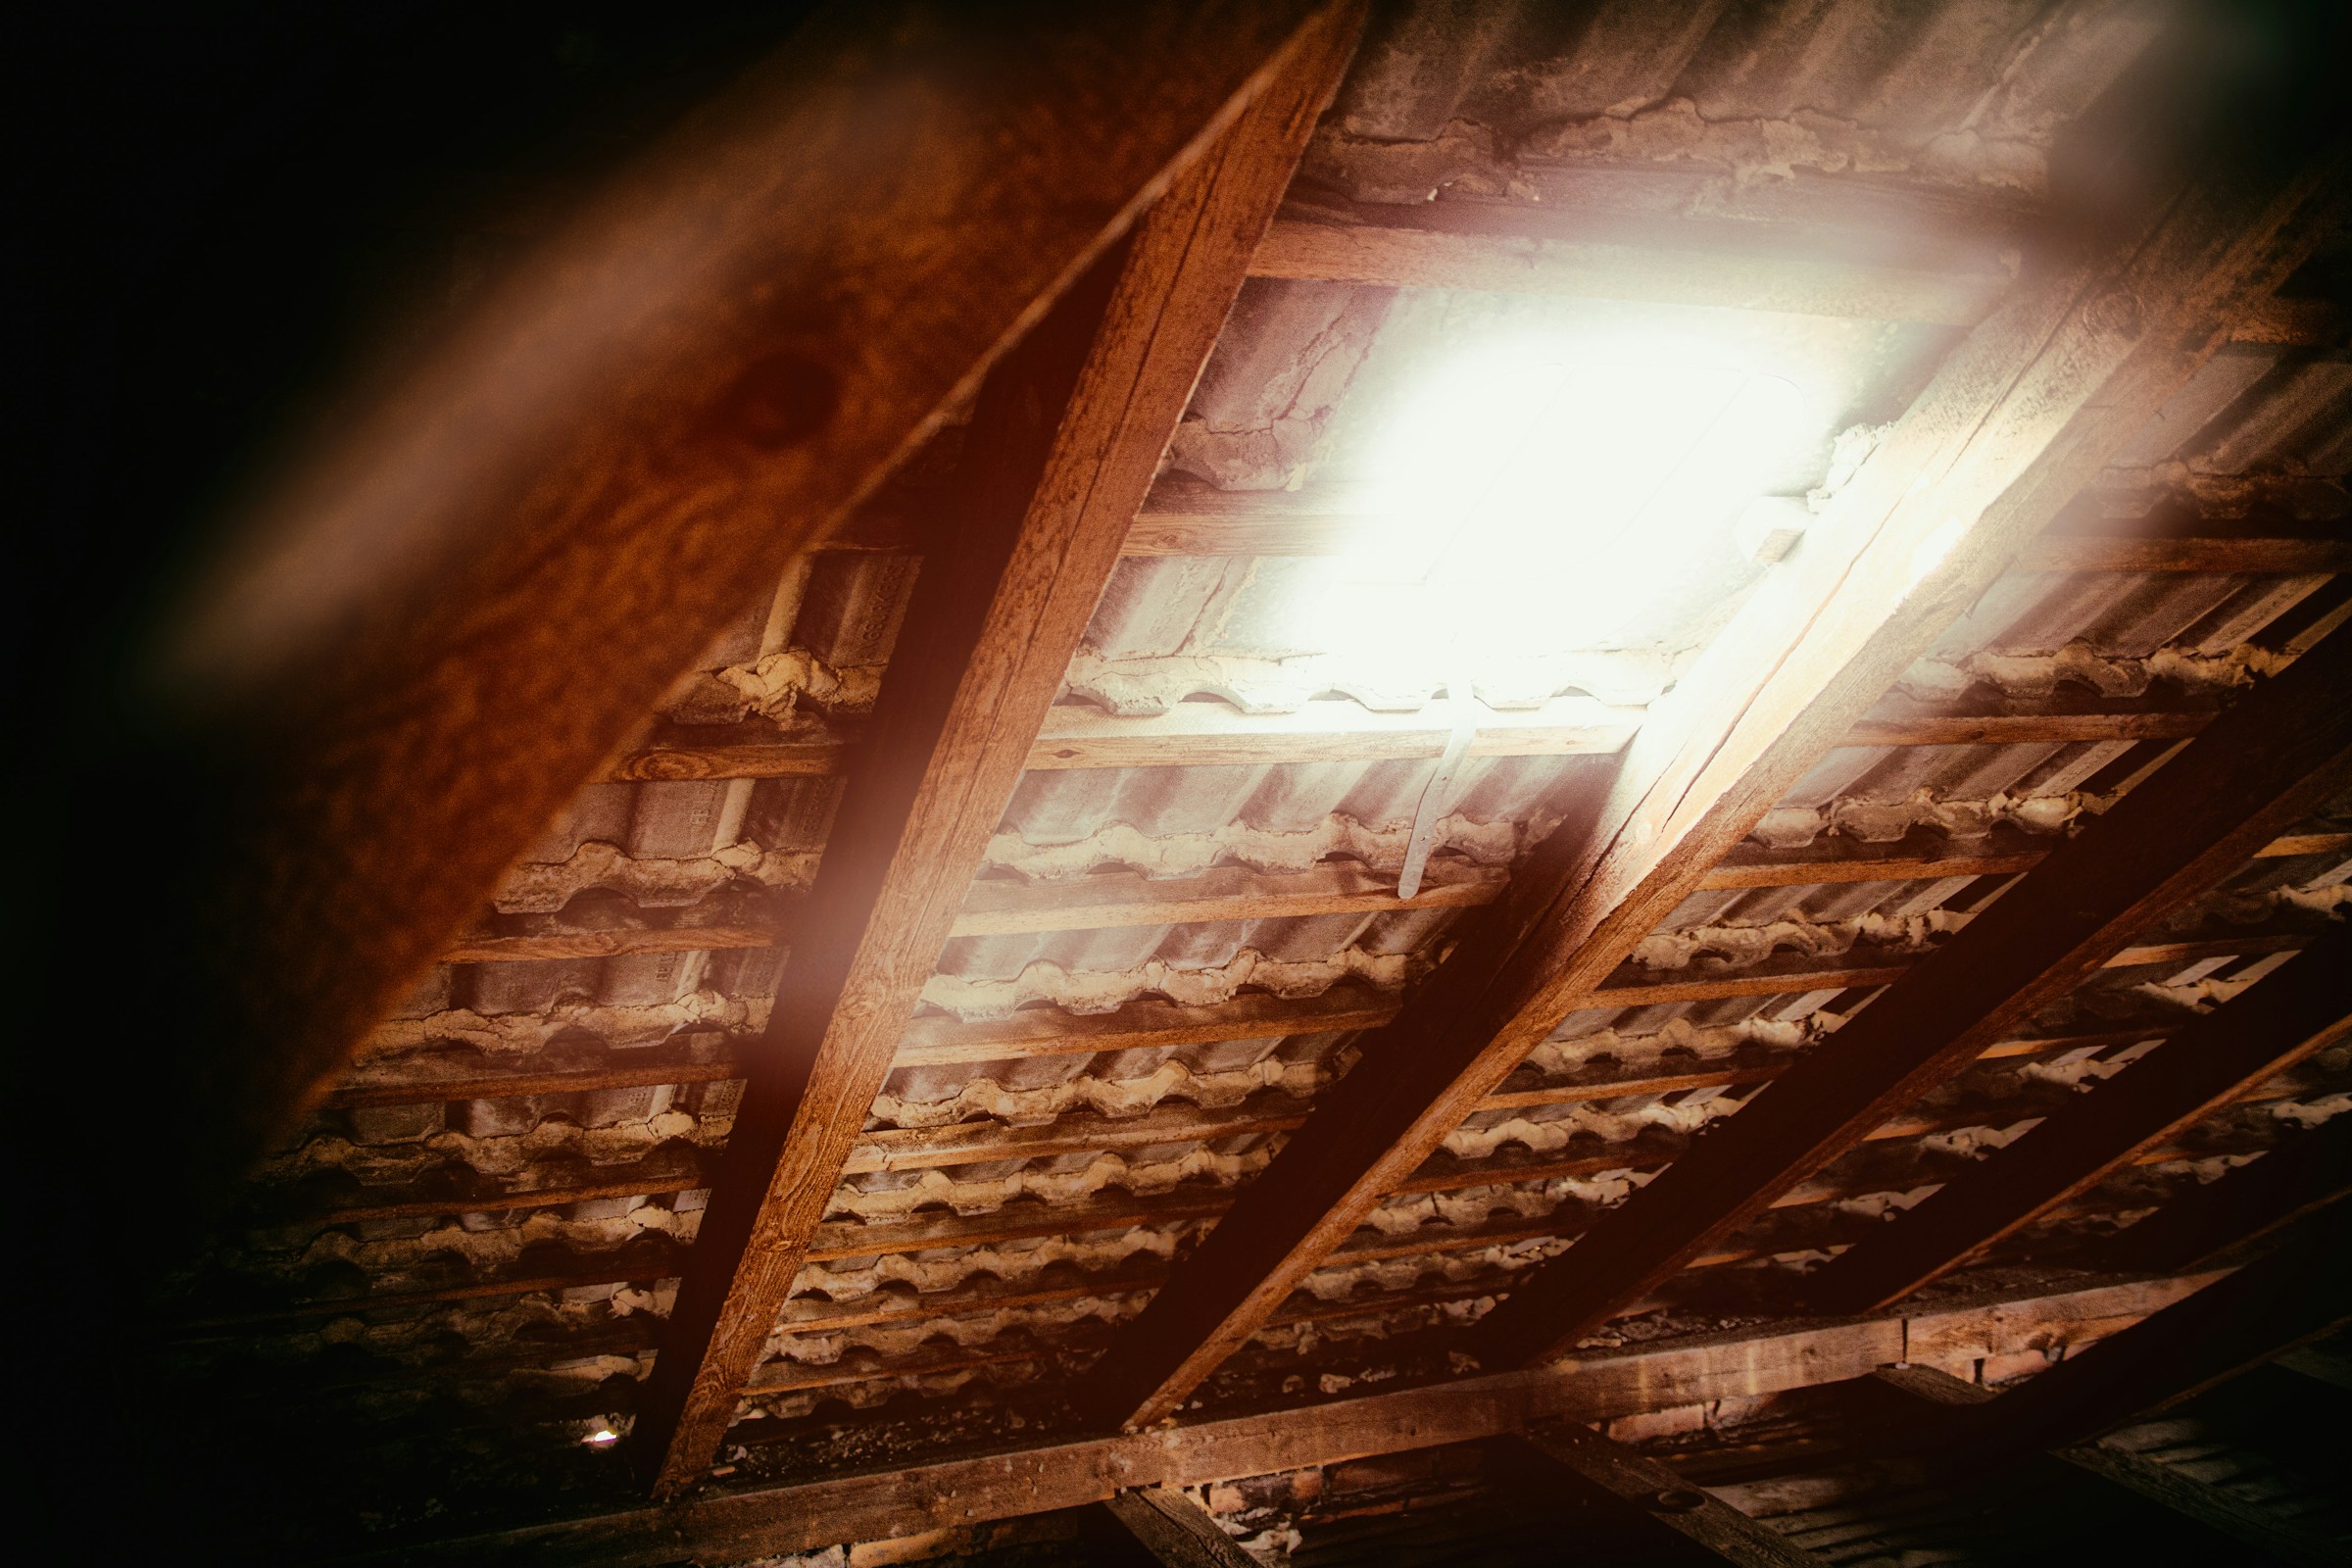
Step 2: Check One Level Up (Attic / Above)
If accessible:
- Staining at roof sheathing
- Wet insulation trails
- Nail point rust staining
- Daylight at penetrations
If not accessible, state the limitation and why.
Step 3: Exterior Suspect List (Most Common Sources)
- Plumbing vent flashing
- Chimney flashing/counterflashing
- Skylight flashing
- Sidewall step flashing
- Valleys (debris/wear)
- Exposed fasteners / nail pops
- Gutters overflowing back under drip edge
Step 4: Match Interior Evidence to Roof Features
- Stain near exterior wall line → suspect sidewall/kickout/window interface
- Stain mid-ceiling → suspect penetrations upstream/valleys
The “Defensible Photo Set”
- Interior: context + close-up + meter reading (if used)
- Attic: staining trail + penetration area (if accessible)
- Roof: one wide overview + one photo per likely source (vent, valley, flashing)
- Limitation: photo of unsafe roof/slope/conditions if not accessed
Report Language Templates
Source not confirmed
“Water staining observed at ____ . No active leakage observed at time of inspection. Due to the limitations of a visual inspection and potential concealed pathways, the exact source could not be confirmed. Recommend evaluation by a qualified roofing contractor.”
Flashing concern
“Defects observed at flashing around ____ . Flashing defects are common leak sources. Recommend roofing contractor evaluation and repair.”
Limited access
“Roof inspection was limited due to ____ . Roof was observed from accessible vantage points. Recommend further evaluation by a qualified roofing contractor for additional certainty.”
Where ReportWalk Helps
Roof leak notes are where vague wording (“stain noted”) causes callbacks. ReportWalk helps you dictate a clean finding (location → evidence → limitation → recommendation) and attach the photos that back it up.