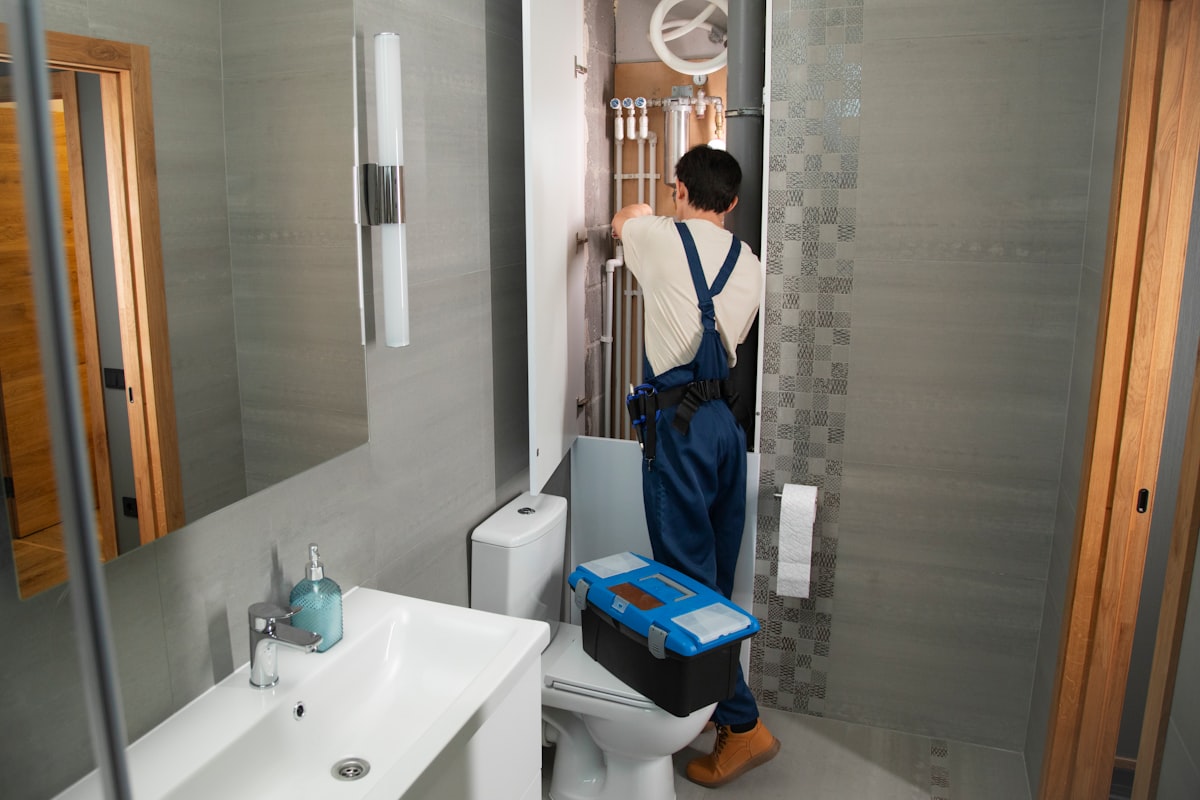
Plumbing Inspection Report Template: What to Capture, Photograph, and Write Before You Leave
A plumbing inspection report template only helps if it matches how inspectors actually gather information in the field.
That is the part many templates get wrong. They look organized on a desktop, but once you are moving between the water heater, the kitchen sink, the laundry box, the crawlspace, and a second-floor hall bath with an active leak stain below it, the report structure starts to matter a lot more than the pretty layout. If the template does not help you capture the right facts before you leave, you end up rebuilding the plumbing section later from memory.
This plumbing inspection report template is built for inspectors who want cleaner findings, stronger photo support, and less rewriting after the job. The goal is not to make the report longer. The goal is to help you leave the property with the important plumbing details already captured.
Note
Strong plumbing write-ups still need the same core discipline reflected in the ASHI Standard of Practice and InterNACHI's guidance on how to write a home inspection report: describe what was observable, note relevant limitations, and recommend the right next step without overstating certainty.
What a Plumbing Inspection Report Template Should Actually Do
A plumbing inspection report template is not just a blank form with room names and fixture checkboxes.
For field inspectors, it should do four jobs:
- keep the plumbing section organized in the same sequence you inspect it
- make it obvious what needs a photo and what does not
- help you separate routine maintenance notes from meaningful defects
- turn site observations into report-ready language while the evidence is still in front of you
That last part matters more than most inspectors admit. Plumbing details go stale fast. By the time you are back at the desk, you may still remember that there was corrosion under a sink or a water heater discharge issue, but the exact location, severity, and supporting photo order start getting fuzzy.
If your current workflow depends on sorting those details out later, pair this with our plumbing inspection checklist, inspection photo log template, and home inspection narrative examples.
The Best Sequence for a Plumbing Inspection Report Template
A good template should follow inspection logic, not software logic.
One practical order is:
- main water entry and supply materials
- visible drain, waste, and vent piping
- water heater and safety components
- kitchens, baths, laundry, and utility fixtures
- exterior hose bibs and visible site plumbing
- active leaks, stains, limitations, and recommendations
That order works because it mirrors how many inspectors naturally move through the property. It also keeps the report easier to read later because the findings stay grouped by plumbing function rather than being scattered across the house in walk order.
Plumbing Inspection Report Template: Core Sections to Include
Below is the template structure worth repeating on every job.
1. System overview
Start with the basic plumbing snapshot:
- supply pipe materials observed
- visible drain pipe materials observed
- water heater type, location, and approximate age if known
- whether the property appeared on public water/private well and public sewer/private septic when observable or client-provided
- any major access limitations affecting the plumbing inspection
This section keeps the rest of the plumbing report anchored. It also prevents the common problem where detailed fixture notes are present but the big-picture system context is missing.
2. Supply-side observations
Document the parts of the pressurized system that matter most:
- main shutoff location and visible condition
- supply materials such as copper, PEX, CPVC, galvanized steel, or mixed materials
- visible corrosion, active leakage, unsupported piping, or questionable transition fittings
- functional water flow observations where relevant
You do not need to turn this into a code report. But you do need enough detail that the client can understand what was seen and why it matters.
3. Drain, waste, and vent observations
This is where many expensive defects hide, and where vague notes create trouble later.
Your template should leave room to capture:
- slow or backed-up drains
- visible leakage at traps, waste arms, or drain connections
- improper slope or unsupported drain piping where visible
- evidence of prior repairs, patchwork, or material deterioration
- venting concerns such as gurgling, sewer-gas indicators, or improper trap configurations when visible
If a sewer-scope recommendation is the real takeaway, say it clearly. Our sewer scope inspection guide and sewer scope inspection cost guide are useful companion reads when the defect points beyond the visible plumbing.
4. Water heater section
The water heater usually deserves its own dedicated block in the plumbing inspection report template.
Capture:
- unit type and fuel source
- approximate age
- visible leakage or rusting
- temperature and pressure relief valve presence
- discharge pipe material, routing, and termination
- venting or combustion concerns for gas units
- earthquake strapping where applicable
This is one of the easiest places to lose precision if you wait until later to write the report. If the discharge pipe is too short, threaded, uphill, or terminated improperly, document it while you are standing there.
For deeper field detail, see our water heater inspection checklist and water heater TPR discharge pipe guide.
5. Fixture-by-fixture findings
This section is where the bulk of the plumbing comments usually live.
Your template should support quick notes for:
- sinks and faucets
- toilets
- tubs and showers
- dishwasher connections and sink-adjacent plumbing
- washing machine valves and drain setup
- utility sinks, bar sinks, and specialty fixtures
What matters here is not just whether the fixture "worked." It is whether you captured the specific defect or limitation clearly enough that it can stand on its own in the final report.
What to Photograph for a Strong Plumbing Inspection Report
Photos are what make the plumbing section easier to trust and easier to defend.
At minimum, your plumbing inspection report template should push you to capture:
- the water heater as a full unit
- any defect you specifically recommend for repair or evaluation
- any active leak or moisture staining tied to plumbing
- visible pipe material transitions that affect the recommendation
- under-sink leakage, corrosion, or prior repair evidence
- limitation conditions when access was blocked or visibility was poor
The strongest plumbing photo sets usually include both context and detail.
For example:
- context: entire under-sink cabinet or water heater closet
- detail: active drip at trap connection or improper discharge pipe termination
That combination makes the report easier for the client to follow and cuts down on callback questions like "Where exactly was this?"
Key Takeaway
If you recommend repair, try to leave the site with at least one location photo and one closer defect photo. A plumbing narrative without visual support is much more likely to be challenged or misunderstood later.
The Fastest Way to Write Better Plumbing Narratives
Most weak plumbing write-ups fail in one of three ways:
- they are too vague about location
- they state the conclusion without describing the condition
- they recommend repair without showing why
Your plumbing inspection report template should make it easy to document each finding in this sequence:
- location
- observed condition
- implication or concern
- recommended action
That can be as simple as:
Location:
Observed condition:
Why it matters:
Recommended action:
Here are a few examples that fit a field-ready plumbing report template.
Example: active leak below sink
"Active leakage was observed at the drain trap connection below the kitchen sink at the time of inspection. Ongoing leakage can damage adjacent cabinet materials and contribute to concealed moisture-related deterioration. Recommend repair by a qualified plumbing contractor."
Example: corroded shutoff valve
"Corrosion was observed at the hot-water shutoff serving the hall bathroom lavatory. Corrosion at shutoff components may indicate long-term leakage or material deterioration and can affect reliable operation. Recommend repair or replacement by a qualified plumbing contractor."
Example: improper water heater discharge piping
"The water heater temperature and pressure relief valve discharge piping did not appear to terminate in a proper manner at the time of inspection. Improper discharge piping can create a safety concern if the valve releases under pressure. Recommend correction by a qualified contractor."
Example: slow drainage with recommendation
"The second-floor tub drained slowly during functional testing. Slow drainage may indicate partial blockage or other drain-line performance issues. Recommend cleaning and further evaluation by a qualified plumbing contractor if needed."
These are not meant to become canned language for every job. They are examples of how a plumbing inspection report template should help you preserve the field logic of the finding instead of forcing you to invent the wording later.
Common Plumbing Findings Your Template Should Not Let You Miss
If you want your plumbing inspection report template to be useful in practice, make sure it leaves room for the findings that repeatedly show up in real jobs:
- active leaks at traps, supply stops, or fixture connections
- corroded or aging shutoff valves
- missing or improper anti-siphon protection at hose bibs
- loose toilets or staining at toilet bases
- deteriorated caulk or visible moisture damage at tub and shower surrounds
- rust, leakage, or improper venting at water heaters
- unsupported or poorly repaired drain piping
- older or known-risk materials where visible
For older homes, visible lead service components are also worth careful documentation. The EPA's guidance on lead in drinking water is a useful external reference when you need to explain why older supply materials or client follow-up testing matter.
A Simple On-Site Workflow for Using This Template
The best plumbing inspection report template still fails if the capture workflow is clumsy.
One practical on-site rhythm looks like this:
- inspect the area normally
- photograph the overall fixture or component
- photograph the specific defect if present
- dictate or note the finding while still looking at it
- move to the next component only after the evidence package is complete
That is especially important with plumbing because you often move from one small finding to another quickly. A loose toilet, a slow tub drain, corrosion at angle stops, a worn dishwasher drain connection, and a questionable water heater detail can all happen in the same twenty minutes. If you postpone capture, those details start blending together.
Our 3-phase home inspection workflow explains the same principle more broadly: the easier you make it to complete the finding in the moment, the less report assembly turns into reconstruction later.
Final Word
A strong plumbing inspection report template does not just give you blank places to type. It helps you collect the right plumbing facts while they are still visible, tie them to the right photos, and turn them into clear recommendation language before you leave the property.
If your current plumbing section still gets written from memory at the end of the day, that is probably the workflow to fix first. ReportWalk is built for inspectors who want to document findings with voice instead of typing, keep photos tied to the right observation, and leave the site with structured report content already taking shape. If that sounds closer to how you actually want to work in the field, you can try ReportWalk on the App Store.