Roof Certification Inspection: What Every Inspector Should Check & Document
A roof certification inspection sounds simple until you are the person signing the report.
Clients hear "certification" and assume it means a quick thumbs-up. Carriers and underwriters usually mean something narrower: a professional opinion about the roof's visible condition, current defects, and whether it appears to have a reasonable remaining service life based on accessible evidence.
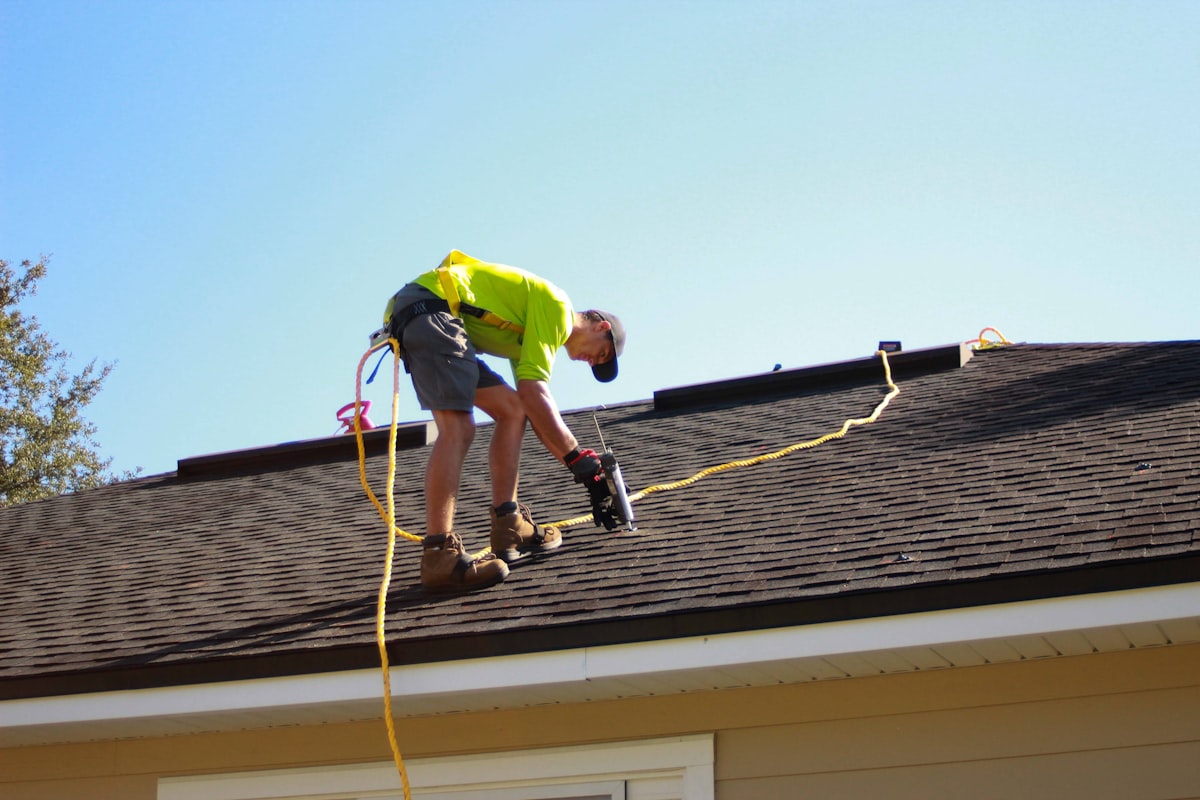
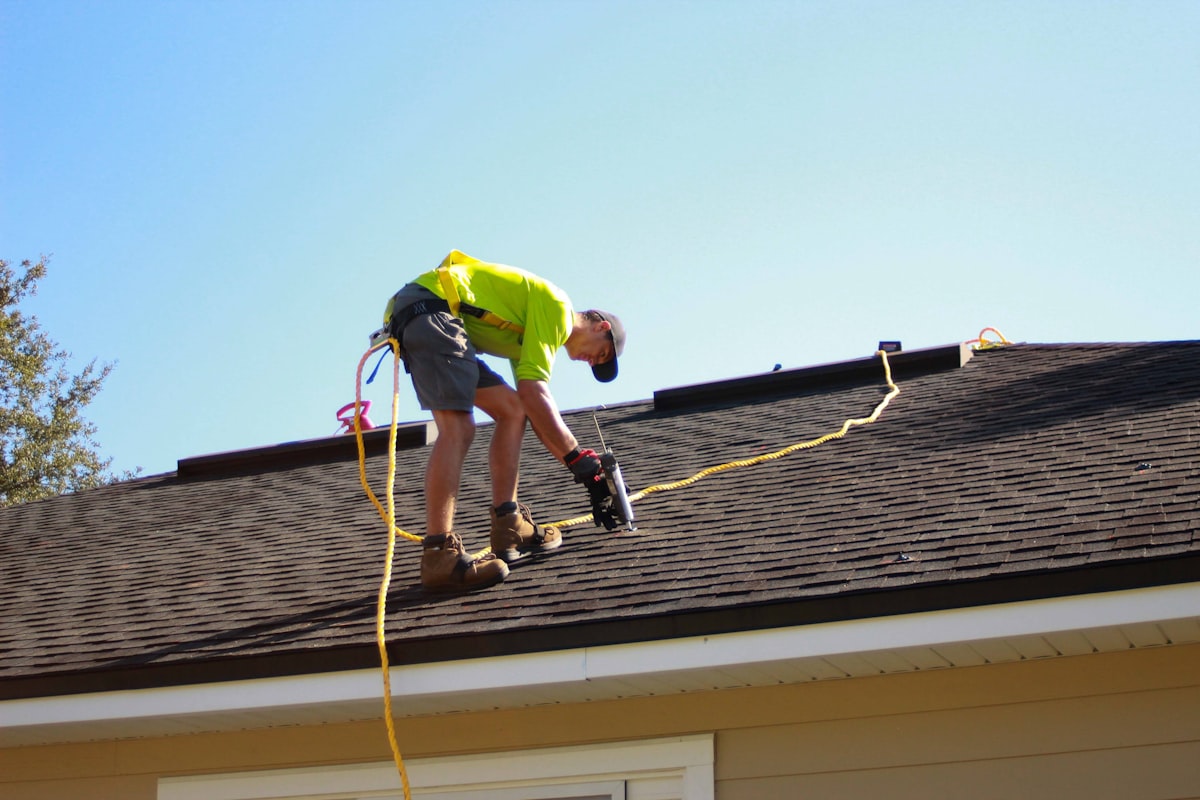
That difference matters. If you do roof certification inspections, the job is not just to look at shingles. It is to document the roof in a way that is useful, cautious, and defensible.
Note
HomeGuide's 2026 roof-inspection pricing guide notes that roof certification inspections are commonly requested for insurance purposes, while the Insurance Information Institute says roof damage drives a large share of property claims after major storms. That combination is why documentation standards on these inspections matter more than many clients expect.
What a Roof Certification Inspection Usually Means
In most markets, a roof certification inspection is narrower than a full home inspection and more opinion-driven than a simple roof walk.
The typical goal is to answer questions like:
- What roofing material is present?
- What visible defects were observed?
- Does the roof show evidence of active leakage, advanced wear, or improper installation?
- Does the roof appear to have remaining service life, based on what is visible today?
- Are repairs needed before a certification statement can be issued?
The exact form varies by carrier, roofing contractor, or inspection company. Some ask for a remaining-life estimate. Some want a pass/fail opinion. Some just want a statement that the roof is free of visible defects at the time of inspection.
That is why experienced inspectors avoid treating "roof certification" like one universal product.
Start by Defining Scope Before You Step on Site
One of the easiest ways to create trouble is to accept the job without clarifying what the client or carrier expects.
Before the inspection, pin down:
- Who is requesting the report: homeowner, buyer, insurer, or agent
- Whether a carrier-specific form is required
- Whether you are being asked for remaining useful life
- Whether roof access is expected or optional
- Whether the client expects attic review, moisture verification, or only exterior observations
Those details change both your workflow and your language.
If the client says, "I just need a certificate," that usually means they do not understand the deliverable yet. Slow that conversation down before the inspection starts.
What to Check During the Inspection
The fastest way to miss something important is to focus only on the field covering.
Roof certification inspections should move in layers.
1. Roof covering condition
Document the roof material first:
- Asphalt shingle
- Tile
- Metal
- Modified bitumen
- TPO/PVC
- Wood shake or other specialty system
Then note visible wear patterns:
- Granule loss
- Cracked, curled, or missing shingles
- Broken or displaced tiles
- Exposed fasteners
- Open seams
- Patching or sealant-heavy repairs
- Soft spots, sagging, or uneven plane changes
You are not just collecting defects. You are building the context for whether the roof appears serviceable right now.
2. Flashing and penetrations
Most roof problems show up at transitions, not in the middle of the field.
Look closely at:
- Plumbing vent flashings
- Chimney flashings and counterflashings
- Skylights
- Sidewalls and headwalls
- Valleys
- Kickout flashing at roof-to-wall intersections
- Satellite, solar, or mechanical penetrations
If a roof has heavy mastic use around penetrations, say so. That does not automatically mean failure, but it often signals prior leakage or patchwork repairs.
3. Drainage details
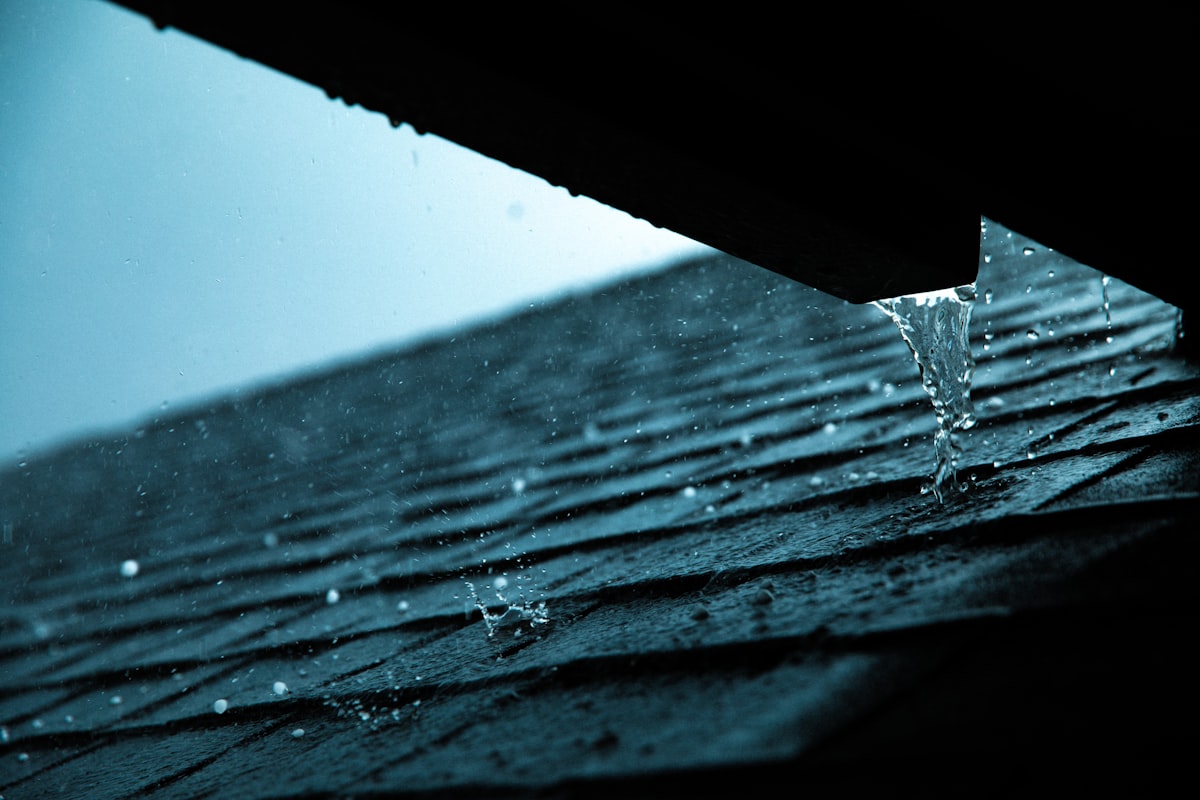
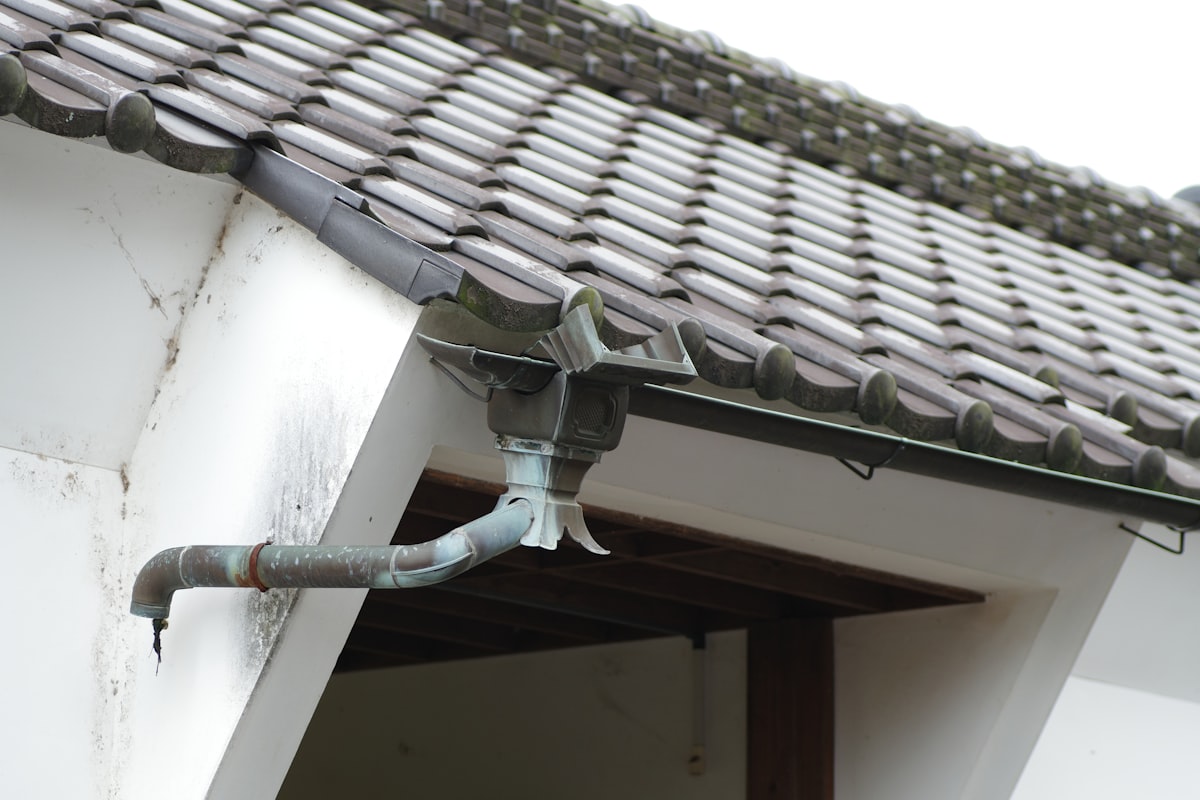
Poor drainage can shorten roof life even when the field covering looks decent.
Check:
- Gutters and downspouts
- Ponding on low-slope roofs
- Debris accumulation in valleys
- Drip-edge conditions
- Signs of overflow or backwater staining
Water management defects are often what separate a roof that looks acceptable from a roof that keeps generating callbacks.
4. Interior evidence and attic clues
If the scope includes attic or interior review, use it.
Look for:
- Water staining at sheathing or framing
- Rusted nail tips
- Deteriorated insulation from past moisture
- Daylight at penetrations
- Mold-like microbial growth patterns associated with chronic moisture
- Structural sagging or framing distortion
If you observe interior moisture evidence but the exterior source is not obvious, do not invent precision. Report the evidence and recommend roofing-contractor evaluation.
Key Takeaway
The most defensible remaining-life calls come from combining exterior wear observations with attic-side moisture evidence and documentation of prior repairs.
How to Handle the "How Many Years Left?" Question
This is where inspectors get pulled into overstatement.
A client may want a clean answer such as "5 years left" or "10 years left." But visible inspection alone has limits. You do not know the full installation history, the storm history, prior concealed leakage, or how maintenance has been handled.
A better approach is to frame the opinion around apparent remaining serviceability based on visible conditions at the time of inspection.
That usually means:
- Explaining what was visible
- Explaining the defects observed
- Explaining whether those defects are minor, moderate, or certification-blocking
- Stating whether the roof appears to have remaining useful life if maintained and repaired as needed
If the carrier or form forces a numeric estimate, stay conservative and base it on observable condition, not sales optimism.
What to Photograph Every Time
If your photos are weak, the whole certification gets weaker.
Minimum photo set:
- Front roof elevation
- Rear roof elevation
- Left and right slopes when visible
- Close-ups of material condition
- Flashings at key penetrations
- Gutters and drainage features where relevant
- Any visible repair areas
- All material defects you mention in the report
- Attic moisture evidence, if attic review is included
Try to capture both context and defect detail. A close-up with no location context is weak. A wide shot with no visible defect detail is weak too.
Report Language That Protects You
The phrase "roof certification" tempts inspectors into absolute language. Avoid that.
Weak language:
- "Roof is good."
- "Roof will last 10 more years."
- "No issues."
Better language:
- "At the time of inspection, the accessible roof surfaces appeared serviceable based on visible conditions observed."
- "Visible defects were observed at the plumbing vent flashing and at patched shingle areas on the west slope."
- "Because roof performance is affected by weather exposure, installation quality, maintenance history, and concealed conditions, no guarantee of future performance is expressed or implied."
That language does not sound flashy, but it holds up better.
When Not to Issue a Clean Certification
Do not let the small fee on a roof-cert job trick you into taking big reporting risk.
Common reasons to withhold or qualify certification:
- Active leakage indicators
- Extensive patching without clear long-term repair quality
- Widespread shingle damage or tile failure
- Soft decking or structural deflection
- Missing flashing details at critical transitions
- Heavy wear suggesting end-of-life conditions
- Unsafe access that prevents necessary observation
If the roof does not support a clean opinion, say so directly and recommend repairs or further evaluation. The job is not to rescue the transaction. The job is to document the roof honestly.
Pricing and Workflow Reality
Roof certification inspections often get underpriced because they look shorter than full inspections.
But the actual work still includes:
- Scheduling and scope clarification
- Safe access decisions
- Photo capture
- Condition analysis
- Remaining-life wording
- Report cleanup
- Follow-up questions from agents or owners
That is why many inspectors price roof certification work above a casual "roof look" and below a full inspection, with adjustments for pitch, height, covering type, and documentation complexity.
If you are already doing insurance workflows, compare this with our guide on 4-point inspection cost and the broader roof inspection report workflow.
Where ReportWalk Helps
Roof certification inspections create a specific documentation problem: you are constantly matching a visible condition to a cautious written opinion.
ReportWalk helps by letting you dictate findings while standing at the actual condition:
- Roof area
- Defect observed
- Why it matters
- Whether it affects certification
- Recommended next step
That usually produces cleaner narratives than trying to rebuild the roof from memory at your desk later.
Bottom Line
A strong roof certification inspection is not about saying yes quickly. It is about checking the covering, flashings, drainage details, and accessible moisture evidence, then writing a careful opinion that matches what you actually observed.
If you want a stronger field sequence before you certify anything, start with our roofing inspection checklist, roof flashing inspection, and roof ventilation inspection.