Pool Inspection Checklist: What Inspectors Should Check, Photograph, and Call Out On Site
Pool inspections go sideways when the route is unclear.
You start at the waterline on one property, move to the equipment pad on the next, then realize later you never documented the self-latching gate, loose handrail, or active leak at the pump union. The missed item usually is not complicated. It just got skipped because the field sequence was loose.
This checklist is built for inspectors who want a repeatable on-site order: what to check first, what photos to grab while you are standing there, and which conditions deserve a direct callout in the report before the details fade.
Note
Describe visible conditions, observed operation, and clear next steps. Avoid implying full code certification or concealed-condition performance when access, water clarity, or scope limits prevent that.
The Fast Rule for Pool Notes
For each pool component, capture three things:
- The condition observed
- The photo that proves it
- The action you want the client to take next
If one of those three is missing, the finding is weaker than it should be.
A Field Order That Keeps Gaps Out of the Report
Run the inspection in this order:
- Barrier and gate safety
- Deck, coping, and surrounding drainage
- Shell, finish, tile, and visible water condition
- Skimmers, returns, drains, rails, and accessories
- Equipment pad and visible plumbing
- Electrical safety observations and limitations
That route keeps the highest-risk items near the top and prevents the equipment pad from consuming all your attention.
1. Barrier and Gate Safety
Start with the enclosure before you get drawn into equipment details.
Check:
- Fence or barrier continuity where present
- Gate alignment and closing action
- Self-close and self-latch function where applicable
- Missing, bent, or bypassed latch hardware
- Excessive gaps below the gate or along barrier sections
- Direct access points from the dwelling or yard that deserve documentation
Photo set:
- One wide shot showing the barrier layout
- One context photo of each gate with a defect
- One close-up of the latch, hinge, or gap condition
Report example
"Pool enclosure gate at the west-side access did not self-latch when released during inspection. Deficient barrier hardware is a safety concern. Recommend repair or adjustment by a qualified contractor."
2. Deck, Coping, and Drainage
This is where trip hazards and movement clues usually show up first.
Check:
- Cracks with vertical displacement
- Settlement adjacent to coping
- Loose, broken, or displaced coping
- Failed or missing sealant at joints
- Poor drainage patterns or areas where water appears to collect
- Surface wear that may affect safe footing
Not every crack deserves the same language. A small shrinkage crack is different from movement that creates a toe-catcher or opens near the pool edge.
Photo set:
- Wide view of the affected section
- Mid-range context shot
- Close-up that shows displacement, gap width, or edge deterioration
3. Shell, Finish, Tile, and Waterline
Collect the visible interior condition record while you still have a clean viewing angle.
Check:
- Surface wear, patching, or visible cracking
- Missing, loose, or damaged tile
- Waterline staining or scale buildup
- Water level relative to skimmer openings
- Water clarity and any visibility limitation
- Evidence that the finish condition may deserve service follow-up
If visibility is limited, say so directly.
Limitation example
"Water clarity limited observation of submerged pool interior components at time of inspection. Conditions below the visible water column could not be fully evaluated."
4. Skimmers, Returns, Drains, and Accessories
These are easy to underrate because each item looks small on its own.
Check:
- Skimmer lids present and intact
- Visible skimmer damage
- Return fittings secure
- Visible suction outlet or drain covers present where observable
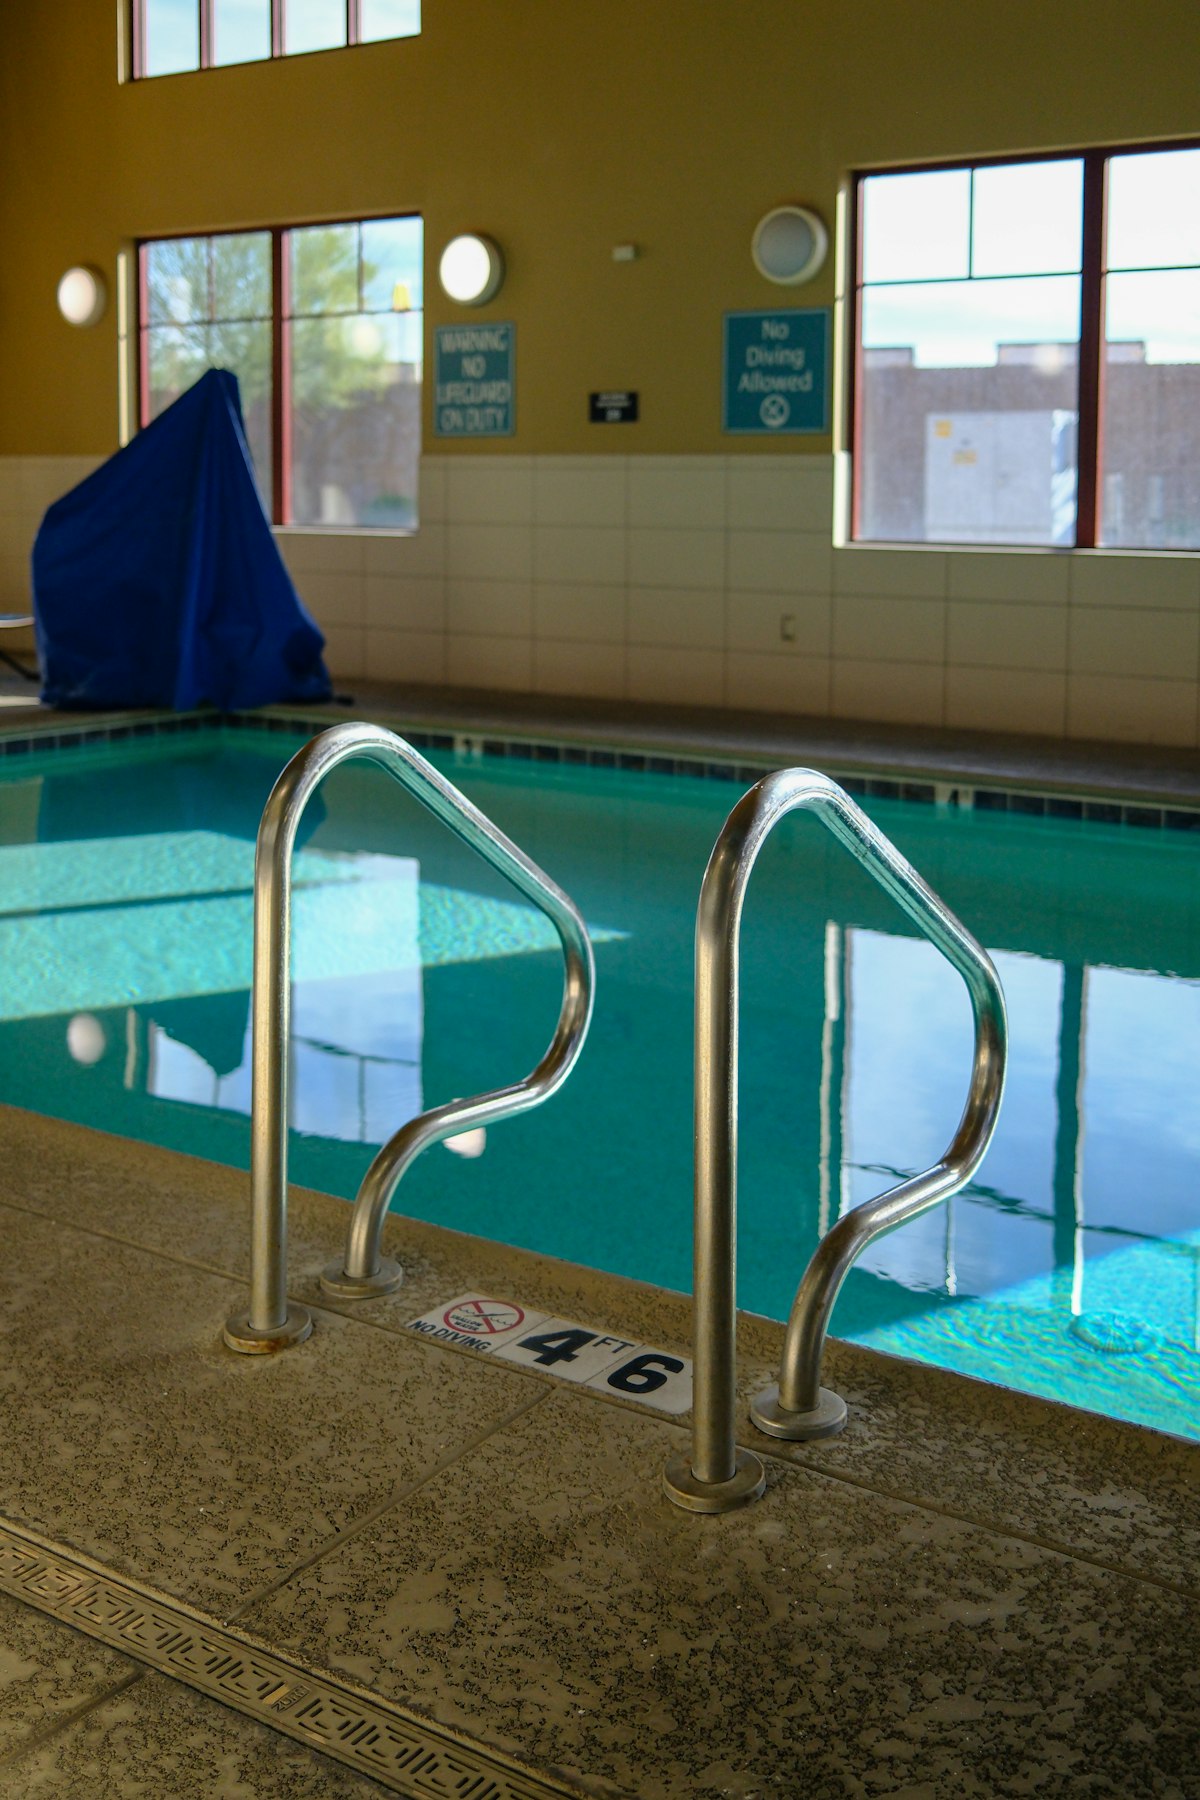
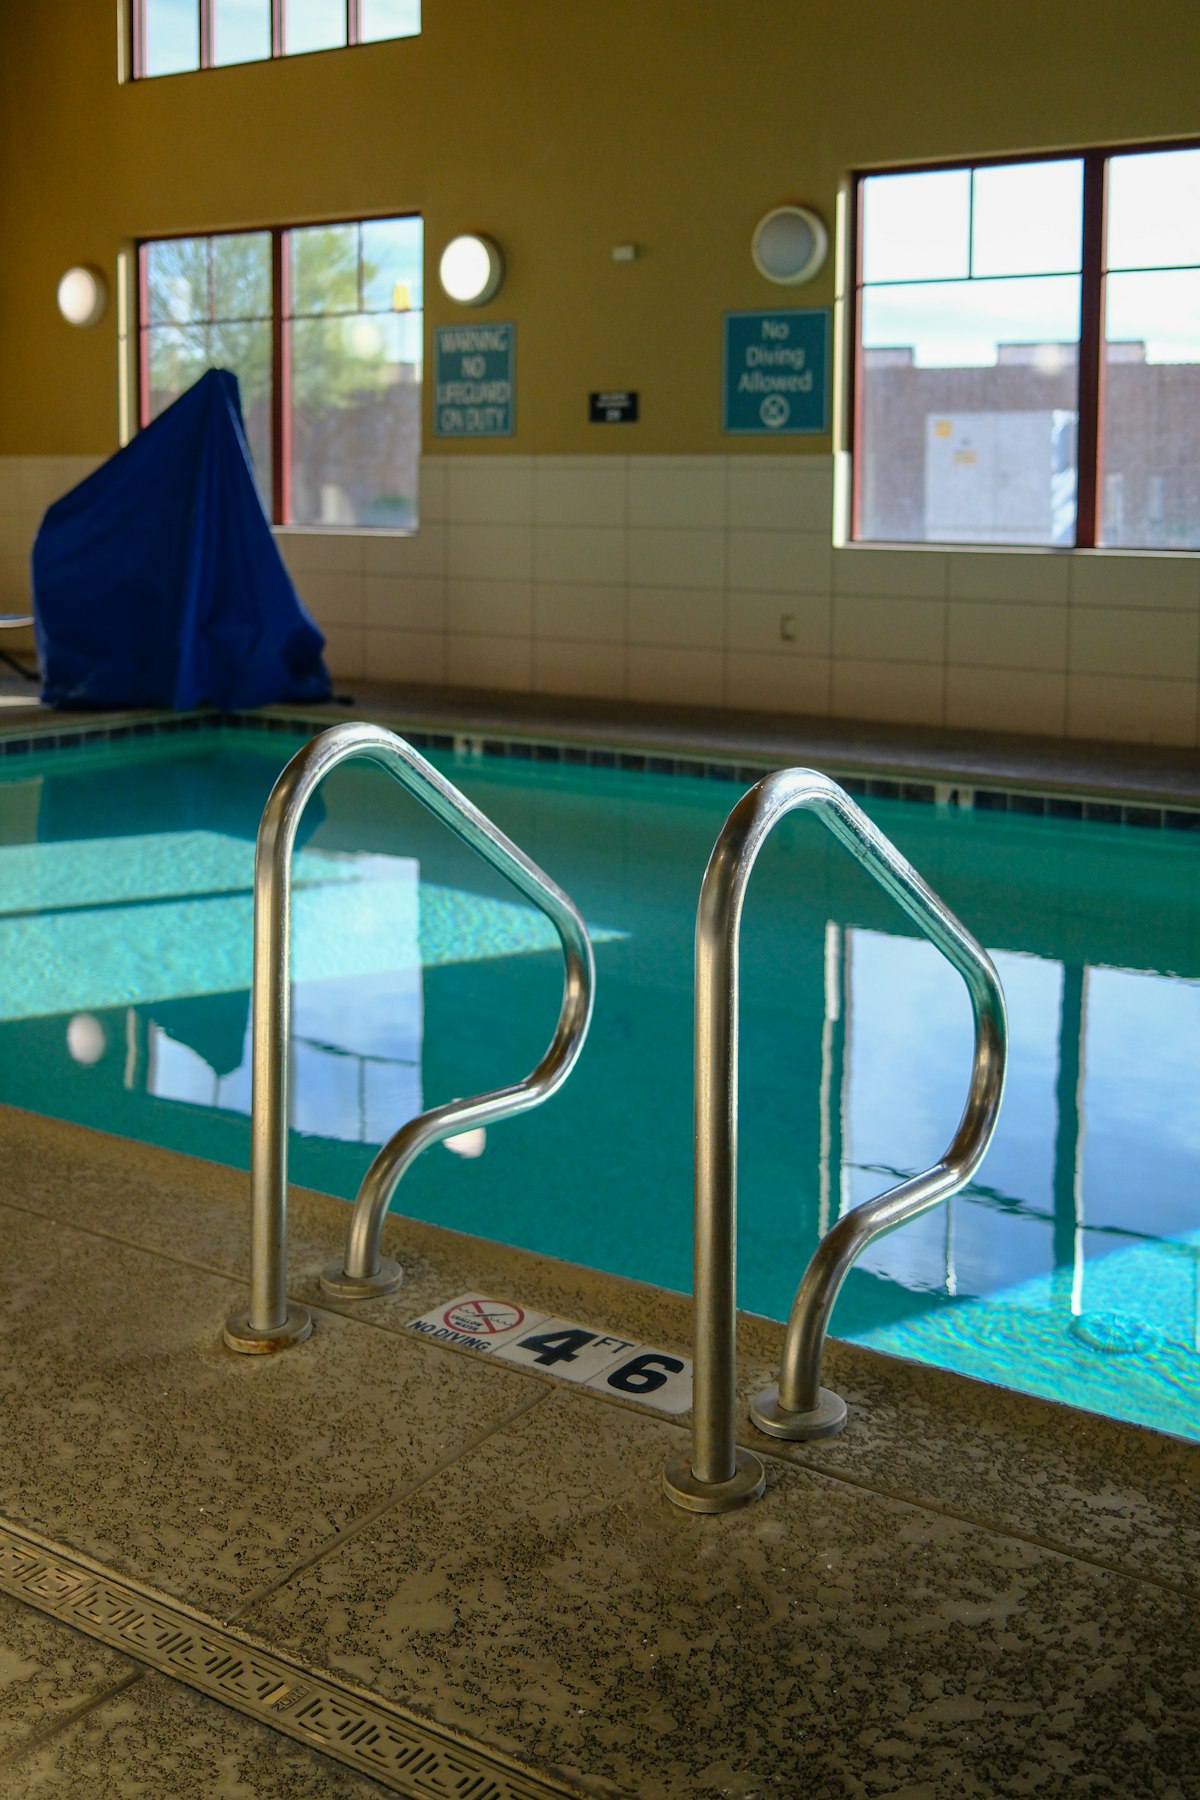
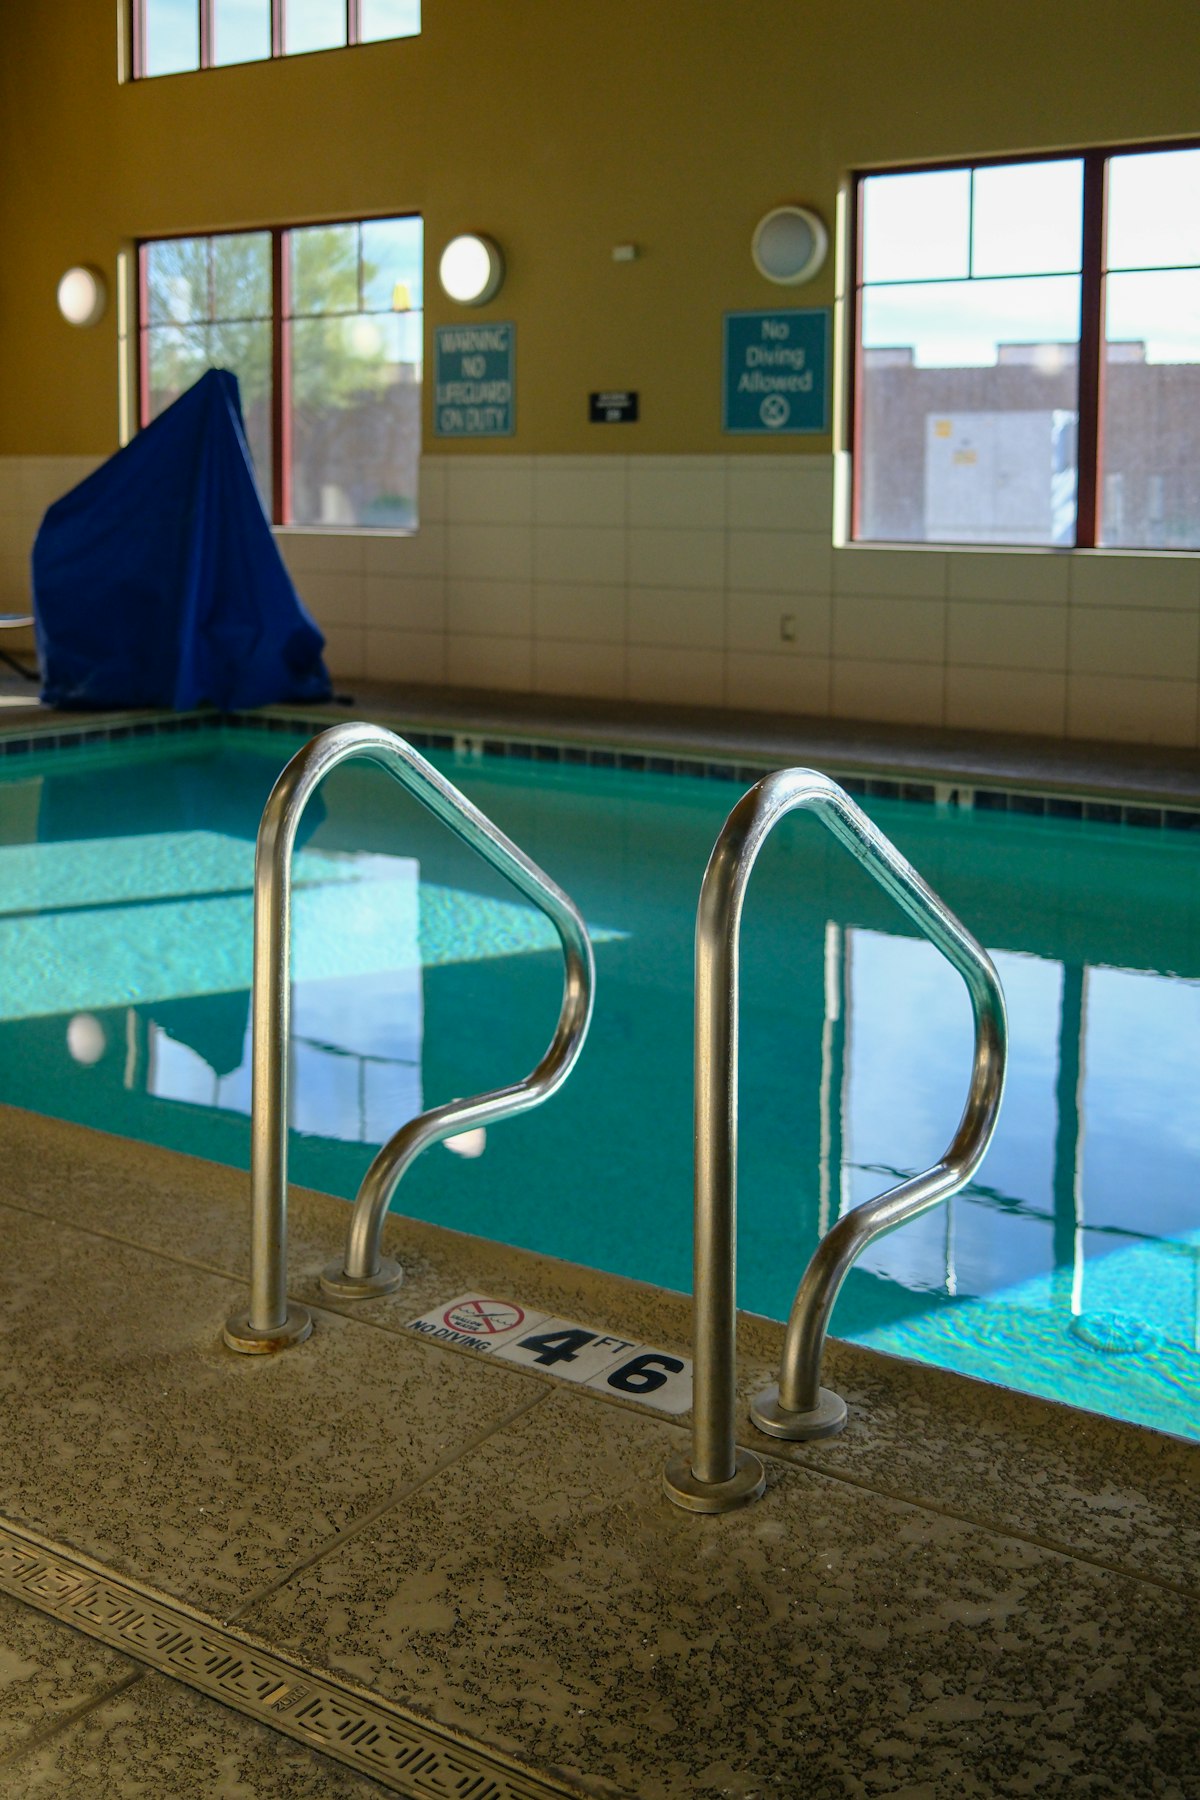
- Ladder and handrail anchorage
- Corrosion, looseness, or missing fasteners at accessories
Photo set:
- Broken or missing skimmer lids
- Loose rails or damaged anchors
- Any visibly compromised fitting, cover, or accessory
Stay within scope. If a visible condition suggests a safety concern, call for qualified pool specialist review instead of guessing at hidden compliance details.
5. Equipment Pad and Visible Plumbing
This is usually the highest-signal stop in the field because operating defects show themselves quickly here.
Check:
- Pump operation and abnormal noise
- Pump lid and basket condition
- Filter tank condition and gauge presence
- Active leaks, staining, or mineral deposits at visible fittings
- Heater cabinet condition where present
- Timer, shutoff, and accessible controls
- Corrosion at metal components, clamps, or unions
Key Takeaway
Take one full equipment-pad overview before close-ups. That single context image makes every later leak or corrosion photo easier to understand in the report.
Report example
"Active leakage was observed at a visible plumbing connection at the equipment pad during operation. Continued leakage may affect system performance and contribute to equipment-area deterioration. Recommend repair by a qualified pool service contractor."
6. Electrical Safety Observations
Keep electrical language tight and limited to what you actually observed.
Check within your SOP:
- Accessible GFCI protection at related receptacles or devices
- Test/reset results if tested
- Missing cover plates
- Damaged enclosures
- Visible corrosion or moisture exposure
- Exposed wiring or visibly unsafe routing
You are documenting accessible conditions, not certifying concealed bonding or the entire pool electrical system.
The Minimum Photo Package
If the report needs to stay strong after you leave, do not skip these:
- Two overall pool views
- One barrier overview
- One equipment-pad overview
- One context photo and one close-up for each defect
- One photo showing any access or visibility limitation that affected scope
What Should Get Called Out First
Put findings in this order:
- Barrier and gate safety defects
- Electrical safety concerns
- Active leaks or equipment-operation faults
- Trip hazards at deck or coping
- Shell, tile, or finish conditions with repair implications
- Cosmetic or maintenance notes last
Clients do not need every note weighted equally. They need the report to show what matters first.
A Simple Narrative Pattern
Use this structure:
- Location
- Condition observed
- Why it matters
- Recommended action
Example:
"Location: Equipment pad at east side yard. Condition observed: Active leakage was present at the pump discharge union during operation. Why it matters: Leakage may affect system performance and contribute to ongoing equipment-area deterioration. Recommend repair by a qualified pool service contractor."
That pattern prevents vague notes like "repair as needed" from taking over the report.
Where ReportWalk Helps
Pool findings are short, location-specific, and heavily dependent on photos. ReportWalk helps inspectors dictate the condition while standing at the gate, coping edge, or pump pad, then attach the supporting photos before moving on.
That is the real speed gain. Not typing faster later. Capturing the right field note once.
For related reading, see Pool Inspection Checklist for Inspectors: What to Check, Photograph, and Report On Site, Pool Inspection Checklist: What Inspectors Should Check Before They Sign Off, and How Much Does a Pool Inspection Cost? Pricing Guide for Inspectors.