Fire Safety Inspection Checklist: What Building Inspectors Need to Document in the Field
Fire safety reports usually get weaker in the same predictable way: the inspector saw the problem, but the write-up stayed soft.
The exit was "partially blocked." The extinguisher was "not ideal." The electrical room had "some storage." None of that gives the owner, manager, or buyer a clear picture of what needs attention first.
This checklist is built for building inspectors who want tighter field documentation: what to verify while walking the property, what photos matter most, and how to turn those observations into report language that stays defensible later.
Important
Fire and life-safety requirements vary by occupancy, jurisdiction, and inspection scope. Use this checklist for observable field conditions, then align final recommendations with the applicable local requirements and your inspection agreement.
The Field-Test for a Strong Fire-Safety Report
Before you leave the property, confirm you can answer four questions:
- Can people exit safely?
- Are the obvious life-safety devices present and not visibly compromised?
- Did you document the electrical and storage hazards most likely to increase fire risk?
- Did you separate observed conditions from items not fully tested?
If you can answer yes to all four, the report is already in better shape.
A Walk Sequence That Keeps the Important Notes Up Front
Use this order:
- Egress routes and exit hardware
- Detection and alarm devices visible on route
- Extinguishers, cabinets, and related access
- Electrical, mechanical, and service-room hazards
- Storage, housekeeping, and heat-source risks
- Limitations, missing photos, and scope notes
That sequence makes it harder for high-priority life-safety defects to get buried behind minor housekeeping comments.
1. Egress Routes and Exit Hardware
Start with how occupants would get out.
Check:
- Exit doors blocked, chained, locked, or difficult to open
- Corridors, stairs, and landings narrowed by storage
- Missing or visibly damaged exit hardware
- Trip hazards along egress paths
- Emergency lighting or exit signage concerns where applicable within scope
Photo set:
- Wide view of the route
- Context photo of the obstruction or door
- Close-up of the hardware, chain, storage, or trip condition
Report example
"Stored materials obstructed the rear egress corridor at time of inspection. Obstructed egress can interfere with occupant evacuation during an emergency. Recommend immediate clearing and ongoing maintenance of an unobstructed exit path."
2. Detection and Alarm Devices
You do not need to overclaim here. You need clear scope.
Verify:
- Smoke alarms or detectors appear present where expected within the observed scope
- CO alarms appear present where applicable
- Devices are not visibly painted over, removed, covered, or damaged
- Pull stations, horns, or strobes are not visibly blocked
- Fire alarm panel is noted as present where applicable
If operational testing was not performed, say so plainly instead of leaving the reader to assume it was.
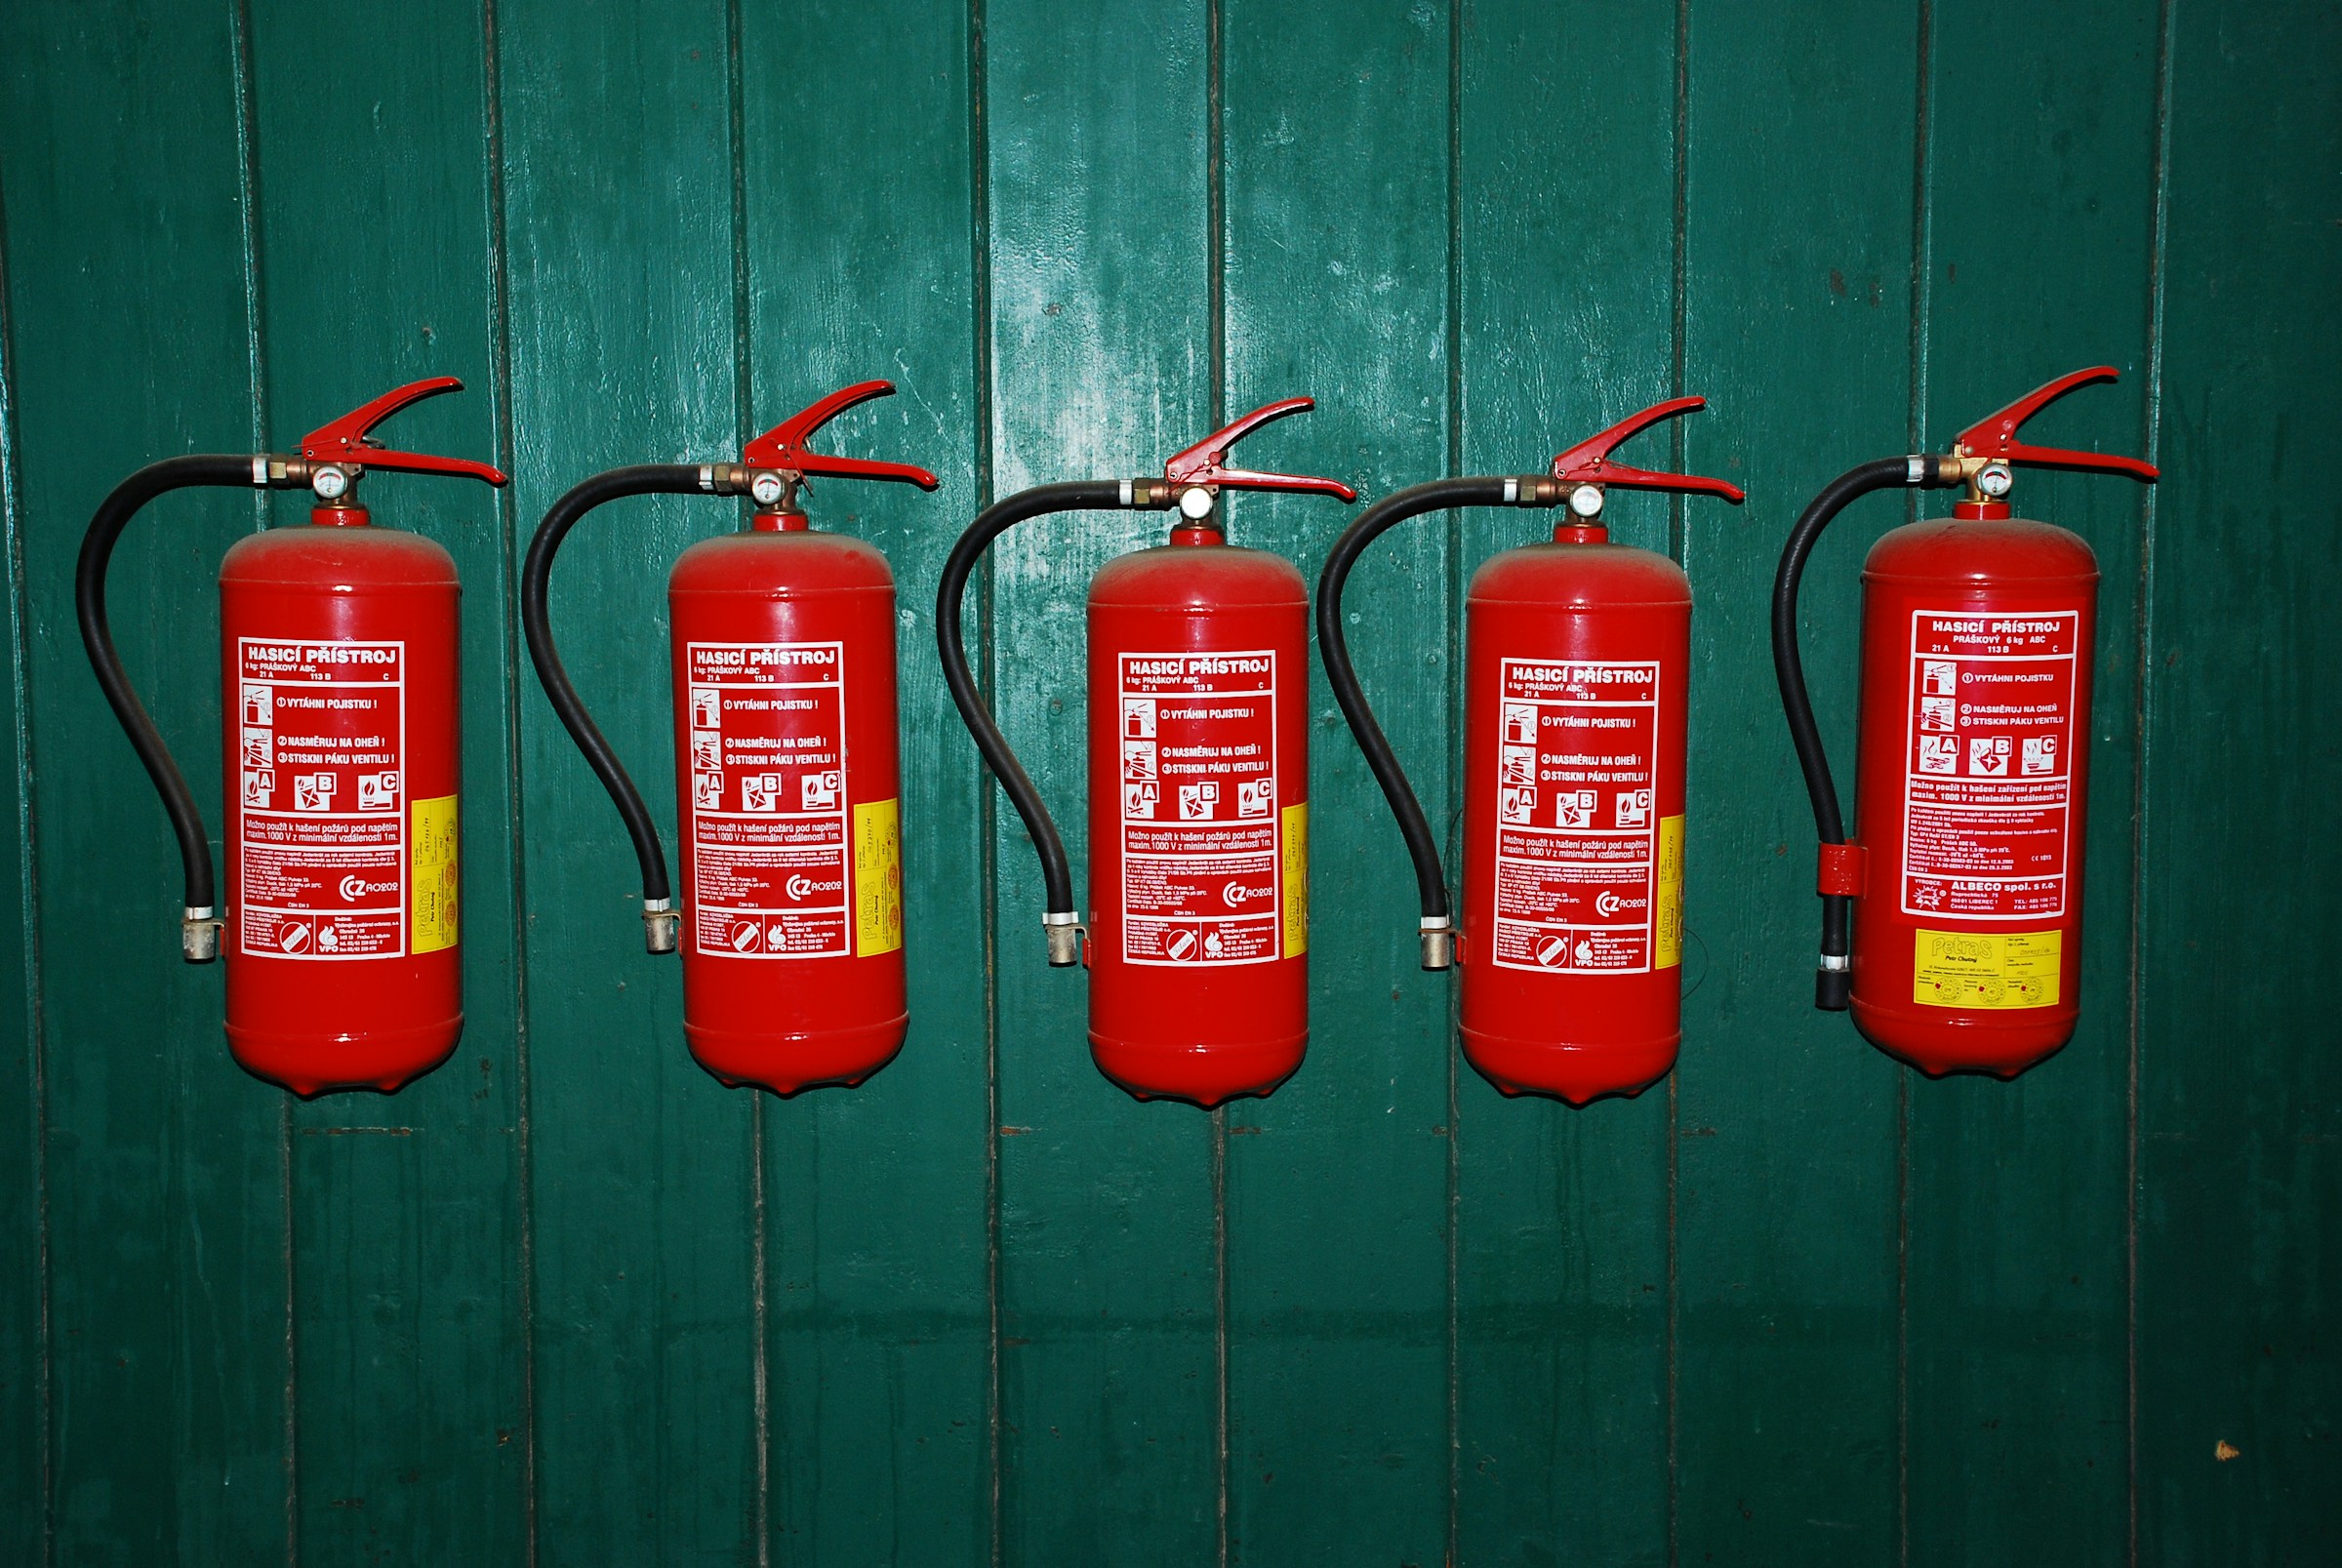
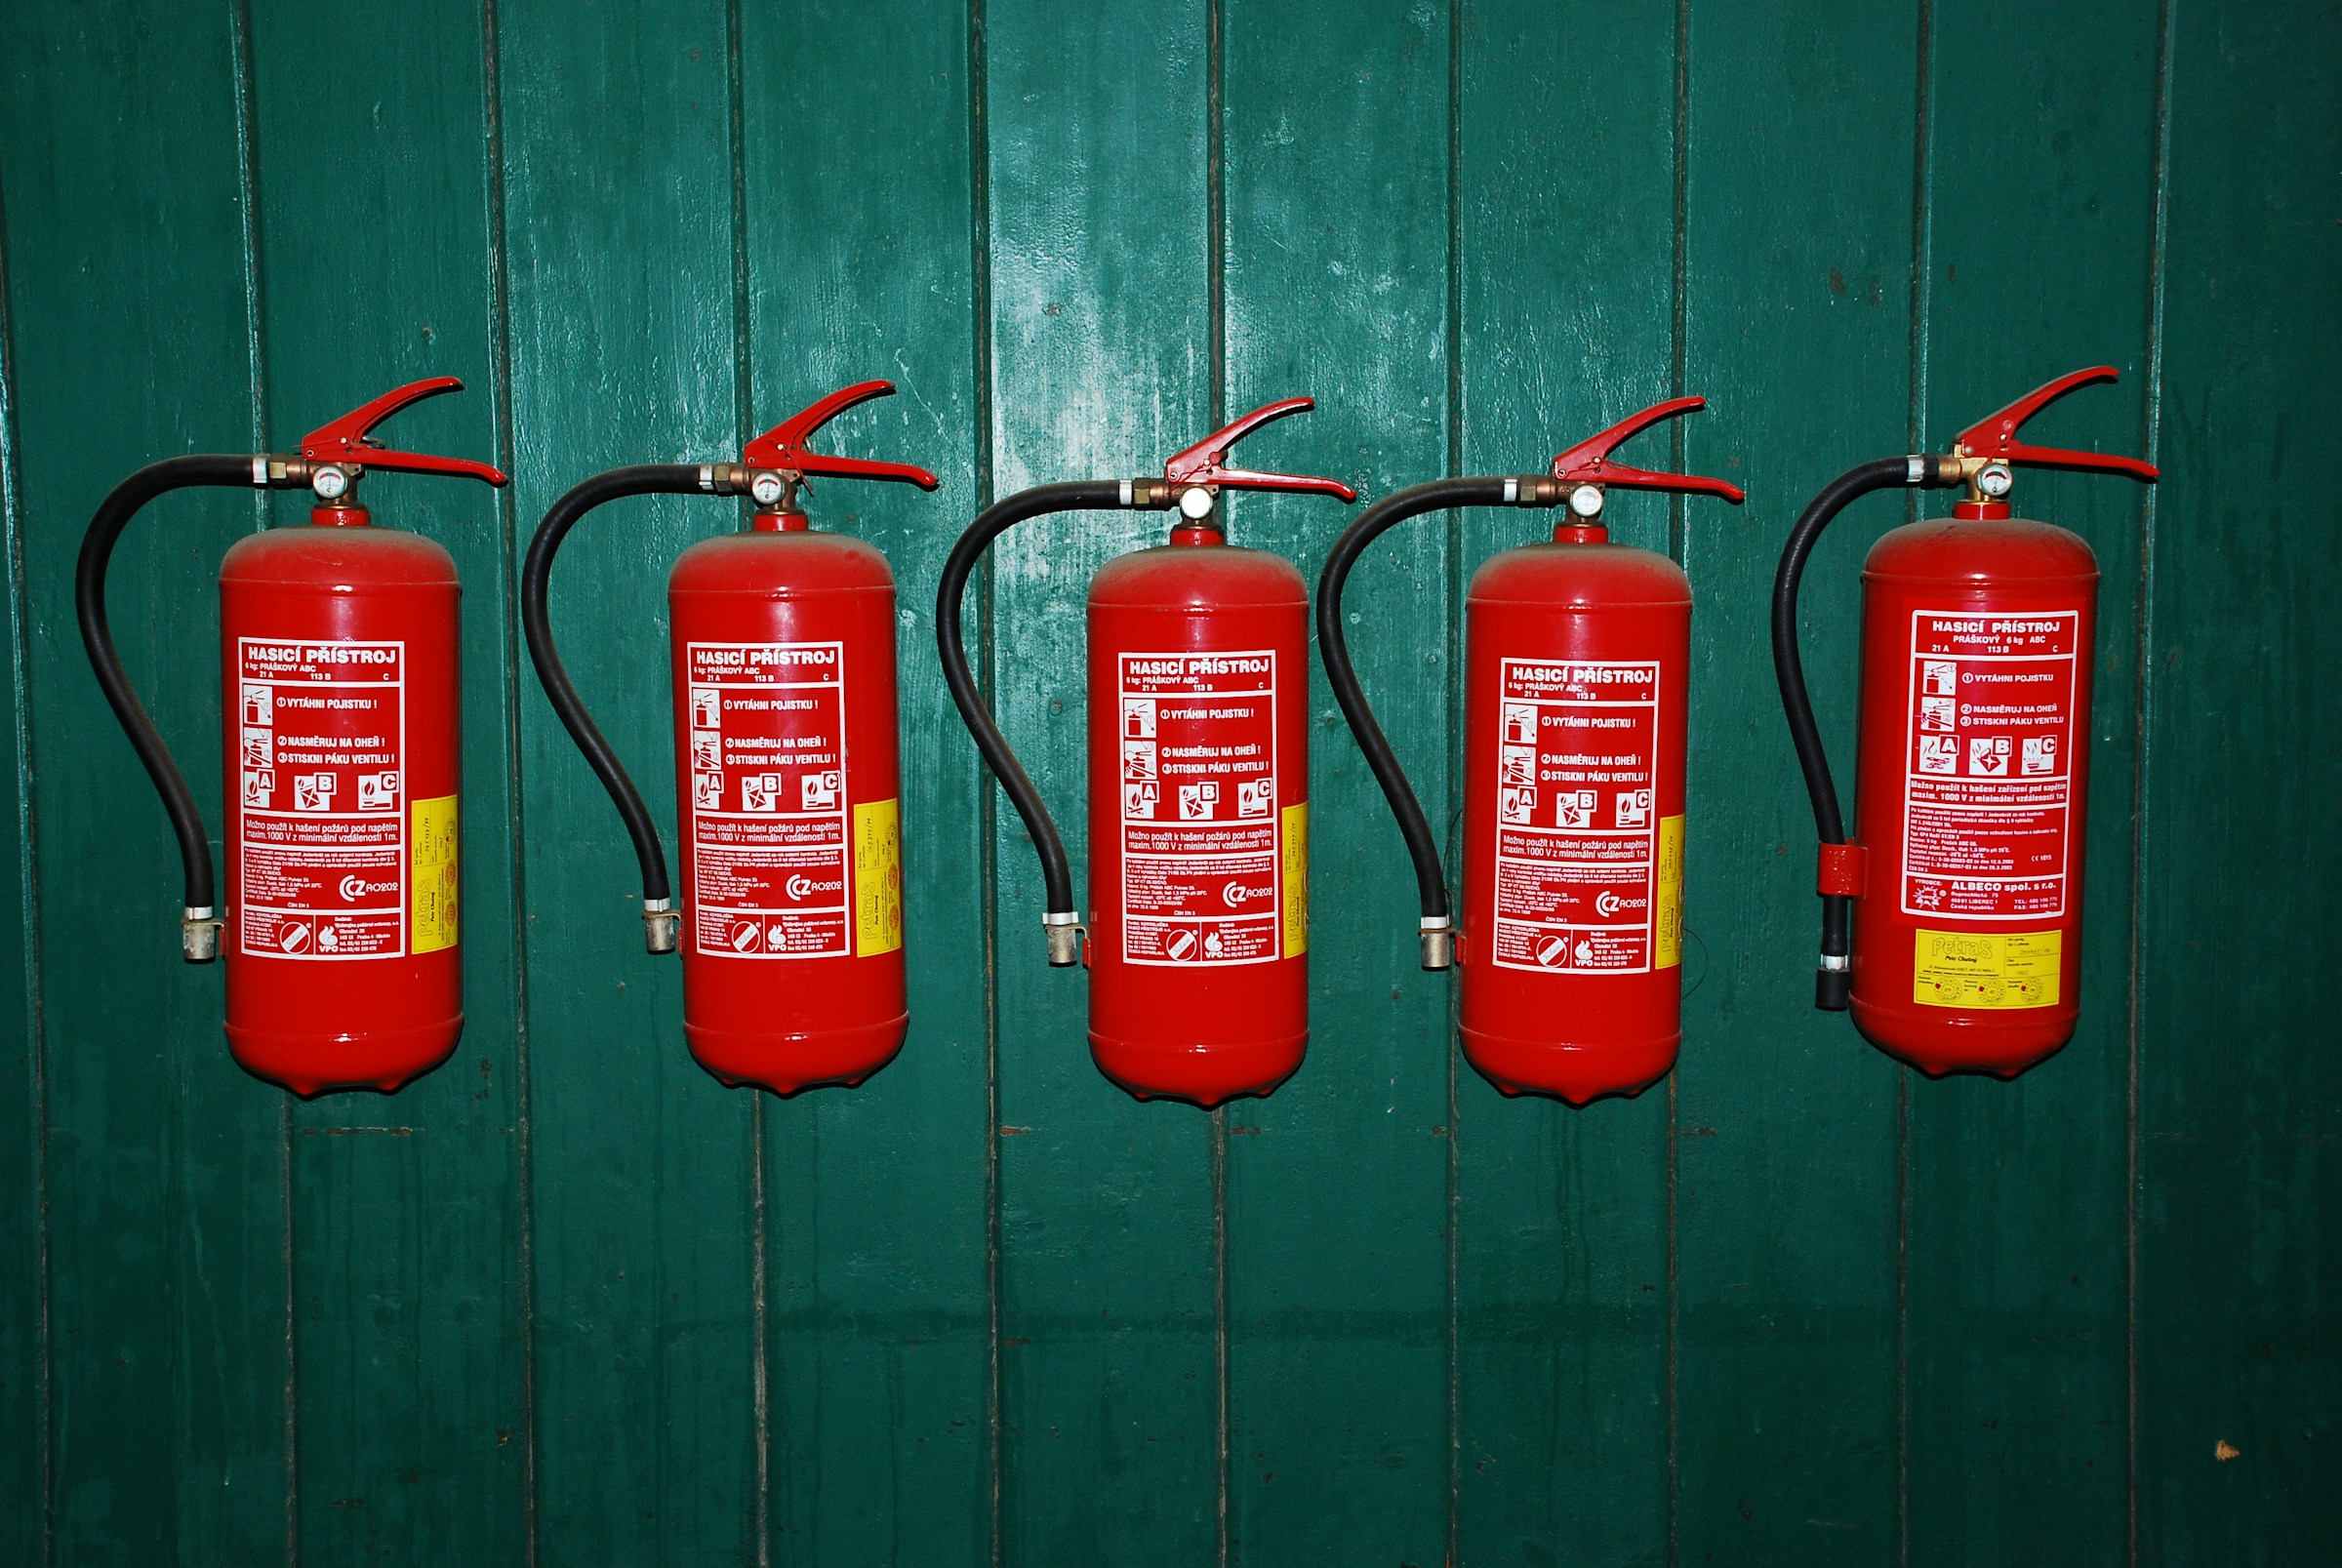
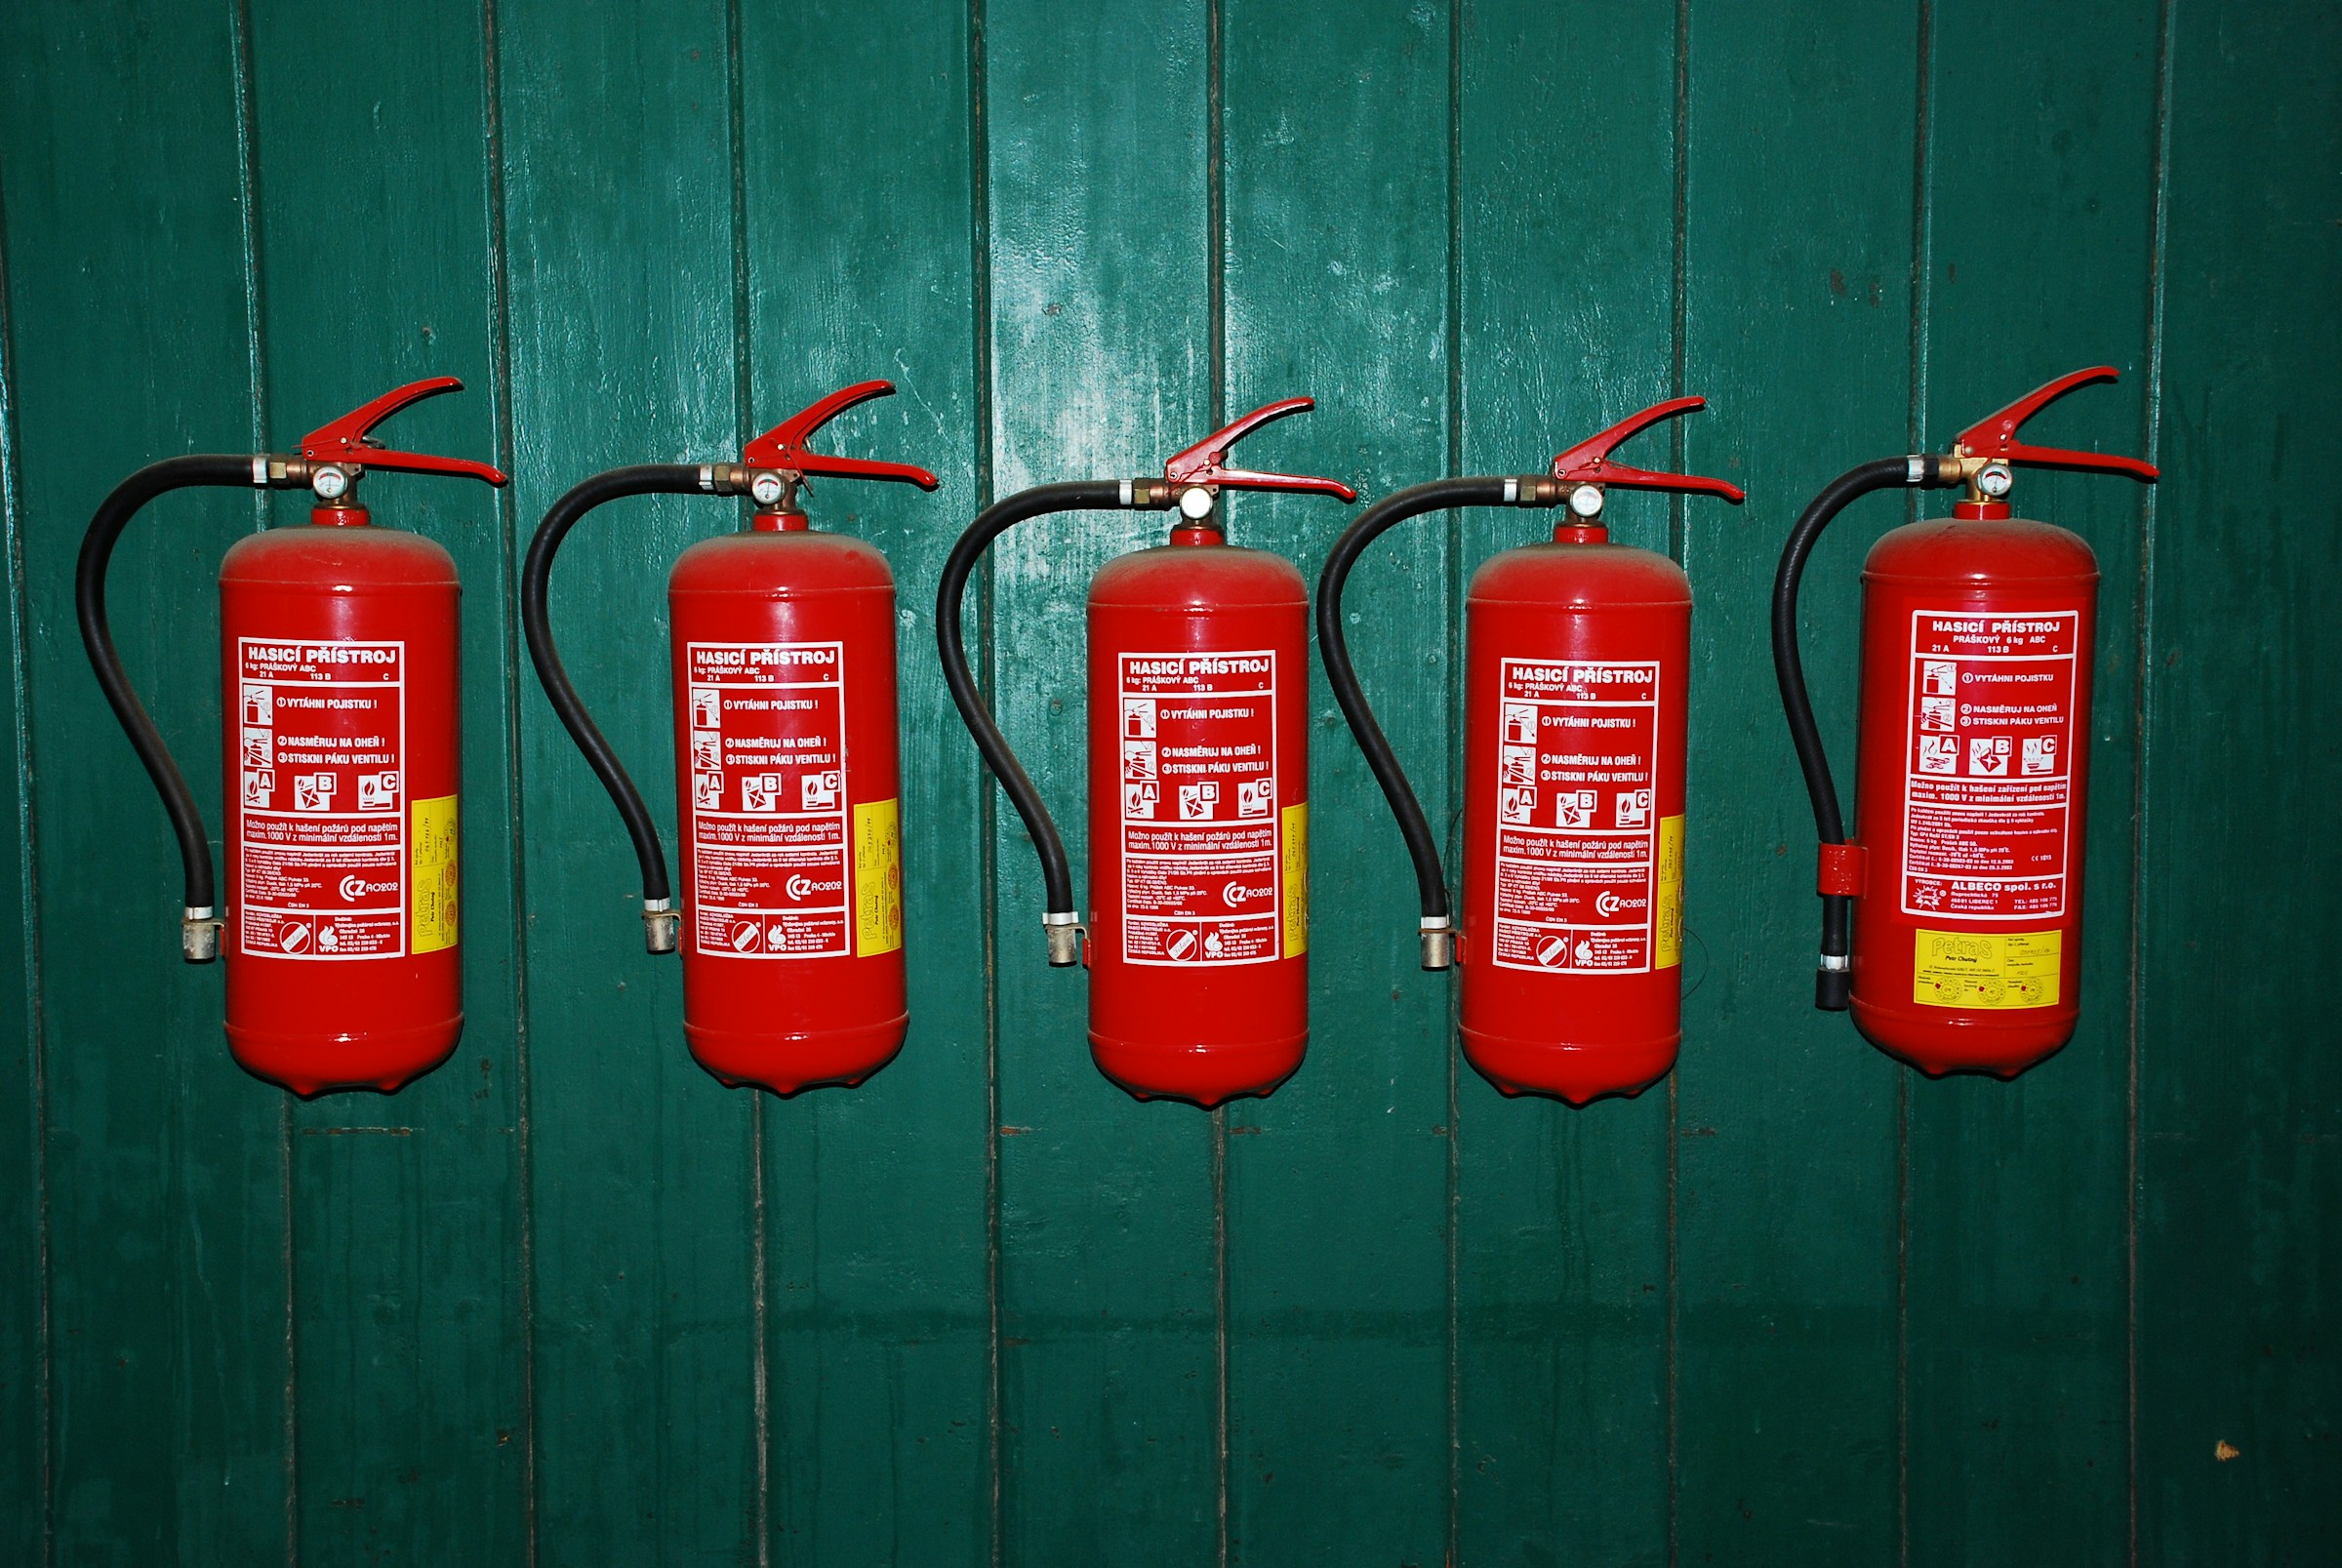
3. Extinguishers and Cabinets
This category is easy to photograph and easy to under-describe.
Check:
- Extinguisher present where expected within scope
- Unit mounted and accessible
- Gauge appears acceptable if visible
- Service tag present if visible
- Cabinet, bracket, or mounting hardware intact
- No furniture, inventory, or equipment blocking access
If a unit appears absent where one would normally be expected, document the observed absence and recommend review based on occupancy needs rather than guessing at the exact code section in the report narrative.
4. Electrical, Mechanical, and Service-Room Hazards
After egress, this is usually the highest-value section of the inspection.
Check:
- Open junction boxes
- Missing cover plates or panel blanks
- Evidence of overheating, scorching, or melted insulation
- Improper extension-cord use
- Storage blocking electrical panels or shutoffs
- Combustible materials too close to mechanical equipment
Key Takeaway
Take two photos for electrical hazards: one showing the room or panel context and one showing the defect detail. That pairing makes your report much easier to defend.
5. Storage, Housekeeping, and Heat-Source Risks
Many meaningful fire risks are ordinary site-management failures.
Verify:
- Combustible storage in electrical or mechanical rooms
- Debris or stock piled near heat-producing equipment
- Restricted access to shutoffs or service points
- Unsafe temporary appliances or cords
- Grease buildup or storage concerns in cooking areas where relevant
These conditions sound minor until they are described with location and consequence. Be specific.
The Minimum Photo Set
If you want the report to hold up after the walkthrough, capture:
- One wide photo for each affected egress path
- One context-plus-close-up pair for each significant device or hazard
- At least one room overview for electrical or mechanical areas with findings
- One photo documenting limitations if access or testing scope was restricted
What to Put High in the Report
Prioritize findings in this order:
- Obstructed or compromised egress
- Detection or alarm-device concerns
- Extinguisher access issues
- Electrical hazards and service-room storage
- Combustible-storage and housekeeping risks
- Minor maintenance items last
That order helps the reader act on the report instead of just reading it.
A Simple Report Structure That Works
Use:
"Location: ____ . Condition observed: ____ . Why it matters: ____ . Recommend: ____ ."
Example: detector condition
"Location: Second-floor corridor smoke detector. Condition observed: Detector appeared painted over at time of inspection. Why it matters: Altered detection devices may not perform as intended. Recommend evaluation and correction by a qualified fire alarm service provider or other qualified contractor as appropriate."
Example: panel-access condition
"Location: Main electrical room. Condition observed: Stored materials blocked working access in front of the service panel. Why it matters: Restricted access can interfere with safe operation and emergency response. Recommend removal of stored materials and maintenance of proper access."
Scope Language Worth Keeping
Use direct language such as:
"Fire/life-safety devices were visually observed where accessible. Full operational testing, certification review, and code-compliance verification were outside the scope of this inspection unless otherwise noted."
That one sentence prevents a lot of confusion later.
Where ReportWalk Helps
Fire-safety inspections move quickly, and the notes only stay useful if they remain tied to the right location and the right photo. ReportWalk helps building inspectors dictate the hazard, consequence, and recommendation while standing in front of the blocked exit or open junction box, then attach the supporting image immediately.
That is usually more valuable than any cleanup you do back at the desk.
For related reading, see Fire Safety Inspection Checklist, Fire Safety Inspection Checklist: What Building Inspectors Need to Document on Site, and Smoke and CO Detector Inspection Checklist.