Pool Inspection Checklist: What Inspectors Should Check, Photograph, and Report
A pool inspection usually goes wrong in one of two places: the inspector skips a condition in the field, or the report fails to show exactly what was seen.
That is why a usable pool inspection checklist needs to do more than tell you where to look. It also needs to tell you what to photograph and how to write the finding so the client, contractor, or attorney is not guessing later.
This guide is built for that version of the job. The focus is not on generic pool ownership advice. It is on a repeatable inspection route that helps you check the right items, leave with the right photos, and write findings that hold up.
Note
For pool work, the safest reporting habit is to describe visible conditions, observed operation, and recommended next action. Avoid guaranteeing hidden system condition or full code compliance when components are not fully accessible.
Start With the Three-Part Question
For every part of the pool, ask:
- What should I check?
- What photo proves the condition?
- What language will I use if the condition is deficient?
If your checklist does not answer all three, it is incomplete.
Use a Consistent Inspection Route
The cleanest route is:
- Barrier and access points
- Deck, coping, drainage, and shell perimeter
- Interior finish, waterline, skimmers, returns, and visible drain covers
- Equipment pad and visible plumbing
- Electrical safety items and visible bonding clues
- Final overview photos and limitations
That order works because it keeps life-safety items first and the highest-value mechanical observations near the middle, when you are still fresh.
1. Barrier, Gate, and Access Checks
Pool barriers are rarely the flashiest part of the report, but they are often the most important.
Check:
- Fence or barrier continuity where applicable
- Gate alignment and hardware condition
- Self-close and self-latch operation where present
- Gaps below or between barrier elements that appear excessive
- Direct access points from the home or yard into the pool area
Photograph:
- One wide shot of the entire barrier layout
- One close-up of each problematic latch, hinge, or gate condition
- One context photo showing where the defect sits in relation to the pool
Report example:
"Rear pool enclosure gate did not self-latch when released during inspection. Deficient gate hardware can reduce pool-area safety. Recommend repair or adjustment by a qualified contractor."
2. Deck, Coping, and Drainage Conditions
The deck tells you a lot about safety and movement around the pool.
Check:
- Cracking, settlement, heaving, or vertical displacement
- Separation at deck joints and coping transitions
- Missing or failed sealant
- Areas that appear to hold water or drain toward the pool or adjacent structure
- Loose coping or damaged surface materials
Photograph:
- One overview of the affected deck section
- One close-up of the crack, separation, or trip edge
- One angle that shows severity and direction of movement
Do not flatten every deck crack into a cosmetic note. Pattern matters. A hairline surface crack is different from differential settlement at the coping line.
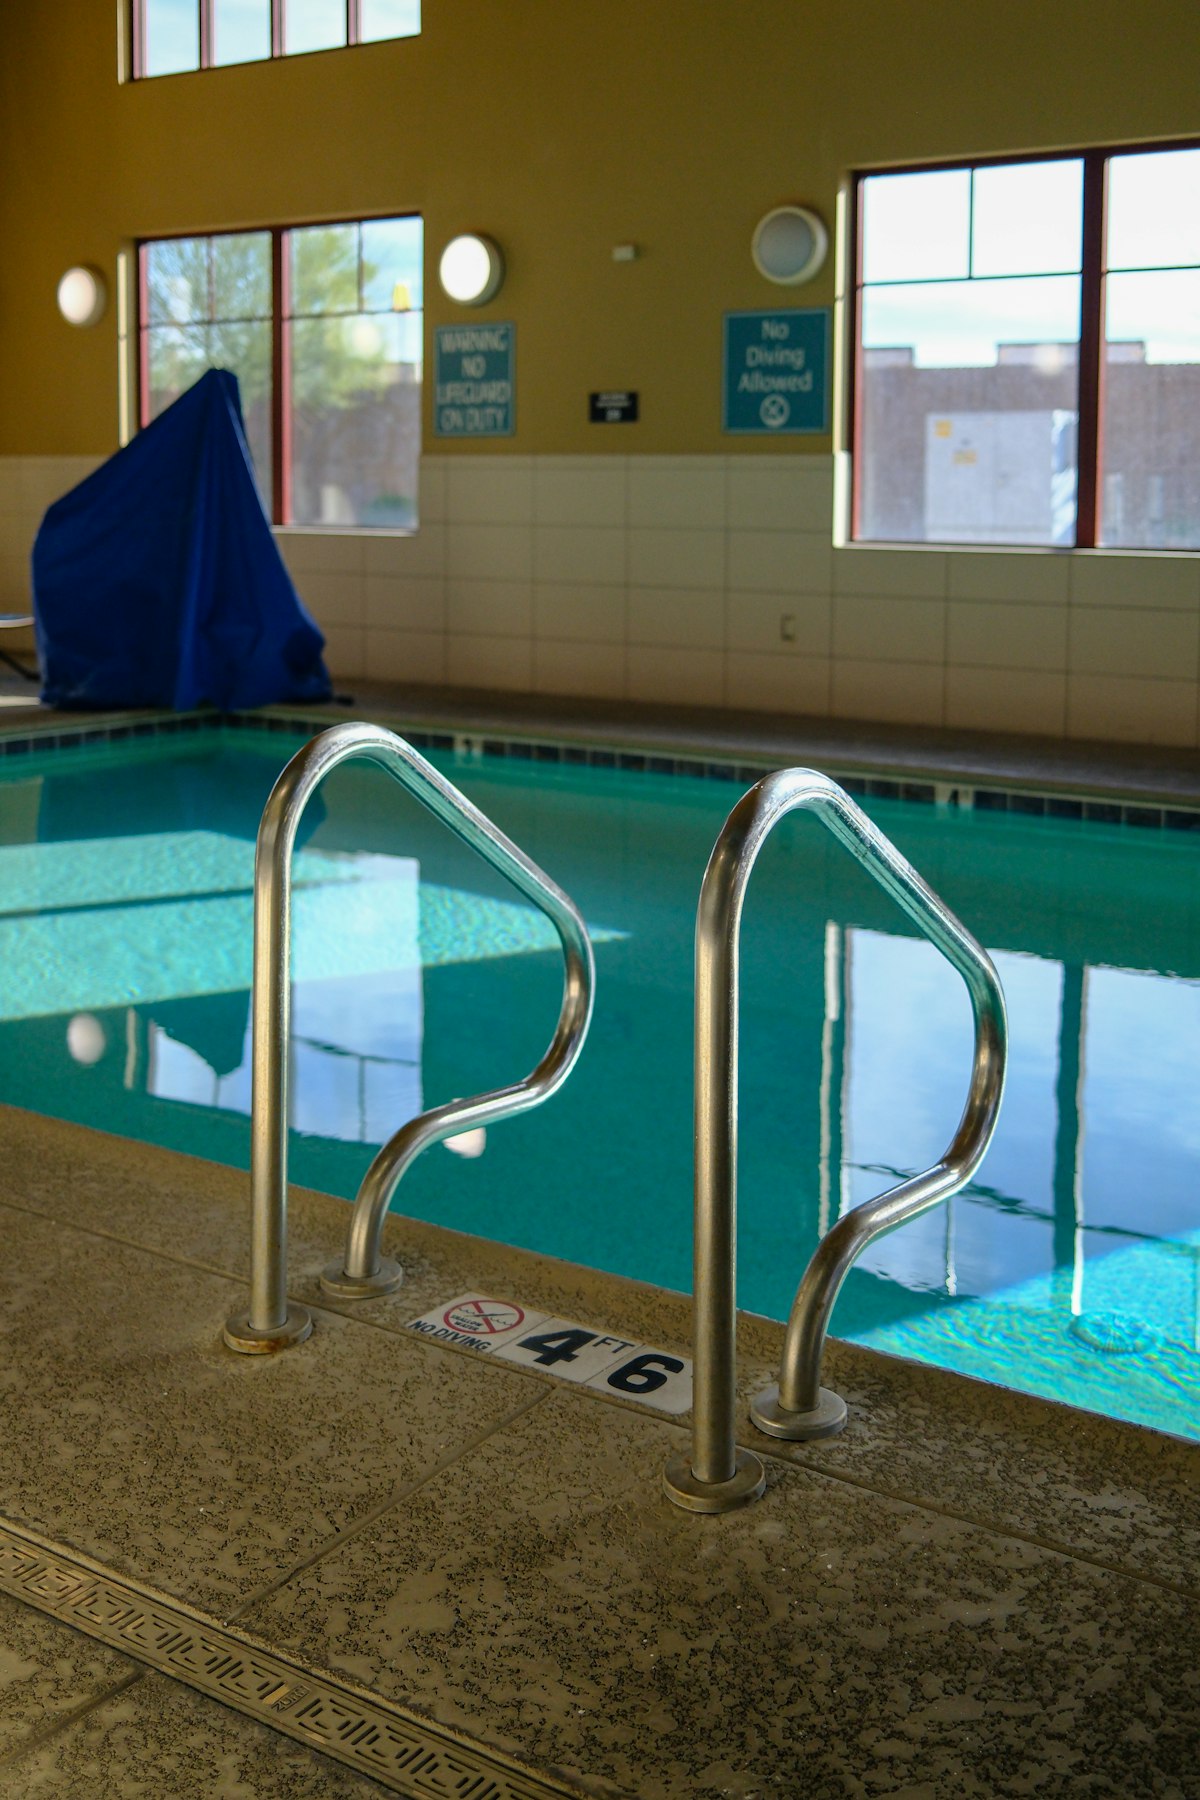
3. Shell, Finish, and Waterline Checks
When the water is clear enough to inspect, capture the condition record while you are there. Do not assume you will remember it later.
Check:
- Visible finish deterioration
- Cracks, patched areas, or localized discoloration
- Waterline tile condition
- Staining, scale, or surface wear
- Water level relative to skimmer opening
- Water clarity and any resulting inspection limitation
Photograph:
- Two wide interior shots from different ends
- One close-up for each crack, patch, or surface concern
- A waterline photo if clarity, scale, or staining is a reported issue
If visibility is limited, say so directly.
Report example:
"Water clarity limited observation of submerged interior finishes and drain components at time of inspection. Interior conditions below the visible water column could not be fully evaluated."
4. Skimmers, Returns, Drains, and Accessories
These items are easy to skip because each one feels small. Together, they often create the clearest record of whether the pool was ready to be accepted as-is.
Check:
- Skimmer lids present and intact
- Skimmer body damage where visible
- Return fittings secure and present
- Visible drain or suction outlet covers present and intact
- Ladders, handrails, or accessories loose, missing, or corroded
Photograph:
- Any missing or broken lid or fitting
- Loose rail anchors or hardware
- Drain-cover concerns only when safely visible
Do not speculate on concealed suction safety conditions. If something visible looks wrong, recommend specialist review.
5. Equipment Pad Checklist
This is usually the highest-signal part of the pool inspection because equipment problems leave visible clues fast.
Check:
- Pump operation and noise level
- Pump lid and basket condition
- Filter tank condition and pressure gauge presence
- Visible plumbing leaks or recent repairs
- Heater presence and obvious visible defects
- Timer, control panel, and accessible shutoff condition
- Corrosion at unions, valves, or metal components
Photograph:
- One equipment-pad overview before close-ups
- Pump, filter, heater, and control close-ups
- Leak staining, active drips, corrosion, or makeshift repairs
Key Takeaway
Always take the overview shot of the equipment pad first. It makes every later close-up easier to place in context when you are writing the report.
Report example:
"Active leakage was observed at a visible equipment-pad plumbing connection during operation. Continued leakage can affect system performance and contribute to equipment-area deterioration. Recommend repair by a qualified pool service contractor."
6. Electrical and Visible Bonding Clues
Pool electrical notes need precision. This is not the place for vague language.
Check within the scope of your SOP:
- Accessible GFCI protection at related receptacles or devices
- Test/reset results if tested
- Missing cover plates or damaged enclosures
- Obvious corrosion or moisture exposure at electrical components
- Visible bonding conductor or clamp issues where accessible
Photograph:
- Deficient GFCI or receptacle conditions
- Damaged covers or enclosures
- Visible corrosion or exposed wiring
You are not certifying the hidden bonding system from a visual inspection. Document what is accessible and recommend licensed evaluation when warranted.
The Minimum Photo Set That Makes the Report Stronger
If you are moving fast, leave with at least:
- Two pool overview photos
- One barrier overview
- One equipment-pad overview
- One context photo and one close-up for each defect
- One limitations photo if water clarity, locked access, or obstructions affected the inspection
That photo discipline is often the difference between a clean report and a report that invites follow-up calls.
How to Turn Notes Into Defensible Narratives
A simple structure works best:
- Location
- Condition observed
- Why it matters
- Recommended action
Example:
"Location: Pool deck adjacent to south coping line. Condition observed: Vertical displacement and open cracking were observed at the deck surface. Why it matters: The condition may create a trip hazard and can indicate localized movement. Recommend evaluation and repair by a qualified contractor."
That is stronger than "deck damaged, repair as needed."
What to Prioritize in the Final Report
Put the findings in this order:
- Safety barrier defects
- Electrical safety concerns
- Active leaks or equipment issues
- Deck or coping trip hazards
- Shell or finish concerns affecting repair cost or acceptance
- Cosmetic items last
Clients do not need equal weight on every note. They need the report to tell them what matters first.
Where ReportWalk Helps
Pool inspections create lots of short, location-specific findings. ReportWalk helps you dictate the condition while you are still standing at the gate, skimmer, or equipment pad, then attach the right photos before the details blur together later. That is especially useful on pool work, where the difference between a vague note and a useful one is often a single missing detail.
If your goal is a tighter same-day report, the fix is usually not typing faster. It is capturing the right observation in the field the first time.
For broader pool walk-through sequencing, see our pool inspection checklist and our pre-turnover angle on pool inspection checklist before sign-off.