Foundation Inspection: What Every Inspector Should Check & Document
A foundation inspection is where home inspections get real. You can repaint walls, replace a furnace, even re-roof a house in a week. But foundation problems? Those are the findings that kill deals, the ones that make buyers walk, and the ones that — if you miss them — can follow you around as an E&O claim for years.
I've inspected thousands of foundations, from poured concrete basements in the Midwest to post-tension slabs in Texas to pier-and-beam crawl spaces in the Southeast. Every foundation type has its failure modes, and every inspector needs a systematic approach to catch them. Here's mine.
Types of Foundations You'll Encounter
Before you can inspect a foundation, you need to know what you're looking at. The four main residential foundation types in the U.S. are:
Poured Concrete (Full Basement)
Most common in the Northeast, Midwest, and any region with a frost line below 36 inches. Poured concrete walls support the structure with a full basement below. Look for vertical and horizontal cracks, water intrusion evidence, and bowing walls.
Concrete Block (CMU)
Similar to poured concrete in terms of where you'll find them, but built with stacked concrete masonry units. More susceptible to step cracking along mortar joints and horizontal cracking from lateral soil pressure.
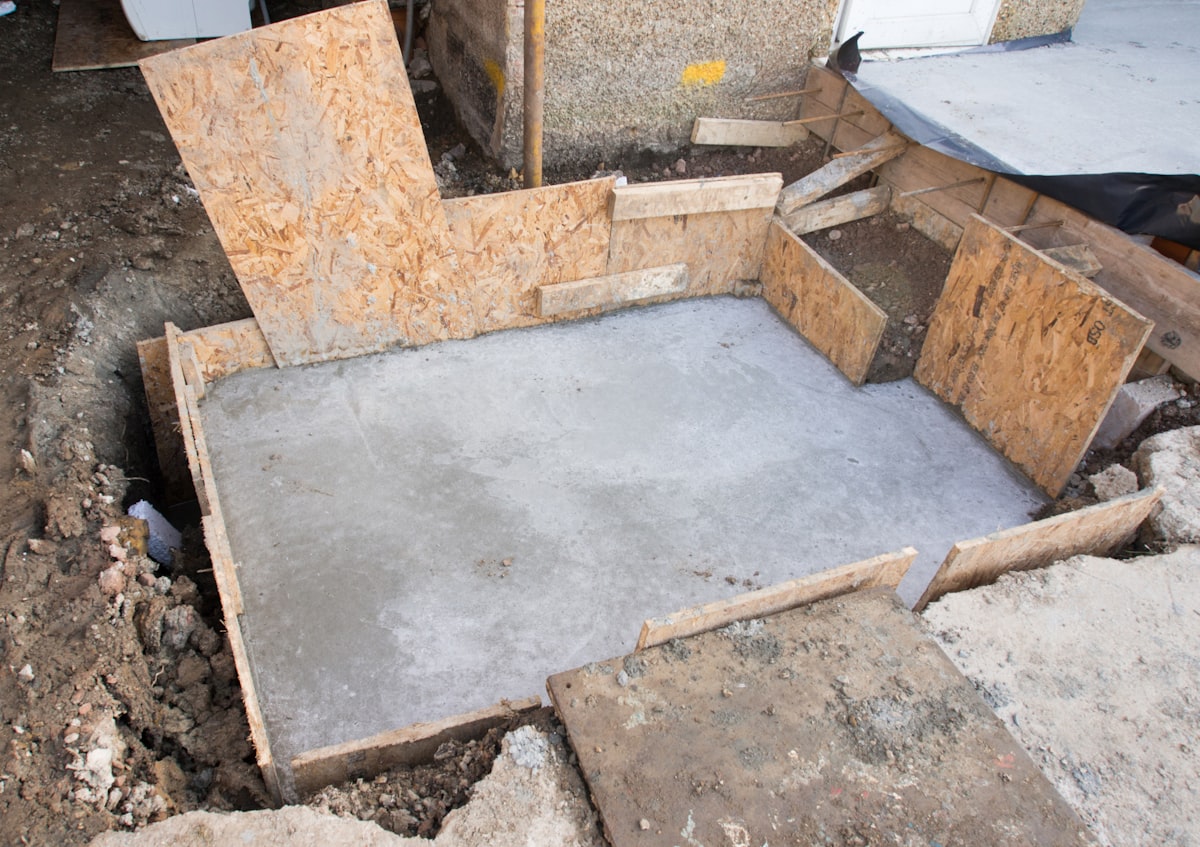
Slab-on-Grade
Dominant in the South, Southwest, and West. The concrete slab sits directly on the ground and serves as both foundation and floor. Post-tension and conventionally reinforced are the two main subtypes. Issues show up as interior cracking, door/window misalignment, and exterior slab edge exposure.
Pier and Beam (Crawl Space)
Common in the South and in older homes nationwide. The structure sits on piers or posts with a crawl space underneath. Gives you better access for inspection but introduces moisture, pest, and settling concerns.
Note
Your Standards of Practice require you to identify the foundation type and report visible defects. You are NOT expected to determine structural adequacy — that's a structural engineer's job. But you are expected to recognize the signs that warrant a structural engineer's evaluation.
The Exterior Foundation Inspection
Always start outside. Walk the full perimeter of the home and observe the foundation from every angle before going inside. Here's what to check:
Visible Cracks
Not all cracks are created equal. Here's how to categorize what you see:
Hairline cracks (< 1/16"): Common in poured concrete. Usually shrinkage cracks from curing. Note them, but they're generally cosmetic.
Small cracks (1/16" to 1/4"): Worth monitoring. Could be settlement or shrinkage. Measure and document the width, length, and location.
Significant cracks (> 1/4"): These need attention. Horizontal cracks, stair-step cracks in block walls, or any crack showing displacement (one side higher than the other) warrants a structural engineer referral.
Diagonal cracks from corners of windows/doors: Usually indicates differential settlement. The foundation is moving more in one area than another.
Grading and Drainage
The number one enemy of foundations is water. Check:
- Slope away from foundation: You want 6 inches of fall in the first 10 feet. Anything less and you're directing water toward the foundation.
- Gutter downspout discharge: Extensions should carry water at least 4-6 feet from the foundation. Splash blocks that dump water right at the base are inadequate.
- Window well drainage: Window wells without drains or with clogged drains are a direct path for water entry.
- Landscape beds against foundation: Mulch and soil piled against the foundation wall hold moisture. Look for the line where soil meets the wall.
Foundation Wall Exposure
You should see at least 6 inches of foundation wall between the soil/grade and the start of the siding or wood framing. Less than that creates a moisture pathway and termite access.
Concrete Surface Condition
- Spalling: Surface concrete flaking off, exposing aggregate. Indicates freeze-thaw damage or poor concrete mix.
- Efflorescence: White mineral deposits on the surface. Water is moving through the concrete and depositing minerals as it evaporates. It's not structural, but it confirms water movement.
- Exposed rebar: Corroding reinforcement steel means the concrete cover has failed. This is a structural concern that will worsen over time.
- Honeycombing: Voids in the concrete surface where aggregate is visible without paste coverage. Indicates poor consolidation during pouring.
The Interior Foundation Inspection
Basement Walls (Poured Concrete and Block)
From inside the basement, you can see things the exterior won't show you:
Horizontal cracking in the middle third of the wall is the most serious crack pattern in basement foundations. It indicates lateral soil pressure is exceeding the wall's capacity. The wall is bowing inward. Measure the displacement with a level or straight edge. Any measurable bow with horizontal cracking needs a structural engineer — full stop.
Vertical cracks are more common and less concerning. They typically result from concrete shrinkage or minor settlement. Still document them — width, length, and whether they're active (look for fresh crack edges versus old, filled cracks).
Water staining and efflorescence on interior walls tells you water is finding its way through. Document the pattern — is it at the floor-wall joint, through a crack, or uniform across the wall? The pattern tells a structural engineer or waterproofing contractor where to focus.
Previous repairs deserve attention. Epoxy-injected cracks, carbon fiber straps, wall anchors, and I-beam braces all tell you the foundation has had issues before. Document what you see and recommend the client obtain any documentation of previous repairs and warranties.
Slab Floors
Walk the entire slab floor and look for:
- Cracks: Map them. A single shrinkage crack is different from a pattern of cracks radiating from a point or running parallel to exterior walls.
- Level changes: Bring a marble or a level. If the floor slopes noticeably in one direction, it could indicate settlement or heaving.
- Moisture: Look for darkened concrete, efflorescence, or moisture readings with a meter. Moisture through a slab can indicate a water table issue or failed vapor barrier.
- Post-tension cable identification: If you see the small circular caps at the slab edges, it's a post-tension slab. Note this in your report — never core drill or cut into a post-tension slab without a structural engineer's guidance. The cables are under enormous tension.
Important
Post-tension slabs are common in Texas, Arizona, and other expansive soil regions. If you identify a post-tension slab, make sure to note it prominently in your report. Buyers and contractors need to know before any renovation work.
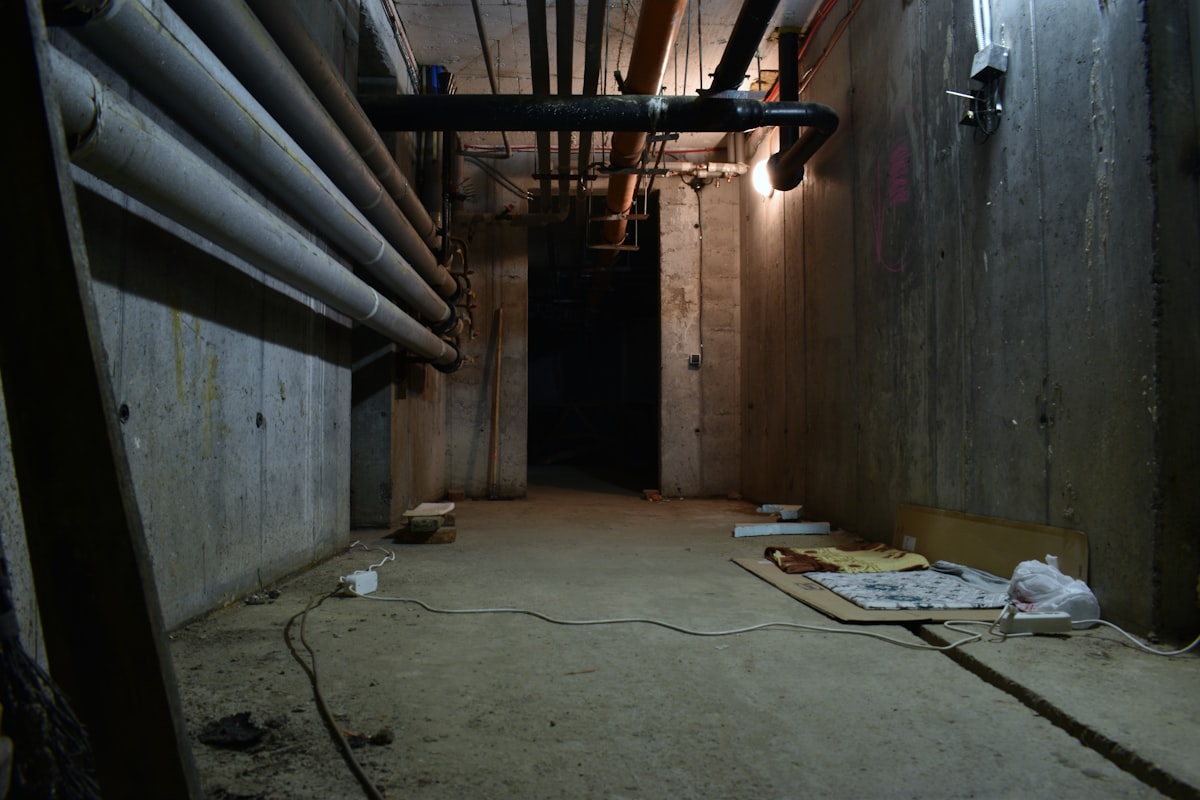
Crawl Space Foundations
Crawl space inspections give you the best view of foundation components but the worst working conditions. Check:
Piers and posts: Look at every pier you can access. Are they plumb? Is the beam they support making full contact? Do concrete block piers have mortar in all joints? Are wood posts in contact with soil (they shouldn't be)?
Beams and girders: Check for sagging, cracking, or twisting. Sight along the beam's length — it should be straight and level. Sistered beams (doubled-up) may indicate a previous repair.
Joist connections: How do the floor joists connect to the beams? Look for proper bearing (at least 1.5 inches), adequate fastening, and no splitting at the connections.
Moisture and ventilation: Crawl space moisture is the slow killer of pier-and-beam foundations. Check for:
- Standing water or evidence of previous standing water
- Vapor barrier condition (if present)
- Ventilation openings (1 sq ft per 150 sq ft of crawl space, or 1/1500 with a vapor barrier)
- Wood moisture content (over 19% is a concern)
- Fungal growth or wood-destroying organism activity
For a complete approach to crawl space evaluation, see our crawl space inspection guide.
Interior Clues That Point to Foundation Problems
Some of the best evidence of foundation movement is upstairs, not in the basement or crawl space. Train yourself to notice these throughout the inspection:
Doors and Windows
- Doors that stick or won't latch — especially if the gap at the top is uneven
- Windows that are hard to open or won't stay open
- Visible gaps between window/door frames and the wall
- Cracks radiating from the corners of door and window openings
Wall and Ceiling Indicators
- Diagonal cracks at the corners of doorways (these correspond to the stress patterns of differential settlement)
- Nail pops in drywall — a few are normal, but a pattern on one wall or in one area suggests movement
- Separation between walls and ceiling
- Separation between walls and floor
- Cracked tile floors, especially in patterns that align with foundation cracks below
Floor Level
- Noticeable slopes when walking through the house
- Marble test: place a marble on the floor in several rooms
- Bouncy or spongy floors (pier and beam) may indicate failed supports below
How to Document Foundation Findings
Foundation documentation separates good inspectors from great ones. Here's how to do it right:
Be Specific About Location
"Crack in foundation wall" tells the client nothing. "Diagonal crack, approximately 3/16" wide and 4 feet long, on the north basement wall, starting at the northeast corner window opening and extending downward toward the floor-wall joint" gives the structural engineer exactly what they need.
Measure and Record
- Crack widths (carry a crack width comparator card — they're $5)
- Wall displacement/bowing (use a 6-foot level)
- Floor slope (use a level and measure the gap)
- Photograph everything with a reference scale
Use Consistent Language
Stick to factual observations:
- "Observed" not "found" (you're documenting what's visible)
- "Recommend evaluation by a licensed structural engineer" not "this foundation is failing"
- Describe the condition, not the cause — you're not diagnosing, you're reporting
Reference Patterns
When multiple indicators point to the same issue, connect them in your report: "Observed diagonal cracking at the northeast basement corner (photo 14), corresponding with sticking doors and drywall cracking on the first floor above this location (photos 22-23). These findings are consistent with differential settlement and warrant evaluation by a licensed structural engineer."
Key Takeaway
Documenting foundation findings in the field is where voice-based reporting shines. While you're in the crawl space or walking the basement, your hands are occupied with a flashlight and measuring tools. Dictating your findings — crack locations, measurements, observations — as you see them means nothing gets forgotten between the inspection and the truck.
When to Recommend a Structural Engineer
Not every crack needs a structural engineer, but knowing when to make that referral is critical. Always recommend further evaluation when you see:
- Horizontal cracks in basement or retaining walls
- Any crack wider than 1/4 inch with displacement
- Bowing or leaning walls (any measurable displacement)
- Stair-step cracking in block/masonry foundations extending more than 4 feet
- Active water intrusion through foundation cracks
- Multiple interior indicators (sticking doors + drywall cracks + floor slopes) pointing to the same area
- Previous structural repairs without documentation
- Significant settlement — uneven floors, gaps at wall/ceiling joints
Your job is to identify the red flags and recommend the specialist. Frame it as protecting the client: "I observed conditions that may indicate structural movement. A licensed structural engineer can determine the cause, severity, and appropriate remediation."
For more on recognizing serious issues during a home inspection, check out our guide to home inspection red flags.
Foundation Inspection Tools
You don't need much specialized equipment for foundation inspections, but a few tools make a big difference:
- Flashlight (1000+ lumens): You need to see into dark corners, under beams, and across long wall surfaces
- 6-foot level: For checking wall plumb and floor level
- Crack width comparator card: Precise crack measurement for under $5
- Tape measure: For documenting crack lengths and locations
- Moisture meter: Pin-type for wood moisture in crawl spaces
- Camera with flash: High-resolution photos with a ruler or card for scale
- Marble: Simple, effective floor level test that clients understand
Putting It All Together
A thorough foundation inspection follows a pattern: exterior perimeter first, then interior walls, then floor, then the secondary indicators throughout the house. Document everything with location, measurement, and photos. Connect related findings across different areas of the home. And recommend a structural engineer whenever the evidence warrants it.
The foundation is literally what the whole house sits on. Take your time with it. Your clients are counting on you to catch the problems that live underground and behind walls — the ones they can't see during their excited walk-through with their agent.
If you want to make your foundation documentation faster and more thorough, try ReportWalk. Speak your findings as you observe them — in the crawl space, at the basement wall, walking the perimeter. The AI converts your voice notes into structured report sections with the specificity that foundation findings demand. Your hands stay free for your flashlight and level, and your report captures every detail while it's fresh.
Foundations don't lie. But they don't speak up, either. That's your job.