Window & Door Inspection: What to Check & How to Document It
A solid window and door inspection checklist is essential for every home inspector — yet windows and doors are some of the most rushed components during a typical inspection. There are so many of them in a house (the average home has 15-20 windows and 8-12 doors) that it's tempting to give them a quick glance and move on. That's a mistake.
Windows and doors are the building envelope's weakest points. They're where air leaks, water intrudes, and energy is lost. They're also where safety issues hide — failed locks, missing egress, broken glass. Get this part of your inspection right, and you'll catch defects that directly affect your client's comfort, safety, and wallet.
This guide covers every element you should be checking during a window and door inspection, organized as a practical field checklist you can follow room by room.
Why Windows and Doors Matter More Than You Think
According to the U.S. Department of Energy, heat gain and loss through windows accounts for 25-30% of residential heating and cooling energy use. Old, poorly sealed, or damaged windows are essentially holes in the building envelope.
Doors contribute similarly — a single exterior door with worn weatherstripping or an improper threshold can leak as much air as a 6-inch hole in the wall.
Beyond energy, windows and doors are code-required means of egress in bedrooms, they're security points for the home, and they're a major factor in buyer satisfaction. A home with windows that don't open, doors that don't latch, and visible fog between glass panes signals deferred maintenance across the board.
Note
Windows and doors account for 25-30% of a home's heating and cooling energy loss. A single poorly sealed window can leak as much conditioned air as leaving a faucet running 24/7 — the energy equivalent adds up fast.
Window Inspection: Component by Component
Work through each window systematically. It's faster than you think once you build a rhythm — and you'll catch things you'd miss with a random glance.
Window Operation
Every operable window should be tested. Yes, every one.
- Open and close each window — it should move smoothly without excessive force. Windows that are painted shut, swollen shut, or have broken hardware are defects.
- Check the locking mechanism — locks should engage securely and hold the window closed. A lock that doesn't catch provides zero security.
- Test the balance mechanism — double-hung windows should stay open at any position. If a window slides closed under its own weight, the balance springs or cords are shot.
- Single-hung windows — only the bottom sash should move. Verify the top sash is secure and not loose in the frame.
- Casement and awning windows — crank handles should operate smoothly. Look for stripped gears (the handle spins but the window doesn't move) and check the operator arm for corrosion.
- Sliding windows — should glide without binding. Check that the track is clean and the window seats properly when closed.
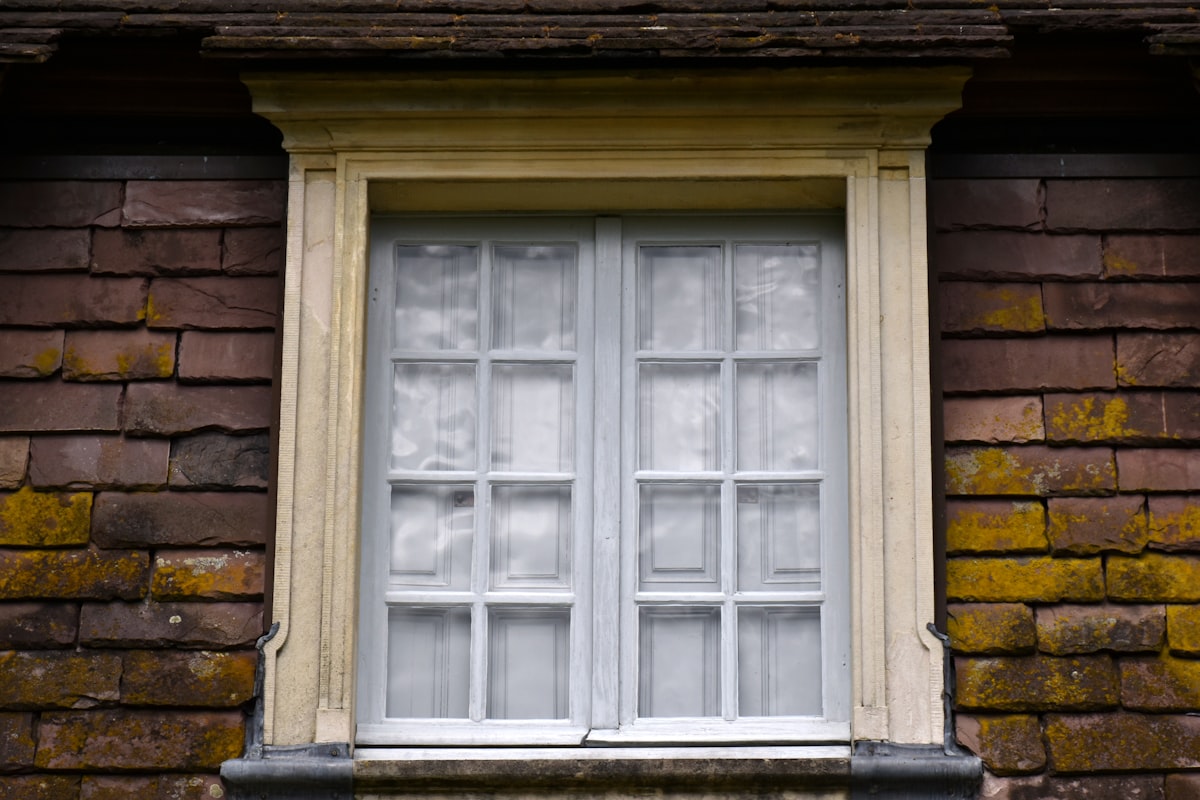
Glass Condition
- Fog or condensation between panes — on insulated glass units (IGUs), moisture between the panes means the seal has failed. The window still functions, but it's lost its insulating value. This is a common defect in windows older than 15-20 years.
- Cracks or chips — document location and size. Cracked glass is both an energy and safety issue. Tempered glass should be present in certain locations (next to doors, in bathrooms, low to the floor).
- Tempered glass markings — check the corner of each glass pane for the etched tempered glass stamp. Code requires tempered or safety glass in these locations:
- Within 24 inches of a door
- Within 18 inches of the floor
- In bathrooms (near tubs and showers)
- In windows larger than 9 square feet with a bottom edge less than 18 inches above the floor
Key Takeaway
Carry a small flashlight and shine it at an angle across window glass. Seal failures, stress cracks, and surface defects that are invisible straight-on become obvious when lit from the side. This takes 3 seconds per window and catches defects you'd otherwise miss.
Window Frames and Sills
The frame material determines what defects to look for:
Wood frames:
- Probe the sill and lower frame sections with an awl — this is where rot starts. Focus on the exterior side of the sill where water sits.
- Check for peeling paint, especially on the exterior. Bare wood exposed to weather deteriorates rapidly.
- Look for signs of wood-destroying insects — mud tubes, exit holes, frass.
Vinyl frames:
- Check for warping, cracking, or discoloration. Vinyl becomes brittle over time, especially on south-facing elevations.
- Inspect the welded corners — separation at the corners is common and indicates the window is reaching end of life.
- Verify the frame is securely fastened to the rough opening and not pulling away.
Aluminum frames:
- Look for oxidation and pitting, especially in coastal areas.
- Check for proper thermal breaks in the frame. Older aluminum windows without thermal breaks are notorious condensation generators.
- Inspect the corners for separation or gaps.
Weatherstripping and Seals
Weatherstripping is the first line of defense against air infiltration. It's also one of the easiest things to replace — so noting its condition gives your client actionable information.
- Check all contact surfaces — where the sash meets the frame, where meeting rails overlap (double-hung windows), and around the perimeter of casement windows.
- Types to identify — compression strips, V-strips, foam tape, pile/brush strips. Note the type and condition.
- Signs of failure — compressed or flattened material, gaps visible with the window closed, daylight visible around the sash, or noticeable air movement on a windy day.
- Missing weatherstripping — surprisingly common, especially after window cleaning or maintenance.
Flashing and Water Management
Window flashing is often invisible — but its failure is always visible eventually.
- Check the exterior head flashing — the metal drip cap above the window should direct water away from the top of the frame. Missing head flashing is a ticking time bomb.
- Inspect caulk and sealant — the joint between the window frame and the siding should be sealed. Check for cracked, peeling, or missing caulk. Pay special attention to the top edge — water enters from above.
- Interior water stains — staining on the drywall or trim above or below a window indicates a flashing or sealant failure. Use your moisture meter to check the wall around the window opening.
- Window wells (basement windows) — check drainage. A window well without a drain or with a clogged drain floods during rain, sending water directly into the basement. Cross-reference with your basement inspection findings.
Screens
Screens aren't a structural component, but noting their condition is good practice.
- Present or missing
- Torn or damaged mesh
- Bent or broken frames
- Properly seated in tracks
Door Inspection: What to Check
Doors break down into three categories: exterior entry doors, interior doors, and sliding glass doors. Each has specific concerns.
Exterior Door Operation and Condition
- Open and close — the door should swing freely without binding or dragging on the threshold.
- Latch engagement — the latch should catch the strike plate without slamming or forcing. If the door doesn't latch on its own, the hinges may be sagging or the frame has shifted.
- Deadbolt function — test from both sides. The bolt should extend and retract smoothly and fully engage the strike plate.
- Door-to-frame fit — close the door and examine the gap around all four edges. It should be consistent (about 1/8 inch). Uneven gaps indicate the frame is out of square — often a sign of settling.
- Threshold and sill — check for damage, gaps, and proper seal. Water staining on the interior floor near the threshold means the seal has failed.
Exterior Door Weatherstripping
- Check the entire perimeter — top, sides, and bottom sweep or shoe.
- Daylight test — on a bright day, close the exterior door and look for light around the edges from the inside. Any visible daylight means air is getting through.
- Bottom sweep/shoe — the most commonly worn component. It should make contact with the threshold without gaps. If you can slide a business card under the door, air is infiltrating.
- Door shoe vs. sweep — a door shoe wraps around the bottom edge of the door. A sweep attaches to the interior face. Both should be in serviceable condition.
Door Material Considerations
Wood doors:
- Check the bottom edge for rot — water wicks up from the threshold
- Inspect for warping, especially on doors with direct sun exposure
- Verify the door is properly sealed/painted on all six sides (including top and bottom edges)
Fiberglass doors:
- Check for cracks in the fiberglass skin
- Inspect the bottom rail for swelling if the door has a wood core
- More stable than wood in extreme weather but still susceptible to impact damage
Steel doors:
- Look for dents, rust, and paint failure
- Check the bottom edge for rust — this is where steel doors fail first
- Magnetic deadbolt area — does it attract magnets properly (indicating solid steel)?
Interior Doors
Interior doors get less scrutiny, but still warrant attention:
- Operation — each door should open, close, and latch properly
- Privacy locks — bedroom and bathroom doors should have functioning privacy locks
- Fire-rated doors — the door between the house and an attached garage must be fire-rated (typically solid core, 20-minute rating). Check for self-closing hardware and verify it's not hollow-core.
- Clearance — doors should clear flooring without excessive dragging. Minor carpet contact is normal; a door that won't open over new flooring is a defect.
Sliding Glass Doors
Sliding glass doors are a category unto themselves. They combine the challenges of windows (glass, seals, weatherstripping) with doors (operation, security, threshold).
- Operation — the door should slide smoothly on its track. Binding, jumping, or requiring excessive force means the rollers are worn or the track is damaged.
- Track condition — check for bent, corroded, or debris-filled tracks. Clean tracks make a dramatic difference in operation.
- Locking mechanism — the lock should engage the frame securely. Many sliding door locks are easily defeated — note the type and condition.
- Safety glass — all sliding glass doors should have tempered glass. Check for the etched marking.
- Weatherstripping — check the pile strip along the edges and the bottom seal. These wear out faster than on standard doors due to the sliding friction.
- Screen door — should slide smoothly and latch. Bent frames and torn screens are common.
Egress Requirements: The Safety-Critical Check
Window egress is a life safety issue. Every bedroom must have at least one window that meets egress requirements — this is non-negotiable.
Minimum Egress Window Dimensions (IRC)
- Minimum net clear opening: 5.7 square feet (5.0 square feet at ground floor)
- Minimum opening height: 24 inches
- Minimum opening width: 20 inches
- Maximum sill height: 44 inches above the finished floor
What to Check
- Does the window actually open wide enough? Test it. Many windows that look like they should meet egress don't open fully due to mechanical issues, obstructions, or design limitations.
- Sill height — measure from the finished floor to the windowsill. If it's above 44 inches, it doesn't meet egress requirements regardless of the opening size.
- Window wells — basement bedroom windows that open into window wells must have wells that are at least 36 inches from the window and 9 square feet in area. Wells deeper than 44 inches need a permanent ladder or steps.
- Bars or security grilles — if present, they must have a quick-release mechanism operable from the inside without keys or tools.
Note
Egress non-compliance in bedrooms is a life safety defect and should always be reported, even in older homes that predate current code requirements. Frame it as a safety observation, not a code violation — you're not a code inspector.
Hardware: The Details That Matter
Window Hardware
- Locks — every operable window should have a functioning lock
- Tilt-in latches — on newer double-hung windows, verify the tilt-in mechanism works for both sashes. Broken tilt latches mean the sash can't be tilted for cleaning.
- Crank handles — on casement and awning windows, check for stripped operators, missing handles, and bent arms
- Stops and limiters — on upper floor windows, check for window opening control devices (WOCDs) that prevent windows from opening more than 4 inches. Required in some jurisdictions for child safety.
Door Hardware
- Hinges — check for loose hinge screws (the #1 cause of sagging doors). Tighten or note for repair.
- Strike plates — should be securely fastened with screws that reach the framing (not just the door jamb). This is a security item for exterior doors.
- Peepholes — note presence and condition on exterior doors
- Door closers — on fire-rated garage entry doors, the self-closing mechanism must work. The door should close and latch on its own from any open position.
Documentation Best Practices
Windows and doors generate a lot of data points. Here's how to keep your report organized without drowning in details.
Efficient Field Documentation
With 20+ windows and 10+ doors in a typical home, you need a system. Rather than inspecting all windows, then all doors, work room by room:
- Enter the room
- Check all windows in the room (operation, glass, frame, seals)
- Check the door(s)
- Note defects by room location
- Move to the next room
This approach is faster and ensures you don't miss any windows or doors.
What to Report
Report defects, not individual items. You don't need to describe every window that works perfectly. Instead:
- Note the general condition: "Windows are [type], approximately [age], in [overall condition]"
- Report specific defects by location: "Master bedroom — north window — IGU seal failure, fog between panes"
- Group similar defects: "Three windows on the south elevation show weatherstripping deterioration — kitchen, dining room, and guest bedroom"
Use Voice-to-Report for Speed
Walking a house with 20 windows means 20 checks where you might need both hands (to operate the window) and can't be typing. ReportWalk lets you speak your findings as you go — "master bedroom north window, seal failure, fog between panes, recommend IGU replacement" — and the iOS app builds the structured report for you. It's the difference between an extra hour of data entry at your desk and finishing your report before you leave the property.
Photo Strategy
You don't need to photograph every window. Focus on:
- Failed IGU seals (the fog is hard to capture, but a close-up showing condensation between panes works)
- Rot or damage to frames
- Missing or damaged flashing
- Egress windows with measurements
- Problematic weatherstripping
- Security concerns (broken locks, damaged frames)
Include context in each photo — shoot wide enough to show which window or door you're documenting, then close-up for the defect detail.
Window & Door Inspection Checklist
Use this condensed checklist during your inspections:
Windows:
- ☐ Operate every operable window
- ☐ Test all locks
- ☐ Check glass for cracks, fog, tempered markings
- ☐ Inspect frames for rot, warping, damage
- ☐ Assess weatherstripping condition
- ☐ Examine exterior caulk and flashing
- ☐ Verify egress compliance in bedrooms
- ☐ Note screen condition
Exterior Doors:
- ☐ Open, close, and latch test
- ☐ Deadbolt function
- ☐ Weatherstripping around full perimeter
- ☐ Threshold and sill seal
- ☐ Material condition (rot, rust, warping)
- ☐ Hardware security check
Interior Doors:
- ☐ Operation and latching
- ☐ Privacy locks in bedrooms/bathrooms
- ☐ Garage entry door fire rating and self-closer
Sliding Glass Doors:
- ☐ Slide operation and roller condition
- ☐ Track condition
- ☐ Lock engagement
- ☐ Tempered glass verification
- ☐ Weatherstripping and seal condition
General:
- ☐ Note window types and approximate age
- ☐ Assess overall condition trend
- ☐ Cross-reference with energy efficiency observations
- ☐ Connect exterior water issues with interior staining
For related inspection areas, see our guides on attic inspection (where you'll check ventilation related to window condensation) and home inspection red flags for how window and door defects fit into the bigger picture.
Windows and doors are the building envelope's weak links — but they're also the components your clients interact with every single day. A thorough window and door inspection checklist keeps you systematic, helps you catch defects that matter, and produces reports your clients can actually use. Check every one, document what you find, and your reports will speak for themselves.