Roof Leak Inspection: How Inspectors Can Trace, Document, and Report Moisture Entry Fast
Roof leak inspection gets messy when inspectors chase the wrong thing. The stain is not always the source. The wet drywall is not always a roof defect. And the fastest way to weaken your report is to lock onto a single theory before you have traced the moisture entry path.
Good roof leak inspection is about disciplined narrowing. You start with the interior evidence, move to the spaces above, compare that evidence to likely roof features, and document the limitations clearly when the exact entry point cannot be confirmed during a visual inspection.
This guide is about doing that fast without turning the report into guesswork.
Important
Do not imply that you confirmed a precise leak source unless you actually traced it with direct visual evidence. Many roof-related moisture paths are concealed or indirect.
Start With the Evidence, Not the Theory
When you first see a stain, do not jump straight to “roof leak at vent flashing.”
Start by documenting:
- Exact room location
- Exact ceiling or wall location
- Shape, spread, and intensity of staining
- Active dripping versus old staining
- Odor, softness, peeling finishes, or microbial-looking growth
- Moisture meter readings if you use them
That opening evidence often tells you whether you are dealing with an active event, an old event, condensation, a plumbing issue, or a roof-related moisture path.
If attic-side staining patterns are part of your normal process, Attic Moisture Inspection is a useful companion read.
The Fast Trace Sequence
Use this order:
- Interior evidence
- Attic or ceiling cavity indicators if accessible
- Exterior roof features uphill from the stain
- Adjacent wall, window, chimney, or flashing transitions
- Drainage and gutter behavior
That order matters because the roof is often blamed for moisture that actually originates at wall flashings, chimney transitions, window interfaces, or even interior humidity conditions.
Interior Clues That Narrow the Source
Mid-ceiling staining
This often pushes you toward penetrations, boot flashings, valleys, or upslope features rather than sidewall conditions.
Staining near exterior walls
This can point toward wall flashing, kickout details, gutter overflow, or window-related water entry rather than a field shingle defect.
Diffuse staining with no obvious path
Consider condensation, intermittent historic leakage, or concealed pathways where the visible stain is downstream from the entry point.
Bathroom-adjacent ceiling staining
Do not forget non-roof possibilities such as plumbing leaks or bath fan termination problems.
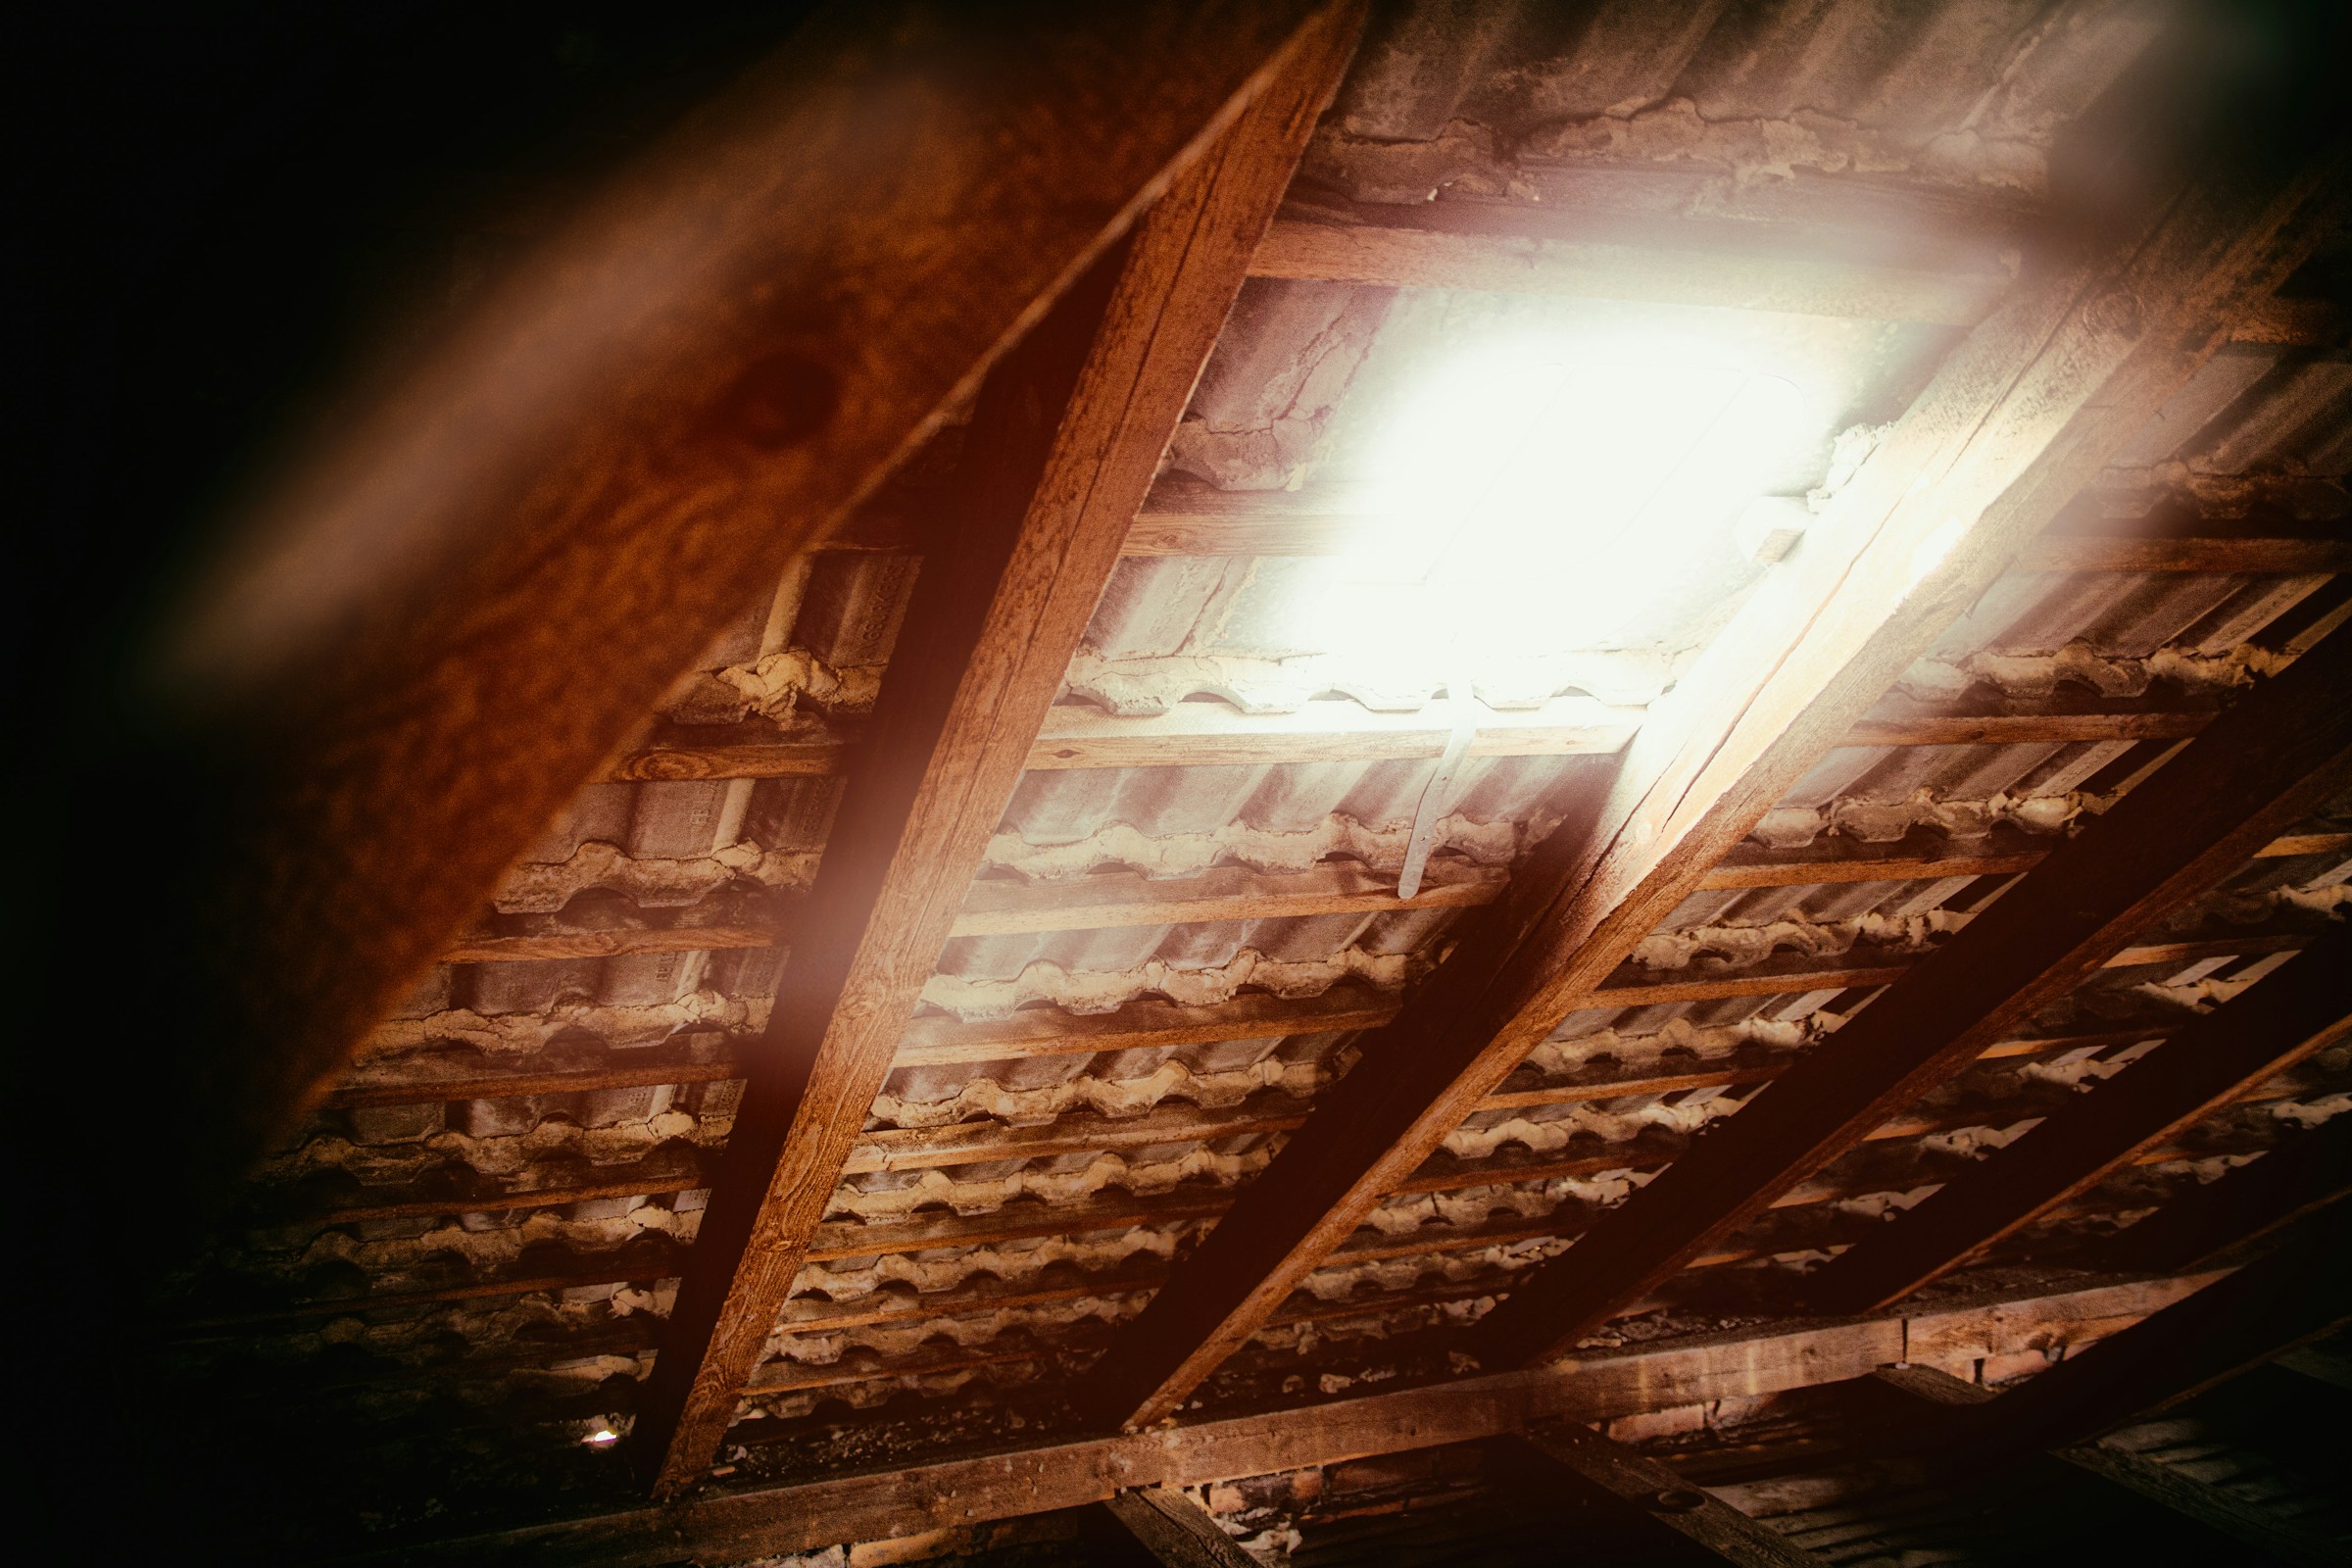
Attic Clues That Save Time
If the attic is accessible, it is often the fastest place to narrow the problem.
Look for:
- Dark staining at sheathing
- Rusted nail tips concentrated in one zone
- Wet or compressed insulation
- Water trails on framing
- Daylight at penetrations or flashings
- Signs of condensation rather than localized leakage
The goal is not to prove more than you can prove. The goal is to decide whether the moisture path looks localized, diffuse, active, old, or inconclusive.
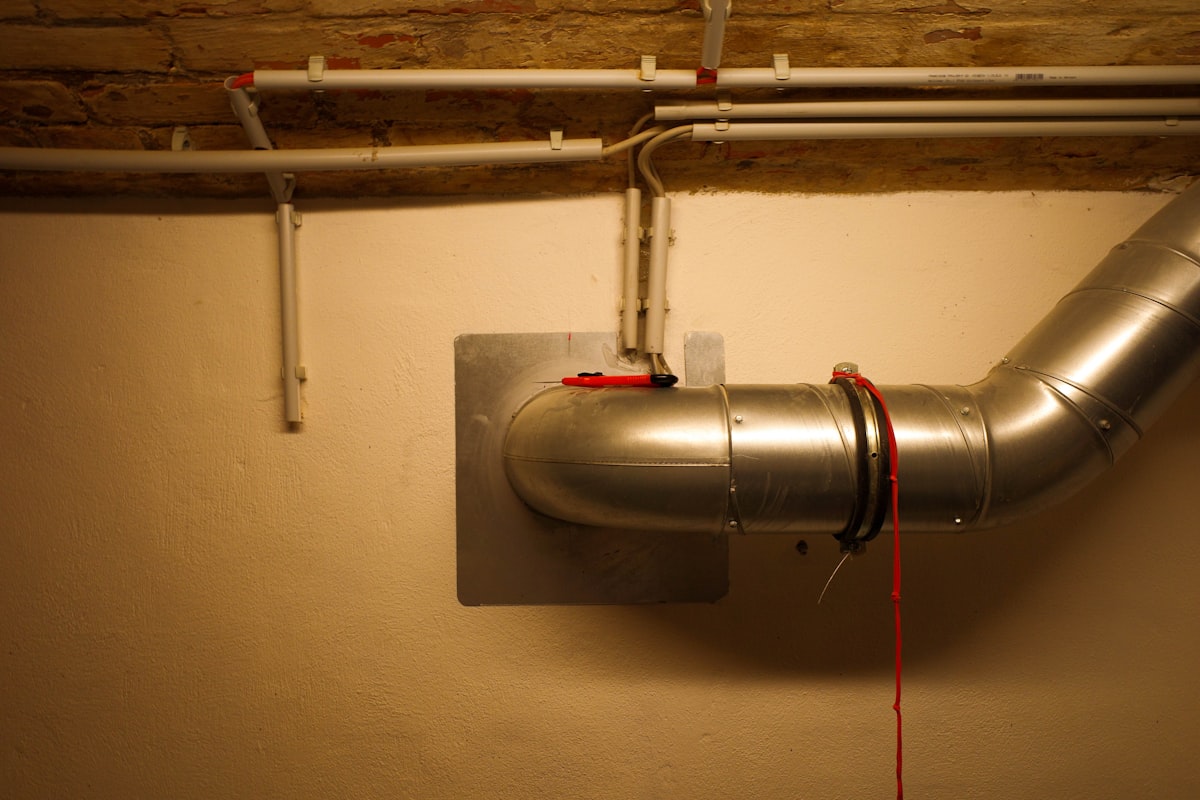
Roof Features Most Commonly Tied to Moisture Entry
Once you move outside, prioritize the usual suspects:
- Plumbing vent flashings
- Chimney flashing and counterflashing
- Skylight flashing systems
- Valleys
- Sidewall and headwall flashings
- Exposed fasteners
- Missing or damaged shingles near penetrations
- Gutter overflow points and short downspout discharge
The National Roofing Contractors Association consumer guidance is useful background if you want a manufacturer/trade perspective on roof system components, but your report still needs to stay grounded in visible inspection evidence.
How to Separate “Leak Source Suspect” From “Confirmed Source”
This is the line that protects the report.
Reasonable suspect language
“Staining pattern and accessible observations are consistent with possible moisture entry at the chimney flashing area.”
Confirmed source language
Use confirmed language only when you have direct visible evidence tying the defect to the observed moisture path.
For example:
“Open flashing gap observed at the uphill side of the chimney, with corresponding localized staining directly below in the attic.”
If you cannot make that connection visually, do not write like you did.
Key Takeaway
“Consistent with,” “appears associated with,” and “source not fully confirmed” are not weak phrases. They are accurate phrases.
The Minimum Photo Set for a Strong Roof Leak Report
Collect:
- One context photo of the room
- One close-up of the stain or damaged finish
- Moisture meter photo if used
- One attic photo showing the relevant evidence if accessible
- One roof overview
- One close-up per suspected source area
- One photo of any limitation, such as steep pitch, wet surface, or blocked attic access
This photo set matters because roof leak disputes often happen after the condition has dried out or after someone else has already attempted a repair.
Report Language That Stays Defensible
When the exact source is not confirmed
“Water-related staining was observed at the ceiling of the rear bedroom near the north wall. No active dripping was observed at the time of inspection. Due to the limitations of a visual inspection and the potential for concealed moisture pathways, the exact source of entry could not be confirmed. Recommend evaluation and repair by a qualified roofing contractor.”
When flashing is the likely suspect
“Accessible observations at the roof-to-wall flashing area are consistent with a possible moisture entry path. Flashing defects are a common source of roof-related leakage. Recommend qualified roofing contractor evaluation and repair.”
When attic access is limited
“Inspection of the attic area above the reported stain was limited due to restricted access/insulation depth/unsafe conditions. This limitation reduces certainty regarding the exact source of moisture entry. Recommend further evaluation as needed.”
When the condition may be old
“Ceiling staining was observed, but no active elevated moisture readings were obtained at the time of inspection. Staining may be from a prior leak event; however, the area should be monitored and further evaluated if moisture recurs.”
The key is to describe what you saw, not what you wish you could prove.
Where Inspectors Usually Lose Time
They spend too long hunting certainty on the roof surface
Sometimes the answer is in the attic. Sometimes the honest answer is that the source cannot be fully confirmed during a visual inspection.
They fail to document limitations
A wet, steep, fragile, or otherwise unsafe roof is not a side note. It changes the reliability of the observation and should be stated plainly.
They overuse vague terms
“Roof issue noted” is almost useless. Say where the stain is, what evidence you saw, and what the next step should be.
They ignore non-roof causes
Bath fans dumping into attics, plumbing leaks, and condensation patterns regularly get mislabeled as roof leaks.
How This Connects to the Rest of the Inspection
Roof leak findings get stronger when they are tied to related conditions:
- Poor attic ventilation
- Damaged or missing flashing
- Gutter overflow patterns
- Interior humidity issues
- Deferred exterior maintenance
That is why roof leak inspection is not just a roof surface exercise. It is a building-envelope exercise.
For related reading, Roof Leak Inspection Field Guide, Roof Flashing Inspection, and Attic Moisture Inspection are the natural companion posts.
Where ReportWalk Helps
Roof leak reporting falls apart when the notes are written from memory later. ReportWalk helps you dictate the exact location, visible evidence, limitation, and recommendation while you are still looking at the stain, attic trail, or flashing detail. That keeps the report from drifting into vague “possible leak” language and makes your moisture-entry write-up much more useful to the client and contractor.
Fast roof leak documentation is not about skipping steps. It is about following the same sequence every time so your conclusion stays disciplined even when the source is messy.