Plumbing Inspection Checklist: What Every Inspector Should Document
A plumbing inspection checklist is one of those things that sounds straightforward until you're standing in a basement looking at fifty years of copper, galvanized steel, PVC, and mystery fittings all spliced together. Every house has a plumbing story, and most of them involve at least one chapter of questionable DIY work.
The difference between a thorough plumbing inspection and a surface-level walkthrough comes down to knowing what to look at and — just as importantly — knowing what to write down. Clients don't remember what you said during the inspection. They remember what's in the report. So every finding needs to be documented clearly, with location, condition, and recommendation.
Here's the complete plumbing inspection checklist, organized the way you'd actually walk through a property.
Water Supply: Where It Enters the Home
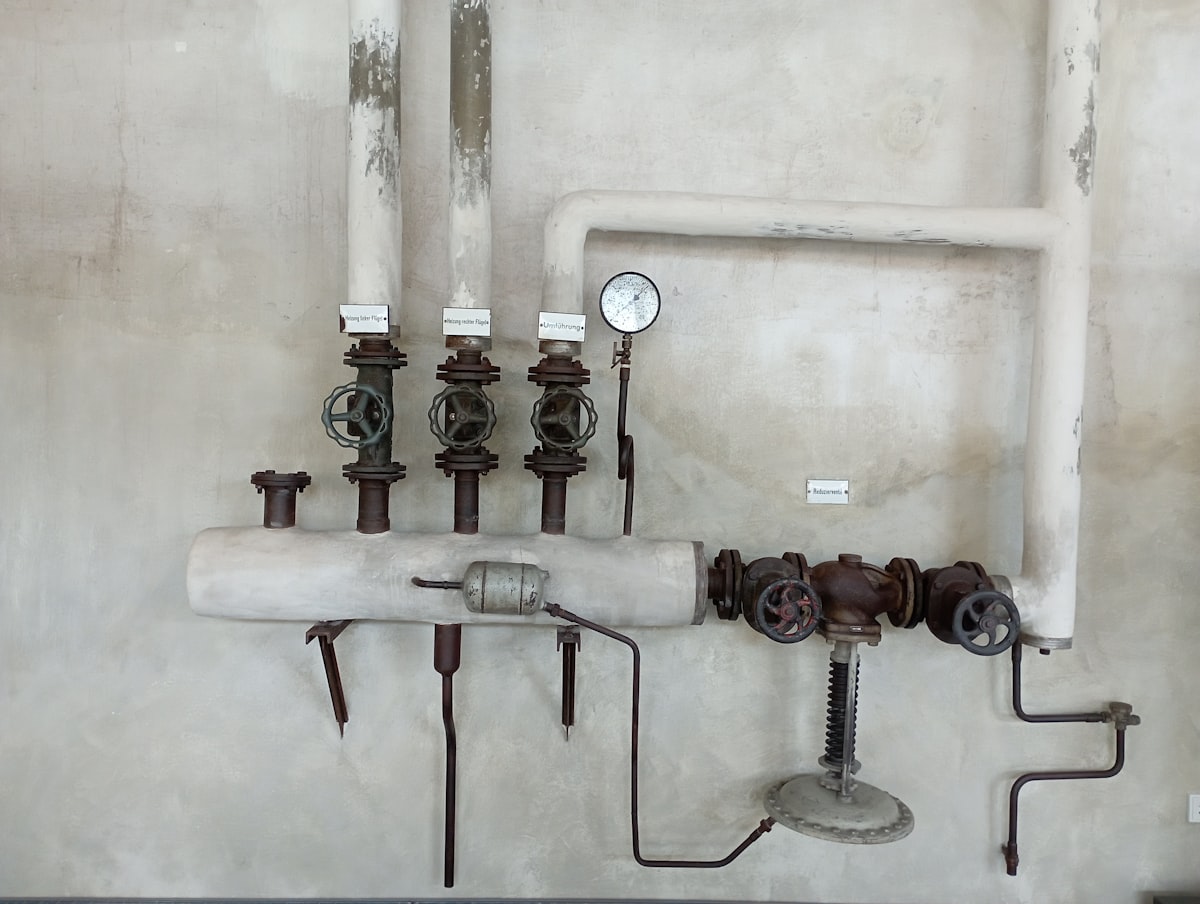
Start at the source. The main water shutoff valve and supply line tell you a lot about the home's plumbing history and current condition.
Main Shutoff Valve
- Location: Document where it is. Clients need to know this, and it's surprising how many homeowners can't find their own shutoff. Common locations: basement wall near the street side, utility room, crawl space, or near the water meter.
- Type: Gate valve (older, round handle) or ball valve (newer, lever handle). Ball valves are more reliable. Gate valves corrode over time and may not fully close when you need them to.
- Condition: Does it appear operational? Corrosion, mineral deposits, or a seized handle are all worth documenting. Note: don't force a stuck shutoff valve — you could break it and flood the basement.
- Material of supply line from street: Copper, galvanized steel, PEX, polybutylene, or lead. Yes, lead service lines still exist in homes built before the 1950s.
Note
Polybutylene supply lines (gray, flexible plastic, common 1978–1995) are a known defect. They deteriorate from the inside out due to chlorine in municipal water and can fail without warning. If you spot polybutylene, document it and recommend evaluation by a licensed plumber.
Supply Line Materials Throughout the Home
As you move through the house, note what you see:
- Copper: Gold standard. Lasts 50+ years. Look for green patina at joints (possible slow leak), pinhole corrosion (common in certain water chemistry), and amateur solder joints.
- Galvanized steel: Common in pre-1960 homes. Corrodes from the inside, restricting flow over time. Check water pressure at fixtures — low pressure with galvanized pipes usually means internal corrosion.
- PEX: Modern flexible tubing. Color-coded (red = hot, blue = cold). Reliable. Check for proper support and that it's not exposed to UV light (it degrades in sunlight).
- CPVC: Cream-colored rigid plastic. Adequate but becomes brittle with age, especially near water heaters where temperatures are highest.
- Mixed materials: Very common in older homes. Document the transition fittings — dissimilar metals in direct contact cause galvanic corrosion. Proper dielectric unions or transition fittings should be present.
Water Pressure
Test it. A pressure gauge on a hose bib should read between 40 and 80 PSI. Below 40 means inadequate pressure (could indicate corroded galvanized pipes, a partially closed valve, or a municipal supply issue). Above 80 PSI means excessive pressure that can damage fixtures, valves, and appliance connections over time.
If pressure exceeds 80 PSI, check for a pressure reducing valve (PRV) near the main shutoff. If one exists, it may need adjustment. If one doesn't exist, recommend installation.
Drain, Waste, and Vent System
The DWV system is where most of the expensive problems hide. Supply-side issues are usually fixable for hundreds of dollars. Drain-side problems can run into thousands.
Visible Drain Lines
- Cast iron: Black or dark gray, heavy. Common in homes built before 1975. Lifespan is 50–75 years, so many are nearing or past their expected life. Look for rust, flaking, cracks, and belly sections (sagging that allows water to pool).
- ABS (black plastic): Common from the 1970s onward. Generally reliable. Check joints for separation.
- PVC (white plastic): Current standard. Look for proper support, appropriate slope (1/4 inch per foot for most drain lines), and proper joint connections.
- Orangeburg pipe: If you find it, document it immediately. This is bituminous fiber pipe used from the 1940s–1970s. It collapses, deforms, and is essentially cardboard soaked in tar. Full replacement is the only real fix.
Functional Drainage Testing
Run water at every fixture and observe:
- Drainage speed: Slow drains indicate partial blockage. Multiple slow drains suggest a main line issue rather than individual fixture clogs.
- Gurgling sounds: Air being pulled through a trap because the vent system isn't working properly. Document which fixtures gurgle and when (e.g., "kitchen sink gurgles when washing machine drains").
- Backup at other fixtures: Water coming up in a shower when a toilet flushes indicates a shared drain line blockage downstream.
Visible Venting
Vent pipes allow air into the drainage system so water flows smoothly. Without proper venting, drains are slow and traps can be siphoned dry (allowing sewer gas into the home).
- Check the roof for vent pipe terminations — they should extend at least 6 inches above the roof surface
- S-traps (drain goes down and then back up before going down again) are a venting defect. They can siphon the trap seal. P-traps with proper venting are the correct configuration
- Mechanical vents (air admittance valves) are acceptable by most codes as alternatives to traditional venting in certain situations
Water Heater Inspection
The water heater gets its own section because it's the intersection of plumbing, gas (often), and safety. More defects are found at water heaters than almost any other single component.
Basic Information to Document
- Type: Tank (gas or electric) or tankless
- Capacity: 40-gallon, 50-gallon, etc.
- Age: Read the serial number and decode it (manufacturer-specific). Most tank water heaters have a 10–12 year lifespan. Document the age prominently.
- Location: Garage, utility closet, attic, basement. Location matters for damage potential if it fails.
Safety Components
- Temperature and Pressure Relief (TPR) valve: This is non-negotiable. Every water heater must have a functioning TPR valve. Check that it's present, not corroded, not capped or plugged, and has a discharge pipe that terminates within 6 inches of the floor (or to the exterior). A missing or improperly piped TPR valve is a safety hazard — the tank can become a pressure vessel.
- Discharge pipe: Must be the same diameter as the TPR valve outlet (usually 3/4 inch), must not be reduced in size, must not be threaded at the end (prevents capping), and must not run uphill at any point.
- Seismic strapping: Required in earthquake-prone areas (all of California, parts of many other states). Two straps — upper third and lower third of the tank.
Key Takeaway
The TPR valve discharge pipe is the single most commonly defective component on water heaters. In roughly 60% of inspections, something is wrong with it — too short, wrong material, threaded end, running uphill, or terminated into a wall instead of to a visible location.
Gas Water Heater Specifics
- Combustion air: Gas water heaters in enclosed spaces need combustion air supply. Two openings — one within 12 inches of the ceiling, one within 12 inches of the floor.
- Venting: Draft hood should be properly seated. Vent connector should slope upward to the chimney. Check for backdrafting by running hot water for 2 minutes, then holding a match or smoke pencil near the draft hood. Smoke should be drawn up, not pushed out.
- Elevation: In garages, gas water heaters must be elevated so the ignition source is at least 18 inches above the floor (to avoid igniting gasoline vapors). This applies to natural gas and propane units.
- Gas flex connector: Should be CSST (corrugated stainless steel tubing) rated for the appliance. Old brass connectors are a recall item — document and recommend replacement.
Electric Water Heater Specifics
- Disconnect: A dedicated disconnect should be visible and within sight of the unit
- Wire gauge: Should match the breaker size (typically 10 AWG for 30-amp, which serves most residential electric water heaters)
Fixtures and Faucets
Work through every fixture in the house systematically. This is where most of your plumbing findings will accumulate — not because fixtures are dangerous, but because there are a lot of them.
Kitchen
- Sink: Run both hot and cold. Check under the sink for leaks at supply connections, drain connections, and the garbage disposal (if present). Functional flow test — does hot arrive within a reasonable time?
- Dishwasher: Check the air gap or high loop on the drain hose. Without one, contaminated water can backflow from the sink drain into the dishwasher. Look under the sink while the dishwasher runs — leaks at the connection are common.
- Garbage disposal: Run it. Listen for grinding noises that indicate jammed or damaged blades. Check for leaks at the mounting ring and discharge pipe.
Bathrooms
- Toilets: Flush each one. Check for:
- Rocking (loose mounting — wax ring may be compromised, risking leaks at the floor)
- Running after flush (flapper or fill valve issue — not a safety concern but wastes water)
- Caulk at the base (code varies — some jurisdictions require it, some inspectors prefer no caulk so leaks are visible)
- Staining at the base or ceiling below (indicates past or current leak at the wax ring)
- Sinks and faucets: Same as kitchen — run hot and cold, check underneath for leaks.
- Tub/shower: Run the water and check for:
- Functional stopper (tub)
- Diverter operation (if tub/shower combo)
- Grout and caulk condition at tile joints — deteriorated grout is the #1 cause of moisture intrusion behind shower walls
- Showerhead flow and operation
- Check the access panel behind the tub (if present) for signs of leaks
Laundry
- Washing machine connections: Supply valves should be quarter-turn ball valves (not gate valves). Check hoses — rubber hoses deteriorate and can burst. Stainless steel braided hoses are the current recommendation.
- Drain: The washing machine drain standpipe should be 18–30 inches above the floor. Too low and the machine drains too fast, causing siphoning. Too high and the pump can't push water up to it.
- Drip pan: If the washer is on an upper floor, a drip pan with a drain line is recommended. Document whether one is present.
Exterior Plumbing
Don't skip the outside. Exterior plumbing issues are easy to spot and easy to miss if you don't look.
- Hose bibs: Test each one. Check for anti-siphon (vacuum breaker) devices — required by code to prevent backflow contamination. Frost-free sillcocks in cold climates should slope slightly downward toward the exterior.
- Irrigation systems: Note their presence. Testing the full system is typically outside the scope of a standard home inspection, but document visible defects (broken heads, leaking valves, backflow preventer condition).
- Main sewer cleanout: Document its location. If you can't find one, note that. The cleanout is critical for future drain maintenance.
- Visible sewer line condition: Any exposed sections of the sewer line between the house and the street — note material and condition.
Common Plumbing Red Flags That Need Extra Attention
Some findings warrant extra emphasis in your report:
- Active leaks — obvious, but document exactly where and the severity
- Water staining on ceilings or walls — indicates past or current leak from above
- Polybutylene supply lines — known defect material
- Orangeburg sewer lines — end of useful life
- Cross-connections — any connection where potable water could be contaminated (garden hose submerged in a pool, no backflow preventer on irrigation)
- Water heater past expected lifespan — not a defect, but a maintenance recommendation
- Galvanized supply lines with low pressure — internal corrosion restricting flow
- Sewer gas odor — indicates a dried trap, broken vent, or cracked drain line
- Signs of prior amateur repairs — Fernco couplings in unusual places, exposed compression fittings, improper transitions
Putting It All Together: The Documentation Matters
A plumbing inspection checklist only works if you actually document what you find. That sounds obvious, but it's the part that falls apart in the field. You're in a cramped crawl space looking at forty-year-old cast iron, and the last thing you want to do is type detailed notes on a phone screen.
This is where voice-based documentation changes the game. Instead of typing "cast iron drain line under master bath shows heavy corrosion at joint, recommend evaluation by licensed plumber" while crouched under a house, you say it. Tools like ReportWalk let you narrate your findings in real time — speak what you see, and it becomes structured report content. No typing, no going back to the truck to remember what you saw.
The plumbing inspection is one of the most detail-heavy sections of any home inspection report. Every fixture, every connection, every valve is a potential finding. The inspectors who produce the best reports aren't necessarily the ones who know the most — they're the ones who document the most thoroughly while they're looking at it.
Your checklist keeps you systematic. Your documentation tool keeps you efficient. Together, they make sure nothing gets missed and every finding makes it into the report where your client can actually use it.
Related reading: Electrical Inspection Checklist, Home Inspection Checklist: The Ultimate Guide, Sewer Scope Inspection: Complete Guide