Move-In Inspection Checklist: What to Document Before the Tenant Gets Keys
The move-in inspection is the baseline that every later argument gets compared against.
If the unit is already damaged, dirty, leaking, or missing hardware when the tenant takes possession, that needs to be documented now. If it is not documented now, it tends to become your word against theirs later. That is why the move-in inspection matters more than most rushed turnover teams admit.
This checklist is for inspectors, property managers, and owners who want a clean condition record before the tenant gets keys.
Note
The goal of a move-in inspection is not to find every hidden defect in the building. The goal is to create a defensible, room-by-room baseline of observable condition before occupancy begins.
What Makes a Good Move-In Inspection Different
A move-in inspection is not the same as a move-out inspection and not the same as a routine occupied walk-through.
At move-in, you are answering five practical questions:
- What condition is the unit in right now?
- What items already show wear, damage, or incomplete turnover work?
- What systems and fixtures are functioning at handoff?
- What photos prove the baseline if a dispute comes later?
- What limitations need to be stated before the tenant signs?
If those five answers are clear, the report will stay useful for the entire lease term.
The Best Time to Do It
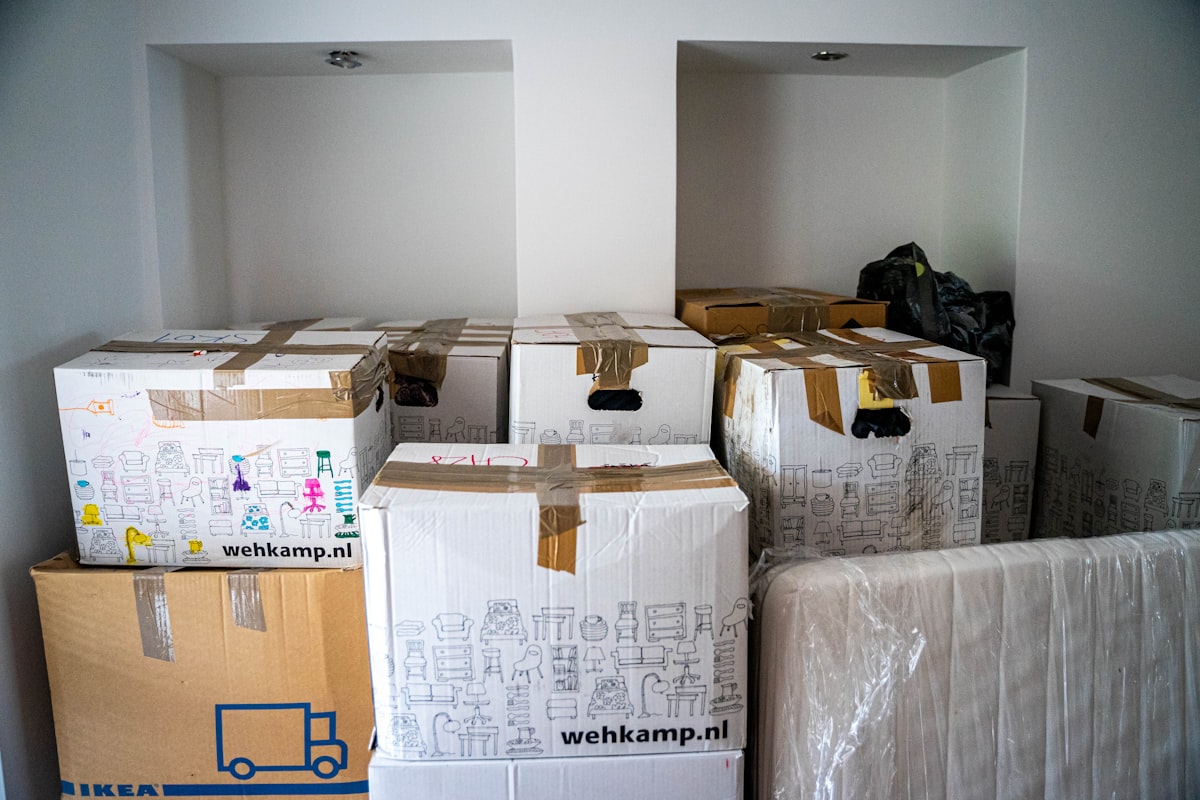
The strongest move-in inspection happens after make-ready is complete but before the tenant starts moving boxes inside.
That matters because:
- Empty rooms are easier to document
- Utility operation can be checked before furniture blocks access
- Cleanliness and damage are easier to separate before occupancy
- The tenant can review the baseline while the condition is still accurate
If you inspect after move-in starts, the evidence gets muddy fast.
The Fast Baseline Sequence
Use the same route every time:
- Entry and overall condition
- Walls, ceilings, flooring, and windows room by room
- Kitchen and appliances
- Bathrooms and wet areas
- Doors, closets, trim, and hardware
- Electrical, plumbing, HVAC, and water heater notes
- Exterior, balcony, garage, or storage if included
Consistency matters more than speed tricks. A repeatable sequence is what keeps the report complete.
1. Start With the Whole-Unit Record
Before drilling into defects, capture the broad condition of the space.
Document:
- General cleanliness level
- Paint and patch quality
- Odors suggesting smoke, pets, moisture, or heavy cleaning chemicals
- Signs the unit was not fully turned over
- Visible safety concerns present at possession
Photo set:
- One wide shot of every room from the doorway
- One reverse angle of every main room
- One overview of any balcony, patio, garage, or storage area
Those overview photos become important later when someone claims the unit was handed over in a different condition.
2. Walls, Ceilings, Windows, and Flooring
This is where the baseline earns its keep.
Check:
- Nail holes, anchors, patches, scuffs, gouges, or unauthorized paint
- Ceiling stains, cracking, or signs of prior repairs
- Carpet wear, stains, tears, burns, or pet damage
- Scratches, chips, swelling, or lifted edges on hard flooring
- Window operation, locks, screens, and cracked glass
- Blinds, curtain rods, and window trim condition
Do not write "minor wear throughout" and call it done. That phrase is too vague to be useful later.
Better approach
Note the location and the actual condition:
"Bedroom 2, west wall: two patched anchor holes above outlet height."
"Living room floor at sofa area: light scratching to wood-look flooring, no lifted edges observed."
That level of detail is what separates a baseline from filler.
3. Kitchen Checklist Before Key Handoff
Kitchens generate a high percentage of tenant complaints and deposit disputes, so document them carefully.
Check:
- Cabinet doors, drawers, hinges, and pulls
- Countertop chips, seam swelling, burns, or cuts
- Sink, faucet, sprayer, and drain performance
- Under-sink plumbing for active leaks or prior staining
- Range, oven, microwave, dishwasher, refrigerator, and disposal if present
- Backsplash, wall finish, and flooring at wet or grease-prone areas
Photo set:
- Appliance fronts
- Inside refrigerator and oven
- Under-sink plumbing
- Any cabinet or countertop damage with context and close-up
If an appliance is not tested, say why. Do not leave the report silent.
4. Bathrooms and Wet Areas
Bathrooms deserve their own discipline because small moisture issues turn into larger claims quickly.
Check:
- Toilet flush result, stability, and leaks
- Vanity, sink, and faucet operation
- Tub, shower, surround, and caulk condition
- Grout, staining, or soft flooring edges near wet areas
- Exhaust fan operation if tested
- Mirror, accessories, and medicine cabinet condition
If you see staining or mildew-like residue, document the visible condition without leaping to a concealed-damage conclusion.
5. Doors, Closets, Trim, and Hardware
These are easy to miss during a rushed handoff, but they matter because they create immediate tenant complaints.
Check:
- Entry door latch, deadbolt, peephole, and weatherstripping
- Interior doors for latching, rubbing, or hardware damage
- Closet rods, shelving, and door tracks
- Baseboards and trim for chips, water damage, or missing sections
- Door stops, strike plates, and missing hardware
Tiny hardware items are not glamorous, but missing them at move-in leads to avoidable arguments at move-out.
6. System Notes Worth Capturing at Move-In
You may not be performing a full property inspection, but the baseline should still capture the high-signal condition items.
Check:
- Smoke and CO alarms where within scope
- Representative switches and outlets
- HVAC filter condition and basic response if tested
- Water heater leakage or corrosion where accessible
- Visible plumbing leaks at fixtures or supply stops
- Missing cover plates, damaged light fixtures, or obvious electrical hazards
If utilities are off, document that limitation clearly and immediately.
Key Takeaway
If a tenant is about to sign the move-in form, make sure the report distinguishes between "not tested" and "not working." Those are very different things.
The Minimum Photo Package That Holds Up Later
At move-in, take:
- Wide room photos from multiple angles
- One straight-on photo of each major wall surface
- Appliance and fixture photos
- Under-sink and utility-area photos
- Close-ups of all existing wear or damage
- Exterior/garage/storage photos where part of the lease
If there is already a defect, give it both a context shot and a close-up. One without the other is weaker than most people think.
How to Write the Findings Clearly
Use a simple pattern:
"Location: ____ . Condition observed: ____ . Status at possession: present prior to tenant occupancy. Recommend: ____ if correction is needed."
Example: existing cosmetic issue
"Location: Hall bath vanity front. Condition observed: Finish chipping was visible at lower right cabinet corner. Status at possession: present prior to tenant occupancy. Recommend touch-up/repair during future maintenance."
Example: incomplete turnover item
"Location: Kitchen sink base cabinet. Condition observed: Water staining was visible at cabinet bottom beneath drain assembly. Status at possession: present prior to tenant occupancy. Recommend evaluation and repair before or promptly after occupancy."
Example: limitation
"Location: HVAC system. Condition observed: System response was not tested because electrical service was not active at the time of inspection. Status at possession: functional status not verified."
That wording keeps the baseline useful without overcomplicating it.
Common Move-In Inspection Mistakes
- Taking only a few highlight photos instead of a full room record
- Using vague language like "fair condition"
- Missing inside cabinets, closets, and under-sink areas
- Failing to document utility-off limitations
- Letting the tenant take keys before the baseline is finalized
The last one is more common than it should be. Once occupancy starts, clean evidence disappears.
What Should Be Signed Off Before the Keys Change Hands
Before the tenant gets keys, make sure the record includes:
- Dated inspection report
- Photo archive
- Any stated limitations
- Noted pre-existing damage
- Signature or acknowledgment workflow for the tenant if used
That combination is what makes the move-in report enforceable in real life rather than just tidy on paper.
Where ReportWalk Fits
Move-in inspections create a long list of short, location-based condition notes. ReportWalk helps inspectors and property teams narrate those findings in sequence while walking the unit, then organize the baseline into a cleaner report before the tenant ever starts moving in.
For adjacent workflows, see Rental Property Inspection Checklist, Move-Out Inspection Checklist, and Rental Property Inspection Checklist: How Inspectors Document Condition Fast Between Tenants.