Photo Documentation in Home Inspections: What to Shoot, How Many, and How to Caption It Fast
Good photo documentation in a home inspection does two things at once:
- It helps your client understand what you saw.
- It protects you when someone later claims you “missed” something.
The problem is that most inspectors swing between two extremes:
- Too few photos (not defensible)
- Hundreds of photos with no context (not usable)
This guide is the middle path: a repeatable photo set you can capture fast, plus caption templates that reduce typing and make your report clearer.
Note
This is not legal advice. Requirements vary by SOP, state, and your contract. The goal is consistent, defensible documentation.
How Many Photos Should a Home Inspection Have?
There isn’t one “correct” number. A practical target for most single-family inspections is:
- 40–80 photos for a smaller/straightforward home
- 80–150 photos for larger homes, older homes, or properties with multiple issues
What matters more than the number is whether you captured:
- A clear baseline (what was present)
- The major defect(s)
- The location context (where it was)
- A close-up (what it is)
The 3-photo rule for defects
For any material defect, aim for:
- Context photo (shows location)
- Mid-range photo (shows the component)
- Close-up (shows the defect detail)
If you can only take one photo, make it a mid-range with a clear reference.
The Must-Have “Baseline” Photos (Defensible Minimum)
These are the photos that prove what you inspected and what was there at the time.
Exterior:
- Front elevation (wide)
- Rear elevation (wide)
- Each side elevation (wide)
- Roof overview (if visible/safely accessible)
- Electric meter/mast (if exterior)
Interior:
- Main electrical panel (door open + label/amp rating)
- Water heater (full view + label/data plate)
- Furnace/air handler (full view + label/data plate)
- Thermostat (showing operation if tested)
- Under-sink plumbing (kitchen + at least one bath)
- Attic access and at least one attic overview photo (if entered)
Safety:
- Smoke/CO alarm presence (representative)
- Garage fire separation areas (door, penetrations) when applicable
What to Photograph by System (Fast Checklist)
Roof / Exterior envelope
- Roof covering condition (representative)
- Flashings at penetrations (plumbing vents, chimney where present)
- Gutters/downspouts discharge points
- Fascia/soffit damage or staining
- Grading/slope near foundation (2–3 shots)
Structure / Foundation
- Foundation walls (representative)
- Visible cracking (with scale reference)
- Posts/piers/beams in crawlspace (if present)
- Evidence of moisture intrusion (efflorescence, staining)
Electrical
- Panel overview + label
- Any double taps, corrosion, overheating marks
- GFCI/AFCI testing results (photo of tester display if you use one)
- Exposed splices, missing knockouts, open junctions
Plumbing
- Supply/Drain under sinks (wide + close-up if leaks)
- Water heater TPR discharge (location and termination)
- Visible leaks (active drip), corrosion at fittings
- Improper trap configurations (S-trap, missing trap arm venting where visible)
HVAC
- Equipment data plates (model/serial)
- Filter location and condition
- Condensate drain routing/termination
- Exterior condenser condition (fin damage, clearance issues)
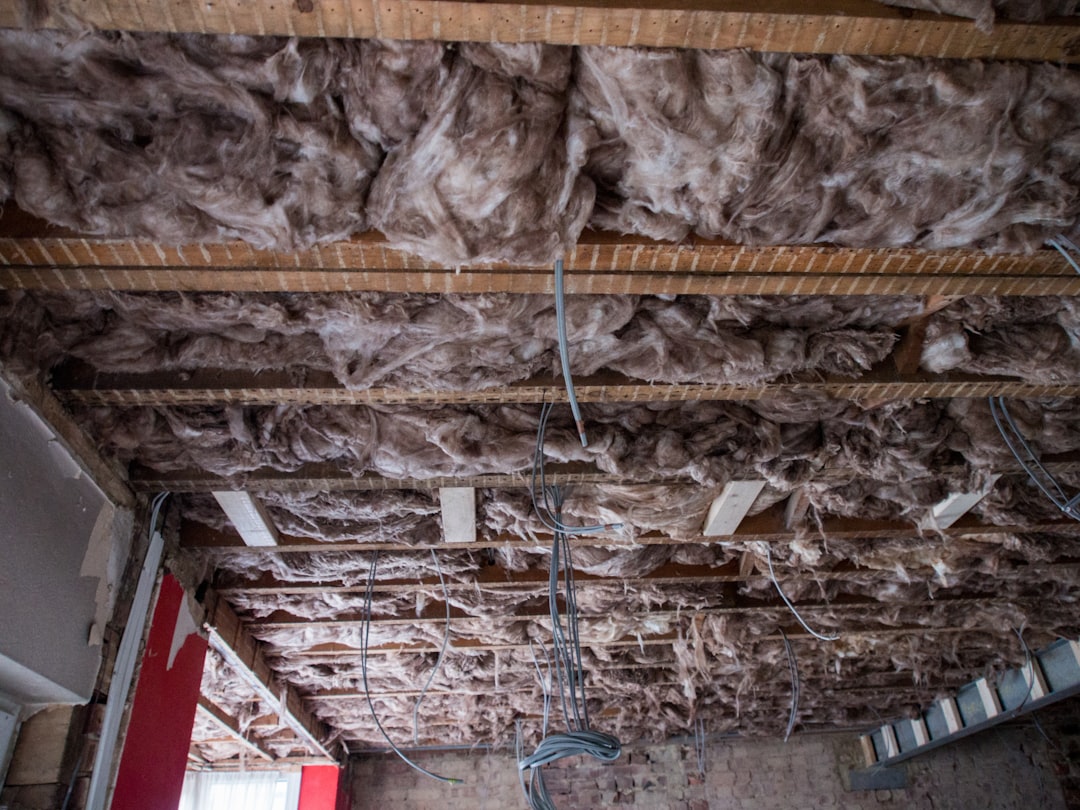
Attic / Insulation
- Attic overview (insulation coverage)
- Exhaust vent termination (bath/kitchen fans)
- Roof sheathing staining (possible past leaks)
- Improper wiring in attic (open splices)
Interior
- Windows/doors defects (failed seals, rot, broken latches)
- Evidence of moisture (staining, swollen baseboards)
- Stair/guardrail safety issues
Key Takeaway
If you photograph only defects, you lose the “baseline” proof. Capture a small set of representative “normal” conditions too.
How to Take Better Inspection Photos (Without Becoming a Photographer)
- Turn on the flashlight and use it as a raking light to reveal texture (drywall cracks, wood rot)
- Include a reference: coin, ruler, tape measure, moisture meter reading
- Avoid the fisheye lie: step back and zoom slightly instead of ultra-wide distortion
- Clean the lens (seriously — pocket lint ruins reports)
- Shoot both orientation and detail (wide then close-up)
For moisture issues
- Photograph the stain and the likely source area (plumbing above, exterior grading)
- If you use a moisture meter, photograph the meter reading in the frame
Caption Templates (Copy/Paste)
Captions do the heavy lifting. Here are fast templates that reduce disputes.
General:
- “Observed at: _____. Condition: _____. Implication: _____. Recommend: _____.”
Electrical:
- “Main panel: ____ amps. Condition: _____. Recommend evaluation/repair by licensed electrician.”
Plumbing:
- “Active leakage observed at _____. Recommend repair and re-check for damage.”
Roofing:
- “Damaged/missing roofing material at _____. Leak risk. Recommend roofing contractor repair.”
Trip hazards:
- “Trip hazard noted at _____. Recommend correction to reduce fall risk.”
Important
Avoid absolute statements you can’t prove from a photo (e.g., “this is definitely mold,” “this will fail”). Use observable language: “appears,” “consistent with,” “recommended evaluation.”
Naming + Organizing Photos (So You Can Find Them Later)
A simple structure that works:
- Exterior
- Roof
- Electrical
- Plumbing
- HVAC
- Attic/Crawl
- Interior
If your software supports it, tag defects by severity (Safety / Major / Minor / Monitor).
The “one photo per recommendation” rule
If you recommend repair/evaluation, try to attach at least one photo that justifies it.
Common Photo Documentation Mistakes
- No location context (client can’t tell where it is)
- One blurry close-up with no scale
- Overusing arrows/circles until the photo becomes unreadable
- Missing labels/data plates (critical for HVAC/water heater)
- Forgetting to photograph limitations (blocked access, stored items, locked rooms)
How ReportWalk Helps You Caption Faster
If your bottleneck is typing captions, ReportWalk is built for inspectors who prefer to talk:
- Dictate the observation in plain English
- Attach the photo(s)
- Export consistent, professional narrative that clients can understand
It’s the difference between “See photo” and a caption that actually protects you.
Quick Field Photo Checklist (Save This)
Baseline set:
- 4 exterior elevations
- Roof overview (if visible)
- Electric panel (overview + label)
- Water heater (overview + data plate)
- Furnace/air handler (overview + data plate)
- Under-sink kitchen plumbing
- Attic access + attic overview (if entered)
For each defect:
- Context photo
- Mid-range photo
- Close-up with reference
- Caption: location + condition + implication + recommendation