Kitchen Inspection Checklist: What Every Inspector Should Document
The kitchen is one of the most complex rooms you'll inspect. Plumbing, electrical, gas, ventilation, appliances, and cabinetry all converge in a single space — and every one of those systems can fail in ways that cost homeowners thousands. A thorough kitchen inspection checklist keeps you from walking past the very defects that show up in callback complaints and review-site rants.
I've been in kitchens where everything looked magazine-ready on the surface — granite counters, stainless appliances, fresh paint — and the moment I opened the cabinet under the sink, I found active water damage, a missing P-trap, and supply lines so corroded they were one hard freeze from bursting. The kitchen rewards methodical inspection. Rush through it and you'll miss something.
This guide covers every component you should evaluate and document, from cabinets to electrical, with field-tested notes on what to look for and how to write it up.
Cabinets and Storage: Start Under the Sink
Cabinets set the tone for the whole kitchen. They reveal the quality of construction, the age of the home, and — most importantly — whether water has been doing damage behind closed doors.
What to Check
- Under-sink cabinet floor — Open both base cabinet doors under the sink and press the shelf/floor. Soft, swollen, or stained particle board means current or past water damage. This is the single most common kitchen defect, and it's invisible with the doors closed.
- Water damage patterns — Look for rings, discoloration, or warping on the cabinet floor. Active drips mean active problems. Old stains without current moisture may indicate a repaired leak — note it and move on.
- Soft-close hardware — Operate several cabinet doors and drawers. Soft-close hinges and slides that slam, don't catch, or hang loose indicate wear or improper installation. Not a safety issue, but worth noting for the client.
- Door and drawer alignment — Doors that won't close flush, drawers that stick, or visible gaps suggest settling, moisture swelling, or poor installation. Check upper and lower cabinets.
- Hardware condition — Loose handles, missing pulls, and stripped screw holes are minor but add up. They also signal how well the kitchen has been maintained.
- Cabinet interior — Look inside upper cabinets for evidence of pest activity (droppings, gnaw marks), water stains from roof or plumbing leaks, and shelf condition.
Key Takeaway
Bring a flashlight and actually get your head under the sink. A quick visual from two feet away misses active drips, corroded supply valves, and improper drain connections. This 30-second look catches problems that cost thousands to repair.
Countertops: More Than Cosmetic
Countertop condition tells you about kitchen use patterns, water management, and sometimes structural issues underneath.
What to Check
- Cracks and chips — Granite, quartz, and solid surface countertops can crack around sink cutouts, near cooktops, and at seams. Cracks in laminate often indicate swelling from moisture penetration at seams or edges.
- Seam condition — Run your fingers along countertop seams. Separating seams allow water infiltration, which destroys the substrate underneath. On granite or quartz, a visible gap or color-mismatched filler at a seam means it's been repaired.
- Staining and burns — Heavy staining around the sink or burn marks near the range are cosmetic but indicate wear. Laminate burns can't be repaired — they indicate replacement is needed.
- Backsplash connection — Check where the countertop meets the backsplash. Gaps, missing caulk, or separated tile allow water behind the counter and down the wall. This is especially important behind the sink and next to the range.
- Countertop-to-sink seal — For undermount sinks, check the seal between the counter and sink rim. Failed sealant lets water run between the sink and counter, saturating the cabinet below. For drop-in sinks, check the rim caulk.
- Levelness — A visibly sloped countertop may indicate settling or improper installation. Set a glass of water on it — if it slides, the client will notice.
Kitchen Plumbing: Supply, Drain, and Everything Connected
The kitchen concentrates more plumbing connections than any room except the bathroom. Supply lines, drains, a garbage disposal, a dishwasher connection, and shut-off valves all live in one cramped cabinet.
Supply Lines
- Material and condition — Braided stainless steel supply lines are current best practice. Older rubber or plastic lines crack and fail. Note the material and visible condition.
- Shut-off valves — Locate the hot and cold shut-offs under the sink. Do they turn? Multi-turn gate valves in older homes often seize up. Quarter-turn ball valves are preferred. Note the type and whether they appear operational (don't force them — just note if they're corroded or clearly frozen).
- Visible leaks or corrosion — Check connections at the shut-off valves and where supply lines connect to the faucet. Green or white mineral deposits indicate slow leaks.
Drain System
- Run the water and watch — Fill the sink halfway and release. Watch the drain under the cabinet for leaks at every connection. Slow drains indicate partial blockage.
- P-trap condition — Check the P-trap for corrosion, leaks, and proper installation. Chrome P-traps in older homes corrode from the inside out. ABS or PVC is preferred.
- Garbage disposal — Run it with water flowing. Listen for grinding, humming without turning (jammed), or excessive vibration. Check the discharge connection to the drain and the electrical connection (should be hardwired or on a dedicated outlet, typically switched).
- Dishwasher drain connection — The dishwasher drain hose should loop up high under the counter (high loop) or connect through an air gap device at the sink. Without a high loop or air gap, dirty sink water can siphon back into the dishwasher. This is a code requirement in most jurisdictions and a common deficiency.
Note
The dishwasher high-loop is one of the most frequently missed kitchen defects. Open the cabinet under the sink and look for the drain hose — it should rise to the underside of the countertop before connecting to the disposal or drain tailpiece. If it runs straight across the bottom of the cabinet, flag it.
Faucet
- Operation — Run hot and cold. Check for drips at the base and spout when turned off. Test the sprayer if equipped.
- Water pressure and temperature — Note if pressure seems low compared to other fixtures. Hot water should arrive within a reasonable time.
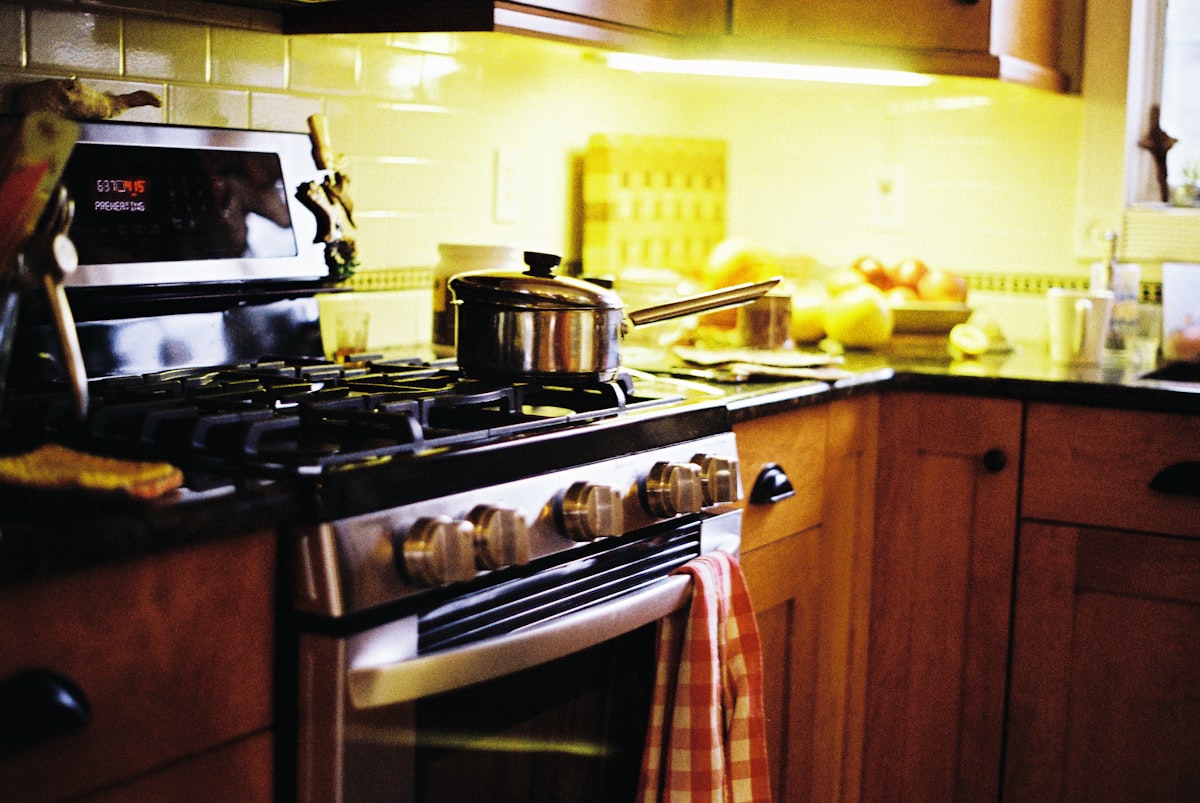
Appliances: Test Everything That's Built In
Built-in kitchen appliances are part of the home inspection. Freestanding appliances that simply plug in (like a portable microwave on the counter) are generally excluded, but anything built into the structure is fair game.
Range/Oven
- Burner operation — Turn on every burner (gas or electric) and verify it heats. On gas ranges, all burners should ignite within a few seconds. Delayed ignition or clicking without flame means igniter or gas valve issues.
- Oven function — Turn the oven to 350°F and verify the heating element activates (you can feel heat at the door within a minute or two). If the home has a dual oven, test both. You're not verifying calibration — just function.
- Gas smell — On gas ranges, sniff around the connections and behind the range before and after turning on burners. Any persistent gas odor is a safety concern. Document and recommend evaluation by the gas utility or a qualified technician.
- Anti-tip bracket — Freestanding ranges should have an anti-tip bracket securing the rear to the floor or wall. Pull gently on the top front edge of the range — if it tips forward, the bracket is missing or not engaged. This is a documented safety hazard, especially in homes with children. Note its presence or absence.
- Range condition — Cracked glass cooktops, damaged knobs, non-functioning oven lights, and broken door seals are all worth documenting.
Dishwasher
- Run a cycle — Start the dishwasher and let it fill. Listen for the wash cycle to begin. Check under the door for leaks once it's running. Open the door mid-cycle to verify water is present and the spray arm is moving.
- Door seal — Inspect the rubber gasket around the door for mold, cracks, and deterioration.
- Interior condition — Look for rust, mineral buildup, and food debris in the filter area.
- Connection to drain — Verify the high loop or air gap as noted in the plumbing section above.
Built-In Microwave
- Operation — Place a cup of water inside and run it for 30 seconds. The water should be warm. Test the door latch, interior light, and turntable.
- Mounting — Over-the-range microwaves should be securely fastened to the cabinet above and the wall behind. Grab it gently and check for looseness. A falling microwave is a serious injury hazard.
- Ventilation — Over-the-range units double as range hoods. Test the fan and light. Check whether it vents to the exterior or recirculates (more on this below).
Range Hood / Exhaust Fan
- Fan operation — Turn on every speed and verify the fan runs. Listen for excessive noise, vibration, or rattling.
- Light function — Test the light(s). Many hood lights have two bulbs — check both.
- Filter condition — Slide out or pop off the grease filter(s). Heavy grease buildup indicates poor maintenance. Aluminum mesh filters should be cleanable; charcoal filters in recirculating hoods need periodic replacement.
Ventilation: Exterior Exhaust vs. Recirculating
This is a bigger deal than most inspectors give it credit for. Kitchen ventilation directly affects indoor air quality, moisture management, and grease accumulation.
Exterior-Vented Hoods
- Verify exterior termination — Go outside and confirm the duct terminates through the wall or roof with a proper cap and damper. Many range hoods are installed with ductwork that dead-ends in the cabinet above or into the attic — same problem as bathroom fans exhausting into the attic.
- Damper function — The exterior damper flap should open when the fan runs and close when it stops. A stuck-open damper lets cold air (and sometimes pests) into the kitchen. A stuck-closed damper means the fan is moving air nowhere.
- Duct material — Smooth metal duct is preferred. Flex duct reduces airflow and collects grease. Note the material if visible.
Recirculating Hoods
- Note in report — Recirculating hoods filter and return air to the kitchen. They do not remove moisture, combustion byproducts, or cooking odors as effectively as exterior-vented hoods. This isn't a defect, but it's worth noting — especially with gas ranges, where combustion byproducts should ideally be exhausted outside.
- Charcoal filter — Recirculating hoods use charcoal filters that need replacement. If the hood seems ineffective, the filter may be saturated.
Key Takeaway
Gas ranges without exterior-vented exhaust are increasingly flagged by energy auditors and IAQ specialists. While not a code violation in most jurisdictions, it's a health consideration worth mentioning in your report, especially for clients with respiratory concerns.
Electrical: GFCI Protection and Dedicated Circuits
Kitchens have specific electrical requirements that differ from the rest of the house. The electrical inspection checklist covers the panel and whole-house systems — here, focus on kitchen-specific items.
GFCI Protection
- All countertop receptacles — Every outlet serving a kitchen countertop surface must be GFCI-protected. Test each one with your GFCI tester. This includes outlets behind the range or refrigerator if they serve countertop areas.
- Within 6 feet of the sink — GFCI is required for all receptacles within 6 feet of the sink. Check outlets on either side.
- Test, don't assume — A GFCI outlet that has a "test" and "reset" button doesn't mean it works. Press test — the outlet should lose power. Press reset — power returns. If it doesn't trip, or trips but doesn't cut power, it's defective.
Dedicated Circuits
- Refrigerator — Should have its own dedicated 20-amp circuit (most modern codes require it, though some older homes share circuits).
- Dishwasher — Requires a dedicated circuit, typically 20-amp.
- Garbage disposal — Typically on its own circuit or shared with the dishwasher (code varies by jurisdiction).
- Range/oven — Electric ranges require a dedicated 40- or 50-amp 240V circuit. Gas ranges need a standard 120V outlet (often behind the range).
- Microwave — Over-the-range microwaves should have a dedicated circuit.
Outlet Spacing
- Countertop receptacles — Current code requires an outlet within 2 feet of each countertop edge and every 4 feet along the countertop. Older kitchens may not comply — note it as an informational item for pre-1990s homes, as a defect for recent renovations.
Flooring: Water Damage Detection
Kitchen floors take abuse from foot traffic, dropped items, and — most importantly — water. Focus your attention on the areas most likely to see moisture.
Critical Zones
- In front of the dishwasher — Press with your foot. Soft or spongy flooring here means the dishwasher has leaked, is currently leaking, or the supply line has failed at some point. Pull the dishwasher kick plate off if accessible and look for staining on the subfloor.
- Around the sink base — Same test. Water from the sink, supply lines, or drain connections migrates along the cabinet floor and out to the surrounding floor. Discoloration or softness at the cabinet toe kick is a red flag.
- Near the refrigerator — Refrigerators with ice makers have a water supply line (usually ¼" copper or braided) that's prone to leaking at connections. Check the floor next to and behind the fridge.
- Transition areas — Where kitchen flooring meets adjacent room flooring, check for height differences, gaps, or loose transitions that indicate swelling or subfloor movement.
Flooring Types
- Vinyl/LVP — Look for lifting at seams, bubbling, and discoloration. Luxury vinyl plank that's "tenting" or separating at joints usually indicates moisture from below.
- Tile — Check for cracked tiles (especially near the dishwasher and sink), loose tiles that sound hollow when tapped, and deteriorating grout.
- Hardwood — Cupping, crowning, or warping indicates moisture issues. Gaps between boards may be seasonal, but combined with discoloration, they suggest chronic moisture.
Windows and Lighting
Windows
- Operation — Open and close every kitchen window. Verify locks work. Windows painted shut or with broken hardware should be noted.
- Condensation — Moisture between double-pane glass means a failed seal. In the kitchen, this happens faster due to cooking moisture.
- Condition — Check for deteriorating glazing, rotting sills (on wood windows), and drafts around frames.
Lighting
- Function — Test all kitchen lights, including under-cabinet lighting, pendant lights, and recessed cans.
- Recessed lighting in insulated ceilings — If the kitchen is below an insulated attic, verify recessed lights are IC-rated (insulation contact). Non-IC-rated fixtures in contact with insulation are a fire hazard. You may catch this during the attic inspection.
Reporting Tips: Document Like You'll Be Deposed
Kitchen findings generate more client questions than almost any other section of the report. Be specific, be visual, and be clear about severity.
Best Practices
- Photograph under the sink — Every single inspection. Even if it's clean and dry, a photo proves you looked. If there's damage, the photo tells the story better than words.
- Separate functional from cosmetic — A stained countertop is cosmetic. A cracked countertop with visible substrate swelling is functional. Your report should make this distinction clear.
- Note appliance ages when visible — Model and serial numbers on appliances often encode the manufacture date. A 15-year-old dishwasher isn't a defect, but it's useful context for the client.
- Call out safety items clearly — Missing GFCI protection, absent anti-tip brackets, gas odors, and missing dishwasher high loops are safety items. Flag them prominently in your report.
- Reference applicable standards — When noting a deficiency, a brief reference to the applicable standard (IRC, NEC, or manufacturer's installation requirements) adds credibility and protects you professionally.
Note
A complete kitchen inspection touches plumbing, electrical, appliances, ventilation, and structural components. Using a systematic checklist — and documenting each item even when it's in good condition — protects you against claims that you missed something. "Inspected, functional, no visible defects" is a finding worth recording.
Streamline Your Kitchen Inspection Documentation
A thorough kitchen inspection checklist generates a lot of findings — from GFCI outlets to garbage disposal drains to anti-tip brackets. Keeping track of it all while you're crouched under a sink with a flashlight in your teeth isn't easy with paper or clunky tablet apps.
ReportWalk lets you document kitchen findings by voice as you inspect. Describe what you see, and the app structures it into a professional report — no typing, no stopping to tap through menus. It's available on iOS and built specifically for inspectors who need their hands free in the field.
Your kitchen inspection checklist is only as good as the report that comes out of it. Make sure your documentation matches your diligence.