Door & Window Leak Testing: An Inspector’s Field Checklist + Report Wording
Water intrusion around windows and doors is one of the most common “mystery” issues in inspections.
The tricky part is that a home inspection is usually visual + non-invasive. You’re not doing a controlled ASTM water test. You’re documenting observable evidence, identifying likely contributors, and recommending the right next step.
This checklist gives you a practical workflow: what to look for, what photos matter, and how to write it up without overpromising.
Important
Do not perform invasive leak testing or prolonged hose testing unless your SOP, client agreement, and safety conditions allow it. Uncontrolled water testing can cause damage.
Step 1: Start With the “Why” (Most Leaks Are Detailing)
Common root causes:
- missing/incorrect head flashing
- failed sealant at trim/penetrations
- poor integration of WRB (weather-resistive barrier)
- window/door installation errors
- negative grade/splashback at openings
Step 2: Interior Clues (Evidence You Can Document)
Look for:
- staining at window corners or sill line
- bubbled/peeling paint
- swollen baseboards/trim
- soft drywall at lower corners
- musty odor localized near opening
Photo set:
- room context
- window/door in frame
- close-up of staining/damage
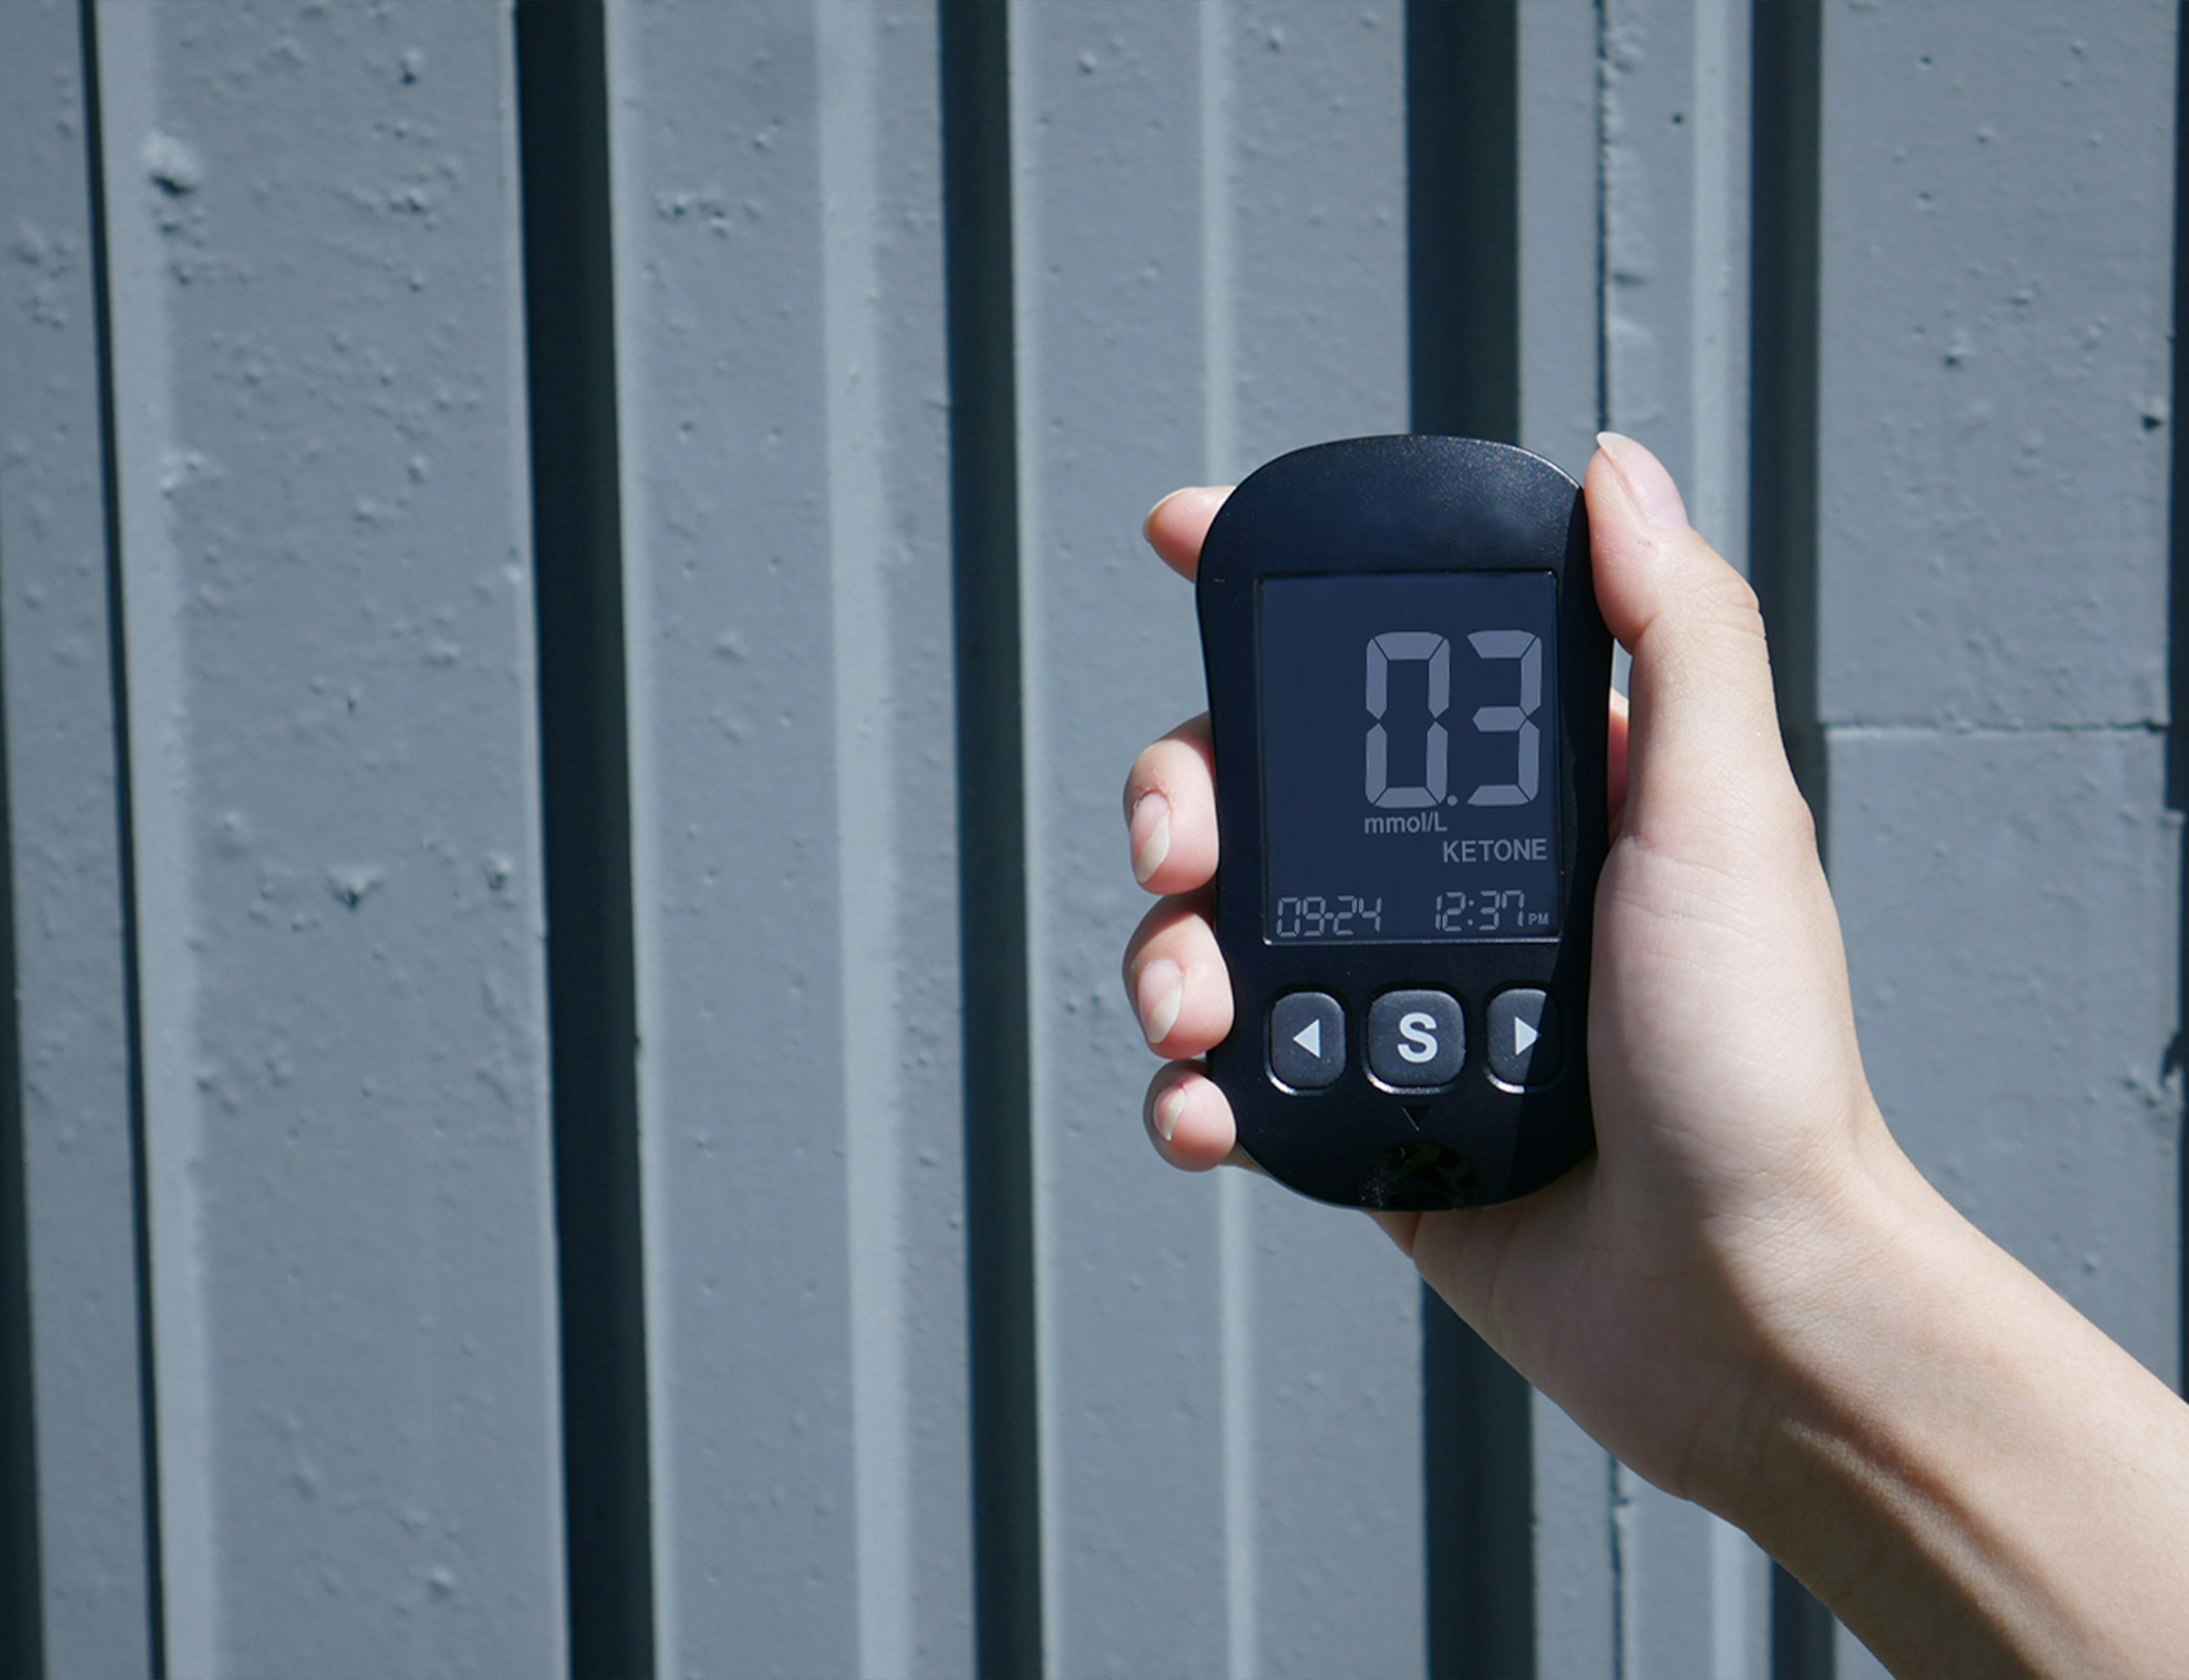
- meter reading in frame (if used)
Step 3: Exterior Clues (Where Water Likely Enters)
Check:
- caulk/sealant continuity at trim joints
- cracks/gaps at corners and head trim
- cladding termination above window/door
- missing kickout flashing at roof-to-wall near openings
- gutters/downspouts dumping water onto walls
Photo set:
- opening + surrounding cladding (wide)
- close-up of gaps/failed sealant
- drainage sources (downspout, valley discharge)
Step 4: “Leak Testing” (What You Can Say Without Overreaching)
If you did not perform controlled water testing, say so.
Better framing:
- “Evidence consistent with moisture intrusion observed.”
- “Exact source could not be confirmed during a visual inspection.”
If you did run a brief, limited spray (only if permitted):
- document duration and method
- stop immediately if leakage occurs
Step 5: Report Language Templates
Suspected window leak (source not confirmed)
“Staining and finish damage observed at the interior wall below the ____ window. Conditions are consistent with moisture intrusion. The exact source could not be confirmed during a visual inspection. Recommend further evaluation and repairs by a qualified contractor experienced in window flashing/building envelope.”
Door threshold / sill concern
“Evidence of moisture impact observed at the door threshold/sill area. Recommend evaluation and correction of exterior detailing (threshold/flashings/sealant) to reduce continued moisture intrusion.”
Limitation language
“Leak testing was not performed (non-invasive visual inspection only). Concealed flashing/WRB conditions are not visible. Recommend specialist evaluation if active leakage is suspected.”
Quick Field Checklist (Copy/Paste)
- Interior: stain/paint bubbling/trim swelling documented
- Meter: baseline + comparative readings (if used)
- Exterior: sealant gaps and cladding termination checked
- Exterior: drainage sources (downspouts, valleys) checked
- Limitations stated (no invasive testing)
- Clear next step: envelope/window specialist
Where ReportWalk Helps
Window/door moisture notes are easy to write too vaguely (“stain noted”) or too strongly (“window leaks”). ReportWalk helps you dictate a clean finding: location → evidence → limitation → recommendation, paired with the right photos.