Crawl Space Inspection: What Inspectors Look For
Nobody wants to go into a crawl space.
It's dark, cramped, usually dirty, sometimes wet, occasionally home to wildlife, and always the place where a home's worst secrets hide. There's a reason "crawl space" has become shorthand for the most unpleasant part of any inspection.
But crawl spaces are also where inspectors find the problems that matter most — structural damage, moisture intrusion, pest infestations, and failing mechanical systems. A house can look perfect from the curb and have a crawl space that tells a completely different story.
If you're buying a home with a crawl space, getting a proper inspection isn't optional. If you're an inspector, the crawl space is where you earn your fee. Here's what to look for.
What Is a Crawl Space?
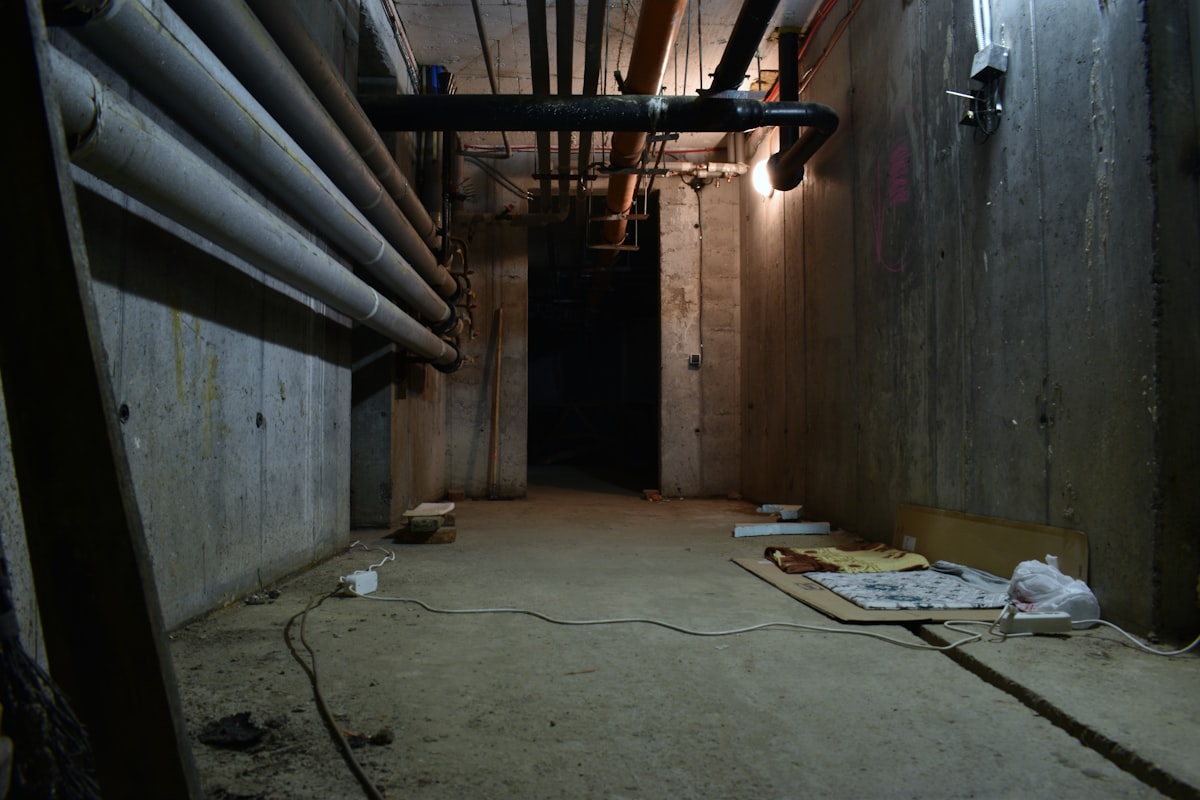
A crawl space is the shallow area between the ground and the first floor of a home. It's typically 18 inches to 4 feet tall — enough to crawl through (hence the name) but not enough to stand in.
Crawl spaces exist because not every home sits on a full basement or a concrete slab. They're common in:
- Southern and southeastern states where frost lines are shallow
- Homes built on sloped lots where a full basement isn't practical
- Older homes built before slab-on-grade became popular
- Homes in flood-prone areas elevated above grade
The crawl space provides access to plumbing, electrical, HVAC ductwork, and the underside of the floor structure. It also serves as a buffer between the home and the ground — which is both an advantage and a potential problem.
Why Crawl Space Inspections Matter
The crawl space is a leading indicator of a home's overall health. Moisture that enters the crawl space doesn't stay there — it migrates upward into the living space through a process called the "stack effect." Warm air rises through the house, pulling crawl space air (and whatever's in it) up through the floor.
Research by Advanced Energy found that up to 50% of the air you breathe on the first floor of a home comes from the crawl space. If that crawl space has mold, moisture, or pest contamination, you're breathing it.
Beyond air quality, crawl space problems lead to:
- Structural damage from moisture-rotted floor joists and beams
- Foundation settlement from water erosion or poor drainage
- Energy waste from uninsulated or poorly sealed crawl spaces
- Pest infestations that go undetected until damage is severe
- Plumbing failures from corroding pipes in a damp environment
The crawl space is also the one area most homeowners never enter. Problems can develop for years before anyone notices.
The Complete Crawl Space Inspection Checklist
Foundation Walls and Piers
The foundation is the first thing an inspector evaluates. They're looking for:
- Cracks — Horizontal cracks in block foundation walls are serious (lateral soil pressure). Vertical cracks may indicate settlement. Stair-step cracks along mortar joints suggest differential movement.
- Displacement — Are walls bowing, leaning, or shifting? Even minor displacement can indicate significant lateral pressure.
- Piers — Are support piers plumb (vertical) and properly bearing on footings? Shifted or sinking piers cause uneven floors above.
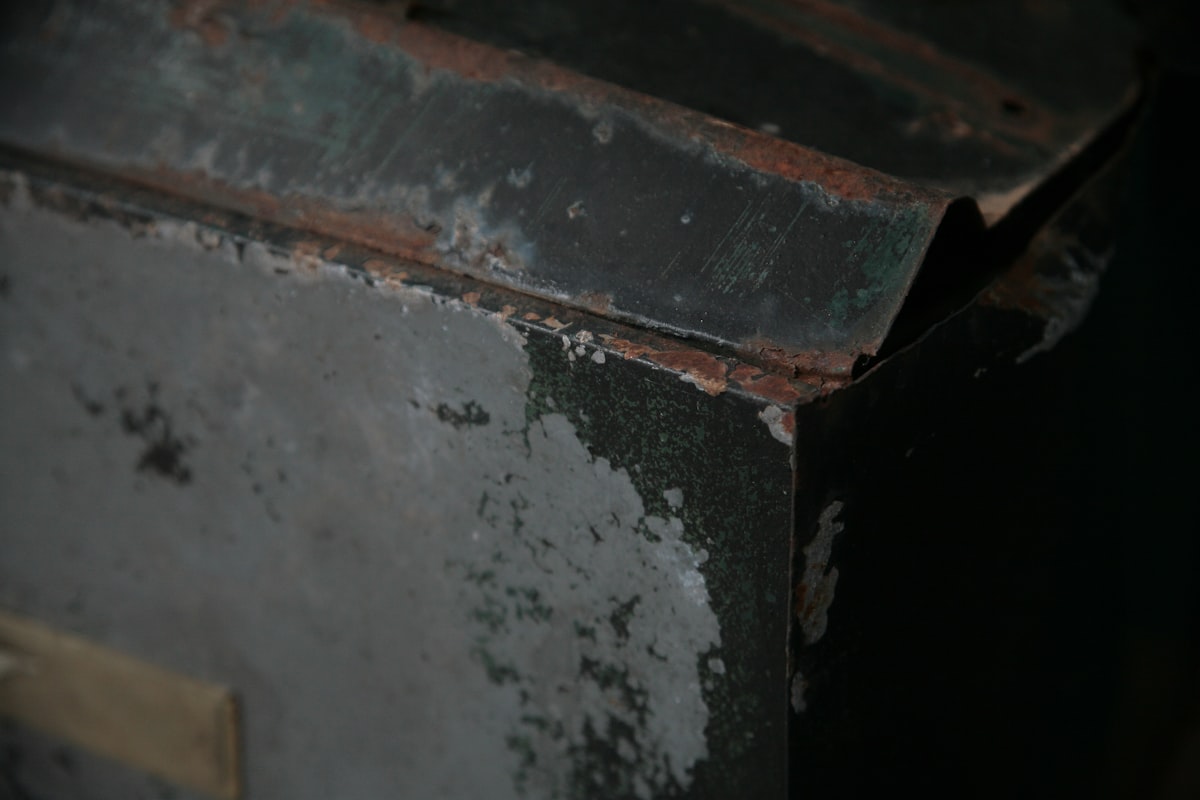
- Mortar condition — In block or brick foundations, deteriorating mortar joints allow water infiltration and reduce structural capacity.
- Efflorescence — White mineral deposits on foundation walls indicate water migrating through the masonry. It's not damage itself, but it's evidence of moisture movement.
Note
Horizontal cracks in concrete block foundation walls are the most concerning finding in a crawl space. They indicate lateral soil pressure pushing against the wall. If the crack is wider than 1/4 inch or the wall is visibly bowing, a structural engineer should evaluate it before purchase.
Floor Structure (Joists, Beams, Subfloor)
The wood structure supporting the first floor is fully exposed in the crawl space. Inspectors check:
- Joist condition — Signs of rot, insect damage, splitting, or sagging. Press a screwdriver into the wood — if it sinks in easily, there's decay.
- Beam condition — Main beams (carrying the load from joists to the foundation) are critical. Any sign of rot, cracking, or inadequate support is a major finding.
- Joist-to-beam connections — Are joists properly bearing on beams? Are there joist hangers where required? Improperly supported joists can sag or fail.
- Subfloor condition — Delamination (layers separating in plywood), water staining, or swelling indicate moisture damage from above or below.
- Modifications — Has anyone cut, notched, or removed joists? Improperly modified floor framing compromises structural integrity. Plumbers and HVAC installers are common culprits.
- Sistered joists — Additional joists bolted to existing ones indicate a previous repair. This isn't necessarily bad, but the inspector should note it and evaluate whether the repair was adequate.
Moisture and Water Intrusion
Moisture is the crawl space's enemy number one. An inspector evaluates:
- Standing water — Any pooling water is an immediate concern. Where is it coming from? How long has it been there?
- Water stains — Tide marks on foundation walls or piers show historical high-water levels.
- Relative humidity — A hygrometer reading above 60% indicates excessive moisture. Above 70% is a mold-favorable environment.
- Condensation — Water droplets on pipes, ductwork, or the subfloor surface indicate a dewpoint problem.
- Ground moisture — Is the soil damp or dry? Is there a vapor barrier (plastic sheeting) covering the ground?
- Drainage — Is the grade sloping away from the foundation? Are there signs of water intrusion at the perimeter?
Vapor Barrier
A vapor barrier is a sheet of polyethylene plastic (typically 6-mil or thicker) laid over the exposed soil in the crawl space. Its job is to prevent ground moisture from evaporating into the crawl space air.
Inspectors check:
- Is there a vapor barrier at all? Many older homes lack one entirely.
- Coverage — Does it cover the entire ground surface, or just patches?
- Condition — Is it intact, or torn and bunched up?
- Seams — Are seams overlapped by at least 6 inches?
- Attachment to walls — Is it sealed to the foundation walls, or just laid on the ground?
A missing or inadequate vapor barrier is one of the most common crawl space deficiencies. It's also one of the easiest and cheapest to fix — installing a 6-mil poly vapor barrier costs $500-$1,500 for most crawl spaces.
Ventilation
Crawl space ventilation is one of the most debated topics in building science. Traditional practice called for vented crawl spaces (foundation vents that allow outside air to circulate). Modern building science increasingly favors sealed, conditioned crawl spaces.
The inspector evaluates what's present:
- Vented crawl space — Are vents present and functional? Are they blocked or covered? Are there enough vents for the square footage? (The traditional rule is 1 sq ft of vent per 150 sq ft of crawl space, or 1:1,500 with a vapor barrier.)
- Sealed crawl space — Is the space properly sealed (vapor barrier on ground and walls, vents closed, conditioned air supply)? Is there a dehumidifier?
- Hybrid situations — Many homes have been partially modified — some vents sealed, others open, no conditioning. This often performs worse than either approach done properly.
Key Takeaway
In humid climates (Southeast, Gulf Coast), vented crawl spaces often create MORE moisture problems than they solve. Summer air entering through vents carries humidity that condenses on cooler surfaces inside the crawl space. If you're buying in a humid climate and the crawl space is vented, consider encapsulation as a future upgrade.
Insulation
Crawl space insulation placement depends on whether the space is vented or sealed:
- Vented crawl space — Insulation goes between floor joists (underside of the living floor). The inspector checks if it's present, what type (fiberglass batts are most common), whether it's properly supported (not falling down), and whether it's moisture-damaged.
- Sealed crawl space — Insulation goes on the foundation walls. Rigid foam board or spray foam are typical. The inspector checks coverage and condition.
Falling insulation is one of the most common crawl space findings. Fiberglass batts between joists are held up by friction fit, wire supports, or staples — all of which fail over time in a damp environment. Sagging, fallen, or missing insulation means the floor above is uninsulated.
Plumbing
All supply and drain lines running through the crawl space get evaluated:
- Pipe material — Copper, PEX, CPVC, galvanized steel, cast iron, PVC? Older materials (galvanized supply, cast iron drain) have limited remaining life.
- Leaks — Active drips, water stains, mineral deposits on pipe surfaces, puddles beneath connections.
- Insulation — Are hot water pipes and pipes near exterior walls insulated? Uninsulated pipes in unconditioned spaces are freeze risks.
- Support — Are pipes properly strapped and supported, or hanging loose?
- Drain line condition — Cast iron drain lines in crawl spaces often corrode from the outside in. An inspector may recommend a camera scope for older cast iron.
Electrical
Electrical work in crawl spaces ranges from professional to terrifying. Inspectors look for:
- Junction boxes — All connections must be in covered junction boxes. Open splices (wire nuts with no box) are a safety hazard.
- Wire condition — Is wiring damaged, exposed, or run in a way that creates hazards?
- Clearances — Electrical wiring shouldn't be in contact with plumbing or HVAC ductwork.
- Grounding — Is the electrical system properly grounded?
- DIY work — Extension cords used as permanent wiring, exposed Romex run across the ground, improper connections — all common findings.
HVAC and Ductwork
Many homes run HVAC ductwork through the crawl space. The inspector checks:
- Duct condition — Flexible ducts can disconnect, sag, or develop tears. Metal ducts can separate at joints or corrode.
- Insulation — Is ductwork insulated? Uninsulated ducts in an unconditioned crawl space waste significant energy.
- Connections — Are all joints sealed with mastic or approved tape? (Duct tape, ironically, is terrible for duct sealing.)
- Condensation — Ducts carrying cold air through a humid crawl space will sweat. This creates moisture problems and potential mold on duct insulation.
- HVAC equipment — If a furnace, air handler, or water heater is in the crawl space, the inspector evaluates its condition, clearances, and combustion air supply.
Pest Evidence
Crawl spaces are prime real estate for unwanted tenants:
- Termites — Mud tubes on foundation walls or piers are evidence of subterranean termites. Wood damage (hollow-sounding joists, visible galleries) indicates active or historical infestation.
- Carpenter ants — Sawdust piles (frass) beneath wood members.
- Rodents — Droppings, nesting material, gnawed wood or wiring, entry points at the perimeter.
- Other wildlife — Snakes, possums, raccoons, and cats all find crawl spaces attractive. Evidence of animal habitation may include waste, nesting, or damage to insulation and vapor barriers.
- Wood-destroying organisms — Beyond termites, wood-boring beetles (powderpost beetles, old house borers) leave small exit holes in wood members.
How Much Does a Crawl Space Inspection Cost?
A crawl space inspection is typically included in a standard home inspection, which runs $300-$500 depending on the home's size and location.
If you need a standalone crawl space inspection (for an existing home, not during a purchase), expect to pay $150-$300. A more comprehensive assessment with moisture testing, thermal imaging, and detailed reporting may cost $300-$600.
Specialized inspections (termite/WDO, structural engineering) are additional and typically run:
- Termite/WDO inspection: $50-$150
- Structural engineering assessment: $300-$800
- Mold testing: $200-$600
Common Crawl Space Problems (Ranked by Severity)
Critical (Address Before Purchase or Immediately)
- Structural damage — Rotted or damaged joists, beams, or piers
- Active water intrusion — Standing water or active leaks
- Foundation wall failure — Horizontal cracks with bowing
- Active termite infestation — Mud tubes and fresh damage
Major (Address Within 6-12 Months)
- No vapor barrier — Ground moisture evaporating freely
- Significant mold growth — On joists, subfloor, or insulation
- Failing plumbing — Corroded pipes, slow leaks
- Inadequate drainage — Grading issues causing water pooling
Minor (Monitor and Address as Budget Allows)
- Fallen insulation — Energy waste but not structural
- Disconnected ductwork — Energy waste and comfort issues
- Minor efflorescence — Monitor for progression
- Old but functional plumbing — Plan for eventual replacement
Crawl Space Encapsulation: Is It Worth It?
Encapsulation is the process of sealing a crawl space completely — heavy-duty vapor barrier on the floor and walls, sealed vents, and a dehumidifier or conditioned air supply to control humidity.
It's not cheap. Full encapsulation typically costs $5,000-$15,000 depending on the size of the crawl space and local labor costs.
But the benefits are real:
- Moisture control — Eliminates the primary source of crawl space problems
- Energy savings — A sealed, insulated crawl space reduces heating and cooling costs by 15-20%
- Pest deterrence — Sealed entries reduce pest access
- Structural preservation — Dry wood doesn't rot
- Air quality — Cleaner air entering the living space above
If a crawl space inspection reveals persistent moisture issues, encapsulation is often the most cost-effective long-term solution. Treating symptoms (mold remediation, repeated pest treatment) without addressing the underlying moisture problem is like bailing water without fixing the leak.
Inspecting a Crawl Space: Practical Tips for Inspectors
Crawl space inspections are physically demanding and occasionally hazardous. For inspectors:
- Safety first. Check for standing water before entering (electrical hazard). Look for signs of animal activity. Wear a respirator — not a dust mask — especially in spaces with visible mold or animal waste.
- Bring the right gear. Headlamp (hands-free), moisture meter, screwdriver (for probing wood), knee pads, Tyvek suit, and a good camera.
- Work systematically. Start at the access point, work the perimeter, then zigzag through the interior. Don't skip areas because they're hard to reach — that's where the problems hide.
- Document everything. The crawl space is the one area your client will never see themselves. Your photos and descriptions ARE their eyes.
That last point is critical. Unlike a kitchen or bathroom, the client will never independently verify your crawl space findings. Your documentation has to stand on its own — clear photos, specific locations, and plain-language descriptions of what you found and why it matters.
Key Takeaway
Crawl space documentation is where voice-first reporting tools shine. You're on your hands and knees with a flashlight in one hand — typing isn't happening. ReportWalk lets you dictate findings and snap photos as you go, then generates a structured report afterward. Your client gets professional documentation without you stopping to type notes in a dark, cramped space.
What Buyers Should Do With Crawl Space Findings
If the inspection reveals crawl space issues:
- Don't panic. Almost every crawl space has findings. The question is whether they're deal-breakers, negotiation items, or maintenance tasks.
- Get specialized assessments when needed. Foundation cracks warrant a structural engineer. Active termites need a pest professional. Major mold needs a qualified remediator.
- Negotiate based on severity. Critical items are reasonable repair requests. Minor items are maintenance — don't torpedo a deal over fallen insulation.
- Budget for improvements. Even if the seller won't fix everything, knowing what the crawl space needs helps you plan post-purchase spending.
- Re-inspect after repairs. If the seller agrees to crawl space repairs, verify the work was done properly before closing.
Bottom Line
The crawl space tells the truth about a home. It's where moisture, structural, and pest problems reveal themselves — usually before they become visible in the living space above.
Whether you're buying a home or inspecting one, the crawl space deserves thorough attention. A 20-minute walkthrough of the crawl space can save tens of thousands in unexpected repairs and protect the health of everyone living above it.
Don't skip it. Don't rush it. And don't trust anyone who tells you the crawl space "looked fine" without actually going in.
Inspectors: make crawl space documentation effortless with ReportWalk. Dictate findings hands-free while you inspect, and get a professional report with embedded photos — no typing required. Available on the App Store.