Bathroom Inspection Checklist: What Every Inspector Should Document
Bathrooms account for more moisture-related damage, more code concerns, and more post-inspection callbacks than almost any other room in the house. A thorough bathroom inspection checklist isn't just about checking boxes — it's about systematically evaluating every component in a space where water, electricity, and aging materials intersect daily.
I've seen inspectors breeze through bathrooms in two minutes and miss soft subfloor under the toilet, a non-functioning exhaust fan ducted into the attic, and a GFCI outlet that trips when you actually test it. Those are the findings that end up in complaint letters. The bathroom deserves the same careful attention you give the electrical panel or the roof.
This checklist covers every system and component you should evaluate in a residential bathroom, with field-tested tips on what to look for and how to document it.
Moisture and Water Damage: The First Thing You Check
Before touching a single fixture, stand in the doorway and look. Bathrooms tell you their story if you take five seconds to read the room.
Visual Indicators of Moisture Problems
- Soft or spongy flooring — Press the floor around the toilet base, tub/shower perimeter, and in front of the vanity with your foot. Soft spots mean moisture has reached the subfloor. This is the single most common bathroom defect, and it's the one most often missed because inspectors don't press down.
- Peeling, bubbling, or flaking paint — Especially on the ceiling and upper walls. This signals sustained humidity exposure and/or inadequate ventilation.
- Mold or mildew — Check corners, grout lines, caulk joints, under the vanity, and around the base of the toilet. Surface mold on grout is cosmetic. Mold on drywall, ceiling, or behind the toilet tank suggests a bigger problem.
- Staining on ceiling below — If you're inspecting a second-floor bathroom, check the ceiling in the room directly below for water stains. This is your early warning system for plumbing leaks or shower pan failures.
- Warped or buckled baseboards — Wood baseboards that are swollen, warped, or pulling away from the wall indicate water exposure at floor level.
- Damaged or loose flooring — Vinyl lifting at seams, tile grout cracking in patterns, or laminate swelling all point to moisture intrusion from below or chronic surface water exposure.
Key Takeaway
Carry a moisture meter and use it. A quick reading on the floor next to the toilet base and along the tub/shower wall base takes 30 seconds and gives you data instead of guesswork. Elevated readings (above 15–17% on most meters) warrant further investigation and should be noted in your report.
Ventilation: Exhaust Fan Assessment
Bathroom ventilation isn't glamorous, but it's the first line of defense against every moisture problem on this checklist. A non-functioning or improperly installed exhaust fan is a defect, full stop.
What to Check
- Does the fan work? Turn it on. Listen. If it sounds like a helicopter or barely moves air, note it.
- CFM rating — Check the label on the fan housing (usually visible from below or by removing the cover). Bathrooms under 100 sq ft need a minimum of 50 CFM. Larger bathrooms need 1 CFM per square foot. Many older homes have 30–40 CFM fans that are inadequate for the space.
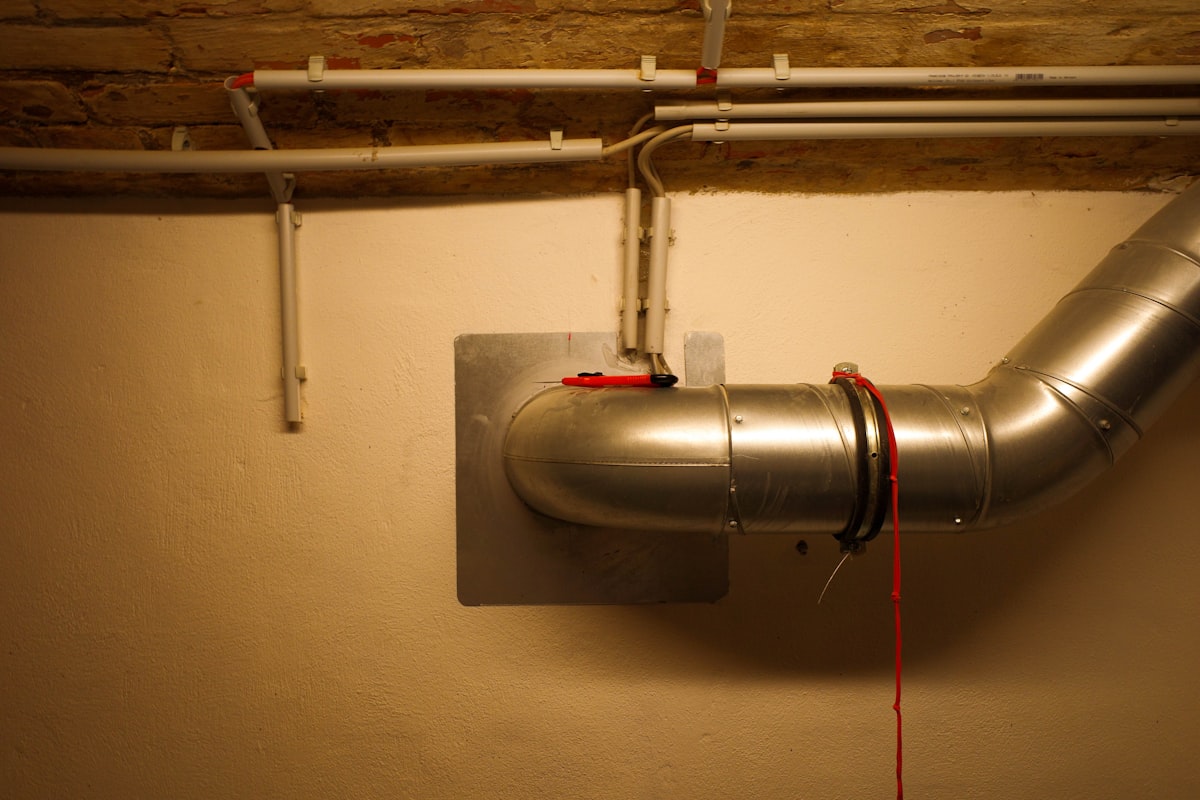
- Ducting termination — Where does the duct go? It must terminate to the exterior. Exhaust fans ducted into the attic are a defect — they pump warm, moist air directly into the attic space, causing condensation, wood rot, and mold growth. You may need to verify termination in the attic during your attic inspection.
- Duct material — Rigid metal duct is preferred. Flexible vinyl or foil duct that's crushed, kinked, or excessively long reduces airflow dramatically.
- Window as sole ventilation — In some older homes, there's no exhaust fan — just an operable window. Note this as a limitation. While some older codes allowed windows as sole bathroom ventilation, modern standards require mechanical exhaust.
Documentation Tips
Note the fan's condition, approximate CFM (if readable), whether it's functional, and duct termination (if verifiable). If you can't verify termination from the bathroom, note that and check during your attic inspection.
Plumbing: Supply, Drain, and Shut-Offs
Bathrooms concentrate more plumbing connections in a small space than anywhere else in the house. Evaluate each one systematically.
Supply Lines
- Material — Note supply line material (copper, PEX, CPVC, galvanized, braided stainless). Galvanized supply lines in older homes are a maintenance concern due to internal corrosion and flow restriction.
- Connections — Look under the sink for active drips, mineral deposits (white/green crusty buildup), or corrosion at connection points.
- Shut-off valves — Test each individual shut-off valve (sink hot, sink cold, toilet). Turn them clockwise until snug. Many older gate valves won't fully shut off or will leak from the packing nut when operated. Document non-functional shut-offs — this is information the buyer needs.
Drain Function
- Sink drain — Run water for 30–60 seconds. Watch for slow drainage, gurgling (indicates venting issues), or leaks at the trap and connections below.
- Tub/shower drain — Run the shower for several minutes. Watch the drain rate. A slow tub drain that backs up to ankle level within a minute indicates a partial blockage.
- Toilet — Flush and observe. The bowl should empty and refill within 10–15 seconds. A slow or weak flush can indicate a partial blockage, failing flapper, or low water level in the tank.
Water Pressure
Run the sink and shower simultaneously. Significant pressure drop when both are running suggests undersized supply lines or overall system pressure issues. This isn't a bathroom-specific defect per se, but bathrooms are where pressure problems become most apparent.
Note
Under-sink plumbing is where new inspectors miss things most often. Get on your knees, use your flashlight, and look at every connection. It takes 30 seconds and catches active leaks, improper S-traps, missing P-traps, and corroded supply connections that you can't see standing up.
GFCI Protection: Test Every Outlet
Ground Fault Circuit Interrupter protection is required for all bathroom receptacles. This is non-negotiable in every code cycle since 1975, and it's one of the most commonly cited defects in home inspections.
Testing Procedure
- Plug in your GFCI tester (a $10 tool that should live in your pocket during every inspection)
- Press the "test" button on the tester
- The GFCI should trip — power should cut off
- Press the "reset" button on the GFCI outlet (or locate the upstream GFCI that protects the circuit)
- Power should restore
What to Document
- No GFCI protection present — Older homes may have standard outlets with no GFCI protection. This is a safety defect. Recommend upgrade.
- GFCI won't trip — If the outlet doesn't trip when tested, it's non-functional. Document and recommend replacement.
- GFCI won't reset — This typically means the device has failed. Document and recommend replacement.
- GFCI location — Protection may come from a GFCI breaker in the electrical panel rather than a GFCI outlet. Test at the outlet regardless — the protection must be functional wherever it originates.
- Extension cords or adapters — Note if outlets are insufficient for the space (single outlet requiring multi-plug adapters), which often leads to improper extension cord use near water.
Tile and Grout Condition
Tile and grout are the bathroom's armor against water penetration. When they fail, moisture gets behind the wall, and that's where the real damage starts.
What to Check
- Cracked tiles — Individual cracked tiles on walls or floors can allow moisture behind the surface. On floors, cracked tiles near the toilet or tub edge may indicate subfloor movement.
- Missing or crumbling grout — Run your finger along grout lines in the shower surround. If grout crumbles or is missing entirely, water is getting behind the tile. This is especially critical in shower areas.
- Hollow-sounding tiles — Tap tiles in the shower surround with your knuckle. A hollow sound (versus solid) indicates the tile has debonded from the substrate. This is a moisture infiltration risk.
- Grout discoloration — Dark or discolored grout lines in a shower aren't just cosmetic — they often indicate mold growth within the grout, which signals sustained moisture presence.
Shower Walls and Surrounds
- Fiberglass/acrylic surrounds — Check for cracks, especially at corners and around fixtures. Hairline cracks in fiberglass surrounds are common and allow water behind the unit.
- Tile surrounds — Evaluate the substrate. Greenboard (moisture-resistant drywall) was acceptable under older codes but is no longer approved for wet areas. Cement board (HardieBacker, Durock) is the current standard. You generally can't see the substrate, but if tiles are failing at the bottom of the shower wall, suspect an inadequate substrate.
Caulking: The Overlooked Critical Sealant
Caulk is the last line of defense at transitions — where the tub meets the wall, where the shower pan meets the surround, and where the toilet meets the floor. Deteriorated caulk is one of the most common (and most consequential) bathroom defects.
Where to Check
- Tub/shower-to-wall joint — This is the #1 water intrusion point in bathrooms. The caulk bead along the top of the tub where it meets the tile or surround should be continuous, flexible, and intact. Gaps, cracks, peeling, or missing caulk here means water is getting behind the wall with every shower.
- Shower pan-to-surround joint — Same principle. Check where the shower floor meets the walls.
- Toilet base — A continuous bead of caulk around the toilet base prevents water from seeping under the toilet (and prevents sewer gases from escaping around the wax ring). Missing caulk here is a minor maintenance item, but some jurisdictions require it by code.
- Sink/vanity-to-wall joint — Less critical than tub/shower joints but still worth noting if water is splashing behind the vanity and reaching the wall.
- Backsplash transitions — Where backsplash tile meets the countertop or wall.
Key Takeaway
When reporting caulking defects, be specific. "Deteriorated caulk at tub-to-tile joint, right wall — recommend removal and re-caulking with silicone sealant" is far more useful than "caulk needs work." Specific locations help contractors, buyers, and agents understand exactly what needs attention.
Toilet: More Than Just a Flush Test
The toilet gets basic treatment from many inspectors — flush it, confirm it works, move on. But there's more to check, and the defects you find here often indicate larger issues.
Complete Toilet Assessment
- Rocking or movement — Grab the bowl at the seat and try to rock it side to side and front to back. Any movement means the toilet isn't properly secured. Causes include: loose closet bolts, deteriorated wax ring, rotted subfloor around the flange, or a broken flange.
- Wax ring integrity — You can't see the wax ring directly, but signs of failure include: water staining around the toilet base, sewer smell in the bathroom, and a rocking toilet. If the ceiling below shows water staining directly beneath the toilet location, suspect a wax ring failure.
- Flush performance — A single full flush should clear the bowl completely. Running water after the flush cycle completes, continuous water sound from the tank, or tank components that don't shut off indicate fill valve or flapper issues.
- Tank components — Remove the tank lid and observe the flush cycle. Check the fill valve, flapper, overflow tube, and supply connection. Look for mineral deposits, corrosion, and signs of prior repairs (mismatched components).
- Seals and connections — Check the supply line connection at the shut-off valve and at the tank. Look for active dripping, corrosion, and mineral buildup.
- Floor condition around toilet — Press the floor within 12 inches of the toilet base on all sides. Soft floor here is one of the most common and most significant bathroom defects. It usually indicates a long-term wax ring leak that has damaged the subfloor.
Tub and Shower: Function and Enclosure
Functional Testing
- Hot and cold supply — Run both. Confirm hot and cold are correctly oriented (hot on left is standard).
- Diverter operation — Pull the tub diverter to send water to the shower head. It should redirect cleanly. A diverter that leaks significantly from the tub spout while the shower runs needs service.
- Shower head flow — Note if flow seems abnormally low (could indicate galvanized pipe restriction or a pressure issue).
- Tub drain — Fill the tub with 2–3 inches of water, then drain. Watch for slow drainage and check below (if accessible) for leaks.
Enclosure Assessment
- Shower door/enclosure — Glass doors should operate smoothly on tracks, latch properly, and have tempered glass (look for the small etched mark in a corner). Frameless glass should be securely mounted.
- Shower curtain rod — If using a curtain, confirm the rod is secure. A falling curtain rod isn't a major defect, but note if mounting hardware has damaged the wall.
- Tub/shower surround condition — As covered in the tile section, check for cracks, gaps, missing grout, and deteriorated caulk.
Vanity, Sink, and Countertop
- Sink condition — Check for chips, cracks, and staining. Porcelain chips expose the substrate to moisture.
- Faucet operation — Run hot and cold. Check for leaks at the base and handle.
- Countertop condition — Note cracks, chips, delamination (on laminate), or loose areas.
- Vanity cabinet — Open the cabinet doors and look inside. Check for active leaks, water staining, mold, warped cabinet floor, and damaged plumbing connections.
- Drawers and hardware — Operate drawers and cabinet doors. Note if moisture damage has warped components.
Medicine Cabinet, Towel Bars, and Accessories
These seem minor, but they're worth a quick look:
- Medicine cabinet — Recessed cabinets should be secure in the wall opening. Surface-mounted cabinets should be firmly attached. Check for mirror condition and hinge function.
- Towel bars and toilet paper holders — These are actually useful moisture indicators. Towel bars that are pulling away from the wall, especially in shower-adjacent areas, often indicate moisture-compromised drywall behind the mounting point. Loose towel bars behind the toilet or near the tub deserve a closer look at the wall condition.
- Grab bars — If present, test for secure mounting. Improperly installed grab bars (into drywall only, without blocking or toggle bolts) are a safety hazard. They should feel absolutely solid.
Note
Towel bar and accessory mounting failure is a surprisingly useful diagnostic. When a towel bar pulls out of the wall easily, it often reveals deteriorated drywall behind it. I've found hidden moisture damage behind towel bar mounting points that led to discovering significant water intrusion from adjacent shower walls. Don't ignore loose accessories — investigate why they're loose.
Bathroom Inspection Reporting Tips
A thorough inspection is only valuable if the report communicates findings clearly. Here's how to document bathroom defects effectively:
Photo Documentation
- Before-and-after shots — Photograph the overall bathroom condition plus close-ups of specific defects
- Under-sink photos — Every bathroom should include at least one photo showing the plumbing under the sink
- Moisture meter readings — If you get elevated readings, photograph the meter on the surface where the reading was taken
- Caulking defects — Close-up photos of deteriorated caulk tell the story better than words alone
Report Language
- Be specific about locations: "left wall of shower surround" rather than "shower wall"
- Distinguish between cosmetic issues and functional defects — a chipped tile in a dry area is cosmetic; a cracked tile in the shower floor is a moisture concern
- Quantify when possible: "toilet rocks approximately 1/4 inch when pressure is applied" gives more useful information than "toilet is loose"
- Recommend appropriate next steps: "Recommend evaluation by a licensed plumber" versus "needs repair"
Common Bathroom Report Items
| Finding | Category | Recommendation |
|---|---|---|
| No GFCI protection | Safety | Upgrade to GFCI-protected outlets |
| Soft floor at toilet base | Moisture/structural | Evaluate subfloor condition; possible wax ring failure |
| Exhaust fan ducted to attic | Ventilation defect | Re-duct to exterior termination |
| Missing caulk at tub-wall joint | Moisture risk | Remove old caulk and re-seal with silicone |
| Rocking toilet | Maintenance | Secure toilet; evaluate flange and wax ring |
| Slow drain | Plumbing | Clear drain; evaluate for blockage |
Putting It All Together
A solid bathroom inspection follows a logical flow: start with the overall visual assessment (moisture, condition), move to ventilation, then plumbing systems, electrical (GFCI), surfaces (tile, grout, caulk), fixtures (toilet, tub/shower, sink), and finish with accessories. The whole process takes 8–12 minutes per bathroom when you have a system.
The key is consistency. Use the same sequence every time so nothing gets skipped. Whether you're inspecting a single half-bath in a condo or four full bathrooms in a colonial, the checklist doesn't change — only the number of times you run through it.
For inspectors looking to speed up documentation without sacrificing detail, ReportWalk lets you narrate findings as you walk through each bathroom — voice-to-report means you're documenting while inspecting rather than typing notes afterward. Available on iPhone.