Wind Mitigation Inspection: What It Is & Why Florida Needs It
If you own a home in Florida, you're probably paying somewhere between $3,000 and $10,000 a year for homeowner's insurance. That's not a typo. Florida has the highest home insurance premiums in the country — roughly three times the national average.
A wind mitigation inspection can cut that number by 20% to 50%.
That's not marketing spin. It's how the Florida insurance system works. The state requires insurers to offer discounts for homes that meet specific wind-resistance standards. A wind mitigation inspection is the document that proves your home qualifies.
If you own a Florida home and haven't had a wind mitigation inspection, you're almost certainly overpaying for insurance. Here's everything you need to know.
What Is a Wind Mitigation Inspection?
A wind mitigation inspection evaluates how well a home can withstand hurricane-force winds. It's a standardized assessment — defined by the Florida Office of Insurance Regulation — that examines specific structural features known to reduce wind damage.
The inspection results in a report (the OIR-B1-1802 form) that your insurance company uses to calculate wind-related discounts on your premium. Each feature that meets certain criteria translates to a specific discount.
This isn't a general home inspection. It's narrowly focused on seven wind-resistance features:
- Building code year
- Roof covering type and age
- Roof deck attachment method
- Roof-to-wall connection type
- Roof geometry (hip vs. gable)
- Secondary water resistance
- Opening protection (windows, doors, garage)
That's it. The inspector isn't checking your plumbing, electrical, or HVAC. They're evaluating how your home's structure would perform in a hurricane.
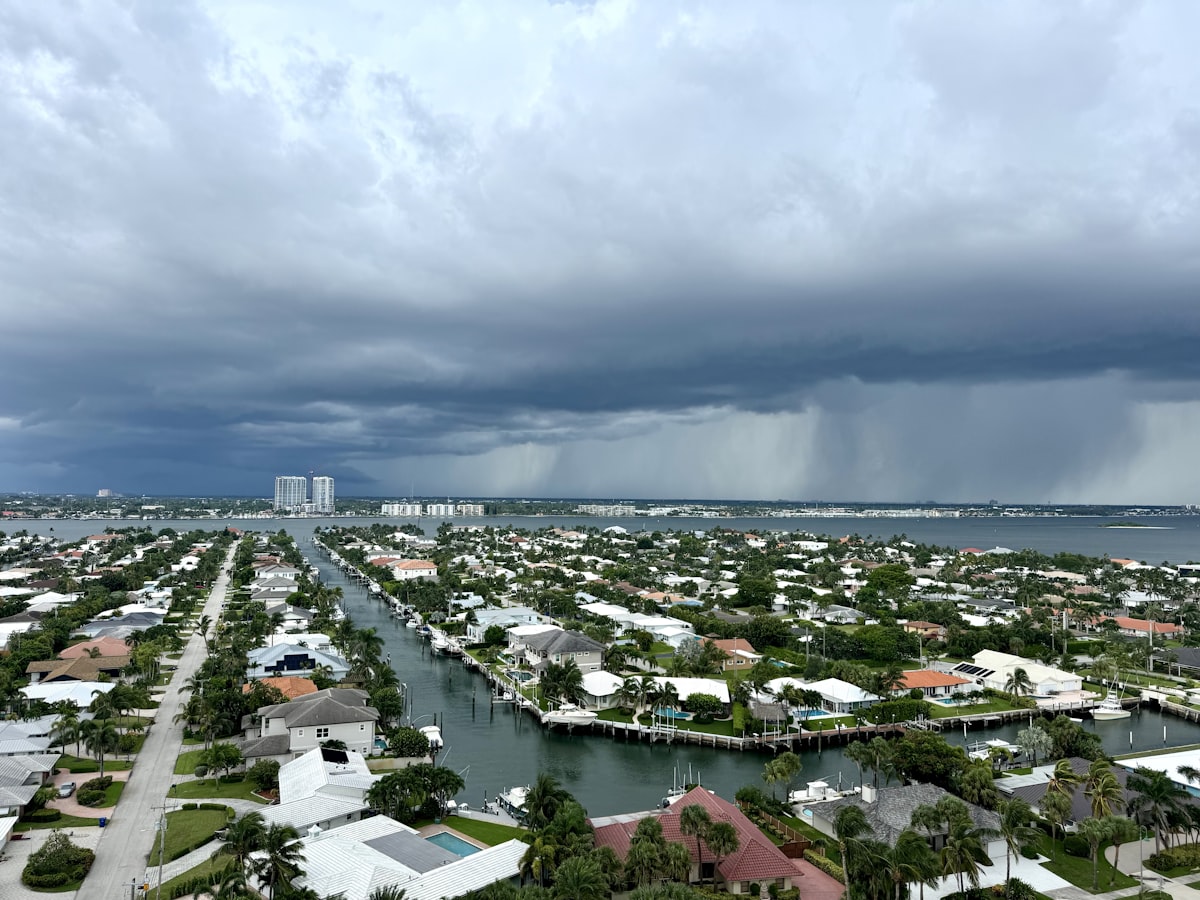
Why Florida Requires This
Florida's relationship with hurricanes is the obvious answer. But the specific reason wind mitigation inspections exist goes back to Hurricane Andrew in 1992.
Andrew devastated South Florida — $27 billion in damage (over $55 billion in today's dollars), 65,000 homes destroyed, 125,000 damaged. The post-storm analysis revealed something important: homes built to stricter wind standards fared dramatically better than those that didn't.
The Florida Legislature responded by:
- Updating the Florida Building Code with stricter wind-resistance requirements (2002)
- Requiring insurance companies to offer premium discounts for wind-resistant features
- Creating the standardized wind mitigation inspection form so homeowners could prove their home qualified
The logic is straightforward: homes that resist wind better cost less to insure. The inspection is the mechanism that connects the two.
The Seven Things Inspectors Check
1. Building Code Year
When your home was built (or substantially renovated) matters more than almost anything else. Florida's building code went through major upgrades:
- Pre-1994: Built before post-Andrew code changes. Minimal wind resistance requirements.
- 1994-2001: Improved standards, especially in South Florida (Miami-Dade, Broward).
- 2002+: Florida Building Code (FBC) enacted statewide. Significantly stricter wind standards.
Homes built in 2002 or later under the FBC automatically qualify for the biggest discounts. If your home was built before 2002, the other six factors become critical.
2. Roof Covering
The inspector examines your roofing material and verifies when it was installed. Key questions:
- What type of covering? (Asphalt shingles, concrete tile, metal, clay tile)
- Does it meet FBC standards?
- When was it installed or replaced?
- Is it properly rated for the wind zone?
A roof replaced after 2007 with FBC-compliant materials gets better credits than an original 1985 roof, even if the shingles look fine.
3. Roof Deck Attachment
This is how the plywood or OSB sheathing is fastened to the roof trusses or rafters. The inspector checks the nail pattern, nail size, and spacing:
- Category A: 6d nails, 6" spacing — weakest
- Category B: 8d nails, 6" spacing — better
- Category C: 8d nails, 6" spacing on edges, 12" in field — good
- Category D: 8d ring-shank nails, 6" spacing — best
The difference between Category A and Category D can be worth hundreds of dollars annually on your premium. The inspector typically checks this from the attic, looking at nail penetration through the sheathing into the trusses.
4. Roof-to-Wall Connection
This is arguably the most important wind mitigation feature. It's how your roof structure attaches to the walls of your home. In a hurricane, uplift forces try to peel the roof off — the connection method determines whether it stays.
- Toe nails: Nails driven at an angle through the truss into the top plate. Weakest method. Common in pre-2002 construction.
- Clips: Metal connectors with one or two nails on each side. Moderate protection.
- Single wraps: Metal straps that wrap over the truss and connect to the wall. Good protection.
- Double wraps: Metal straps that wrap completely around the truss. Best protection.
Going from toe nails to hurricane straps (wraps) can save $1,000+ per year on insurance. This single feature often provides the largest discount.
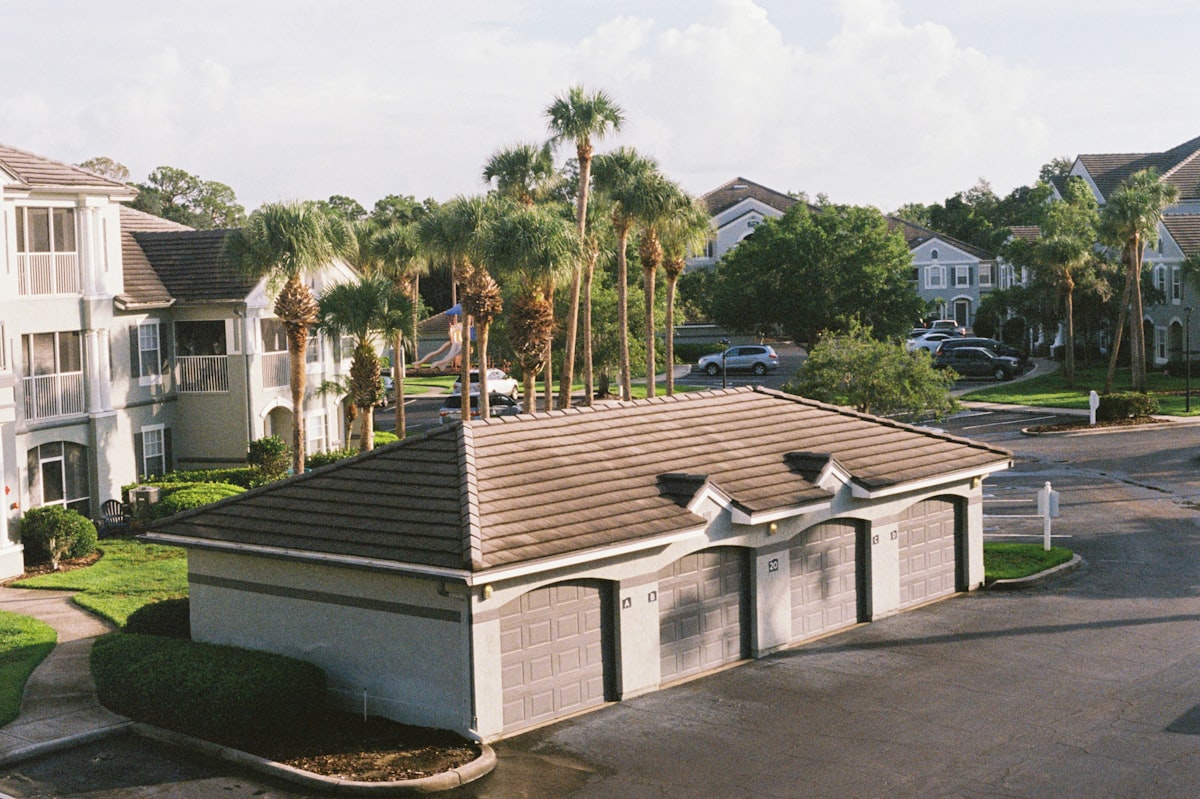
5. Roof Geometry
The shape of your roof affects wind resistance:
- Hip roof: All sides slope downward to the walls. Superior wind performance because wind flows over and around without catching flat surfaces. Qualifies for discounts if the hip portion covers the entire roof.
- Gable roof: Two sloping sides with vertical triangular walls (gables) at the ends. Gable ends are vulnerable to wind pressure.
- Flat roof: Common in commercial and some residential. Performance varies.
A full hip roof can save 3-5% on premiums. If your roof is partially hip (some sections are hip, others are gable), the discount depends on the percentage of hip coverage.
6. Secondary Water Resistance (SWR)
If hurricane winds tear off your roof covering (shingles, tiles), secondary water resistance prevents rain from penetrating into the structure. Think of it as a backup waterproofing layer.
SWR typically means:
- Self-adhering modified bitumen tape applied to all roof deck joints
- A foam adhesive barrier (like SealTite)
- A full underlayment meeting ASTM D226 Type II or equivalent
Homes with verified SWR qualify for significant discounts because even if the roof covering fails, the interior stays dry — dramatically reducing total claim costs.
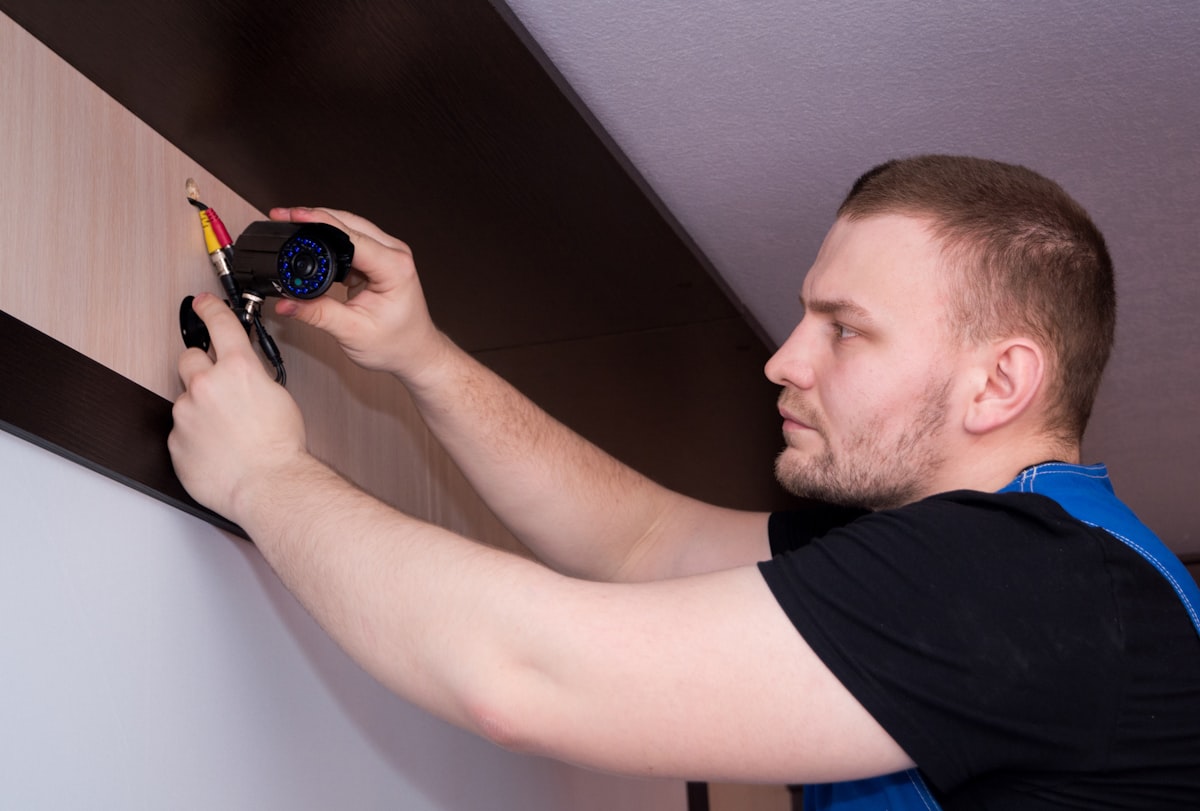
7. Opening Protection
"Openings" means windows, doors, skylights, and garage doors — anything that can breach and let wind pressure into the home. When wind enters through a broken window, internal pressure spikes and can blow the roof off from the inside.
The inspector checks whether openings have:
- Hurricane shutters (accordion, roll-down, panel, Bahama, colonial)
- Impact-rated windows and doors (laminated glass that stays intact when hit)
- Impact-rated garage door (especially important — garage doors are the largest opening)
For full credit, ALL openings must be protected. One unprotected window can disqualify the entire opening protection discount.
How Much Does a Wind Mitigation Inspection Cost?
Most wind mitigation inspections cost between $75 and $150 in Florida. Some inspectors charge less if you bundle it with a home inspection or 4-point inspection.
The inspection typically takes 30-60 minutes. The inspector examines the attic (for roof deck attachment and roof-to-wall connections), the exterior (roof covering, geometry, opening protection), and verifies permits or documentation for recent upgrades.
Given that the resulting insurance savings often run $500-$2,000+ per year, a wind mitigation inspection is one of the highest-ROI things a Florida homeowner can do.
How Much Can You Actually Save?
Real-world savings vary based on your home's features, location, and insurer. But here's a general range:
- Roof-to-wall connections (wraps): $500-$1,500/year savings
- Opening protection (all openings): $300-$800/year savings
- Roof deck attachment (Category C or D): $200-$500/year savings
- Hip roof geometry: $100-$400/year savings
- Secondary water resistance: $200-$600/year savings
- FBC-compliant roof covering: $200-$500/year savings
A home that checks all seven boxes can see premium reductions of 40-50%. On a $6,000 annual premium, that's $2,400-$3,000 back in your pocket — every year.
Who Can Perform a Wind Mitigation Inspection?
In Florida, wind mitigation inspections must be performed by:
- Licensed home inspectors (Florida license)
- Licensed general contractors, building contractors, or residential contractors
- Licensed professional engineers
- Licensed architects
The inspector must be licensed in Florida and qualified to evaluate structural building components. Not every home inspector offers wind mitigation inspections, so verify before booking.
Wind Mitigation vs. 4-Point Inspection
These two inspections get confused constantly. They're different:
Wind mitigation inspection: Evaluates wind-resistance features for insurance discounts. Seven specific items. Results in the OIR-B1-1802 form.
4-point inspection: Evaluates the condition of four major systems — roof, electrical, plumbing, and HVAC. Required by many insurers for homes over 20-30 years old to qualify for or renew a policy.
You might need both, but they serve different purposes. A 4-point inspection determines whether the insurer will cover you at all. A wind mitigation inspection determines how much you'll pay.
Many inspectors offer both during a single visit, typically for $150-$250 combined.
When to Get a Wind Mitigation Inspection
When you buy a home in Florida. Get it done during the inspection period. The savings start with your first insurance payment.
When you replace your roof. A new FBC-compliant roof changes multiple factors on the form (roof covering, potentially roof deck attachment, possibly SWR). Get reinspected after any major roof work.
When you add hurricane protection. Installed impact windows or shutters? New garage door? Update your wind mitigation report and send it to your insurer.
Every 5 years. Wind mitigation reports don't expire by law, but many insurance companies only accept reports less than 5 years old. Check with your specific carrier.
When you switch insurers. Your new company may want a fresh report, even if your existing one is recent.
How to Maximize Your Discounts
If your current wind mitigation report shows gaps, here are the upgrades that deliver the best ROI:
High ROI Upgrades
- Hurricane straps/clips — Retrofitting roof-to-wall connections from toe nails to clips or wraps. Cost: $1,500-$3,000 for a typical home. Annual savings: $500-$1,500.
- Impact-rated garage door — Often the weakest link. Cost: $1,500-$4,000. Completes opening protection if windows are already covered.
- Hurricane shutters — Panel shutters are the budget option ($5-$10/sq ft). Accordion or roll-down shutters cost more but are more convenient.
Lower ROI (But Still Worth Considering)
- Secondary water resistance — Can be added during a roof replacement for $500-$1,500 additional cost. Hard to retrofit on an existing roof.
- Impact windows — $400-$1,000+ per window. Expensive upfront but eliminate the hassle of putting up shutters before every storm.
Note
The smartest time to add secondary water resistance is during a roof replacement. The cost to add SWR is minimal when the roof deck is already exposed. Retrofitting later means removing and replacing the roof covering — far more expensive.
The Inspection Process: What to Expect
Here's what happens during a typical wind mitigation inspection:
-
Exterior walkthrough — Inspector photographs the roof covering, checks roof geometry, examines window and door protection, evaluates the garage door.
-
Attic inspection — This is the critical part. The inspector enters the attic to examine roof deck attachment (nail pattern and size) and roof-to-wall connections (toe nails, clips, or straps). They'll take close-up photos of the fasteners.
-
Documentation review — If you have permits showing roof replacement dates, shutter installation, or impact window specs, have them ready. Documentation can help when physical verification is difficult.
-
Form completion — The inspector completes the OIR-B1-1802 form, checking the appropriate boxes for each of the seven features. Photos are attached as supporting evidence.
-
Delivery — You receive the completed form (typically within 24-48 hours) and submit it to your insurance company.
Prepare for the Inspection
- Clear attic access. The inspector needs to get into the attic. Move boxes away from the access point.
- Gather documentation. Roof replacement permits, shutter NOAs (Notices of Acceptance), impact window specs — anything that proves compliance.
- Know your roof age. If you're not the original owner, check county property records for permit history.
Common Misconceptions
"My home is new, so I don't need one." Even FBC-compliant homes benefit from a wind mitigation report. Your insurer needs the documented proof to apply discounts. A new home without the report pays full price.
"My inspector checked wind mitigation during my home inspection." A general home inspection doesn't include the OIR-B1-1802 form. You need the specific wind mitigation inspection for insurance purposes. Some inspectors do both during the same visit, but they're separate reports.
"I have hurricane shutters, so I'm covered." Shutters only count if ALL openings are protected. One unprotected window or skylight can void the opening protection credit. The garage door is the most commonly missed opening.
"Wind mitigation inspections are only for South Florida." Every home in Florida can benefit. While wind risks are highest in coastal areas, the insurance discount structure applies statewide.
Documenting Wind Mitigation Findings
The inspection report needs to be thorough and well-documented. Insurers review these forms carefully — vague or poorly supported findings can result in denied discounts.
Good documentation means clear photos that match each form section, legible notations, and consistent findings. If the inspector says you have hurricane clips, the photo better show hurricane clips.
Key Takeaway
Inspectors who use voice-first tools like ReportWalk can narrate findings while photographing each feature — creating detailed, photo-matched documentation without slowing down the walkthrough. The result is a cleaner report with better evidence for each discount category.
Bottom Line
A wind mitigation inspection is the single best return on investment for Florida homeowners. For $75-$150 and an hour of your time, you unlock insurance discounts worth hundreds to thousands of dollars annually.
If you bought your home without getting one, call an inspector this week. If you've made improvements — new roof, shutters, impact windows — get reinspected so your insurance reflects the upgrades.
The inspection pays for itself in the first month. Everything after that is money you're keeping instead of sending to your insurance company.
Field inspectors: streamline your wind mitigation reports with ReportWalk — dictate findings as you inspect, and get a structured report with photo documentation in minutes. Download on the App Store.