Sump Pump Inspection: What Every Inspector Should Check & Document
A sump pump inspection is one of those things that takes five minutes when everything's working — and saves your client thousands when it's not. Sump pumps sit in basements and crawl spaces doing nothing for weeks or months at a time, then suddenly need to work perfectly when heavy rain hits. When they fail, the result is a flooded basement, ruined belongings, and a very unhappy homeowner pointing at your inspection report.
As inspectors, we need a systematic approach to sump pump inspection. This isn't just about confirming the pump exists — it's about testing operation, evaluating the installation, and documenting conditions that could lead to failure. This sump pump inspection checklist covers everything you should be looking at and writing up.
Why Sump Pumps Matter More Than Most Inspectors Think
Sump pumps are the last line of defense against water intrusion in below-grade spaces. In areas with high water tables, heavy clay soils, or poor exterior drainage, they're not optional — they're essential.
Note
The American Society of Home Inspectors (ASHI) Standards of Practice require inspectors to operate the sump pump when "normal operating controls" are present. This means testing the pump is part of your standard scope — not an ancillary service. If it's accessible and has a float switch or test button, you should be activating it.
Sump pump failures are a leading cause of basement water damage claims. According to insurance industry data, water damage from internal sources (including sump pump failures) accounts for billions in homeowner claims annually. Your inspection and documentation of the sump system can directly impact your client's purchasing decision and their future maintenance priorities.
The Sump Pit: Start Here
Before you even look at the pump itself, evaluate the pit (also called the sump basin or crock).
What to Check
Pit Material and Condition
- Is it a proper sump basin (rigid plastic, fiberglass, or concrete) or just a hole in the floor?
- Check for cracks, deterioration, or structural damage to the basin walls
- Look for signs of the basin shifting or settling unevenly
Pit Size
- Standard residential sump pits are 18–24 inches in diameter and 22–36 inches deep
- Undersized pits fill too quickly, causing the pump to short-cycle (which burns out motors)
- Pits that are too shallow may not allow adequate water collection before the pump activates
Debris and Sediment
- Look inside the pit with your flashlight. Gravel, mud, and construction debris are common
- Excessive sediment can clog the pump intake, reduce capacity, and jam the float switch
- Note if the pit appears to have been recently cleaned or if it's been neglected
Water Level
- Some standing water in the pit is normal — it means the system is collecting groundwater as designed
- A completely dry pit in a home with drainage issues might indicate the pump has been running constantly or the drain tile system isn't functioning
- A full or overflowing pit with a non-running pump is an obvious red flag
Key Takeaway
If the sump pit is filled with water to the top and the pump isn't running, don't just write "sump pump inoperable." Check the power source first — is it plugged in? Is the outlet live? Is the GFCI tripped? You'd be surprised how often the fix is that simple, and documenting the cause makes your report more valuable.
Testing the Pump: The Pour Water Test
This is the most important part of your sump pump inspection. You need to verify the pump actually works.
How to Perform the Test
- Locate the float switch — Identify the type (tethered float, vertical float, electronic sensor, or diaphragm switch)
- Pour water into the pit — Use a 5-gallon bucket. Pour slowly and watch the water level rise
- Observe the activation point — The pump should activate when the water reaches the float switch trigger level
- Listen to the pump — It should run smoothly without grinding, rattling, or excessive vibration
- Watch the discharge — Confirm water is actually being moved out of the pit
- Observe the shutoff — The pump should turn off automatically when the water level drops below the float switch deactivation point
What You're Listening and Looking For
| Normal | Concerning |
|---|---|
| Smooth, steady motor hum | Grinding or scraping sounds |
| Water level drops steadily | Pump runs but water doesn't drop |
| Pump shuts off automatically | Pump keeps running after pit empties |
| Quick activation when water rises | Delayed activation or no activation |
| No unusual vibration | Excessive vibration or movement |
When You Can't Test
Sometimes testing isn't practical or safe:
- No water source available — Note in your report that the pump was not tested due to lack of water supply. Recommend the client test it before closing.
- Electrical hazard — If there's standing water near exposed wiring, don't touch anything. Document and recommend an electrician.
- Sealed or inaccessible pit — Some systems are fully sealed. Note that you could not access or test the pump.
Document why you couldn't test — this protects both you and your client.
Float Switch Inspection
The float switch is the most common failure point in sump pump systems. If the float can't move freely, the pump won't activate when it needs to.
Types of Float Switches
- Tethered float — A buoyant ball on a short cord. Most common and most prone to tangling or getting stuck against the pit wall.
- Vertical float — Moves up and down on a rod. Less prone to tangling but can get stuck if the rod corrodes or debris accumulates.
- Electronic/pressure sensor — No moving parts. More reliable but more expensive. Common in newer installations.
- Diaphragm switch — Internal pressure-based activation. Found in pedestal pumps primarily.
What to Check
- Does the float move freely? Manually lift and release it if accessible
- Is the float tethered properly with adequate slack?
- Could the float catch on the pit wall, discharge pipe, or power cord?
- Is the float visibly damaged, waterlogged, or corroded?
- For electronic sensors, check for mineral buildup on sensor probes
Note
Tethered float switches are the #1 cause of sump pump failure — not motor burnout. The float gets tangled on the power cord, wedged against the pit wall, or stuck by debris. During your inspection, note the float type and any conditions that could restrict its movement. This is the kind of practical finding that makes your report stand out.
Check Valve Inspection
The check valve prevents water in the discharge pipe from flowing back into the pit when the pump shuts off. Without a functioning check valve, the pump has to re-pump the same water every cycle — reducing efficiency and shortening pump life.
What to Look For
- Is there a check valve installed? Look for a valve body on the vertical discharge pipe, usually within 12 inches above the pit
- Type — Swing check valves and spring-loaded check valves are most common
- Orientation — The arrow on the valve body should point upward (direction of flow)
- Condition — Look for corrosion, mineral deposits, or signs of leaking at the fittings
- Operation — When the pump shuts off, you should NOT hear water rushing back down into the pit. If you do, the check valve has failed or is missing
Common Issues
- No check valve installed (common in DIY installations)
- Check valve installed backwards (happens more than you'd think)
- Check valve stuck open due to debris or corrosion
- Multiple check valves installed (creates restriction — one is correct)
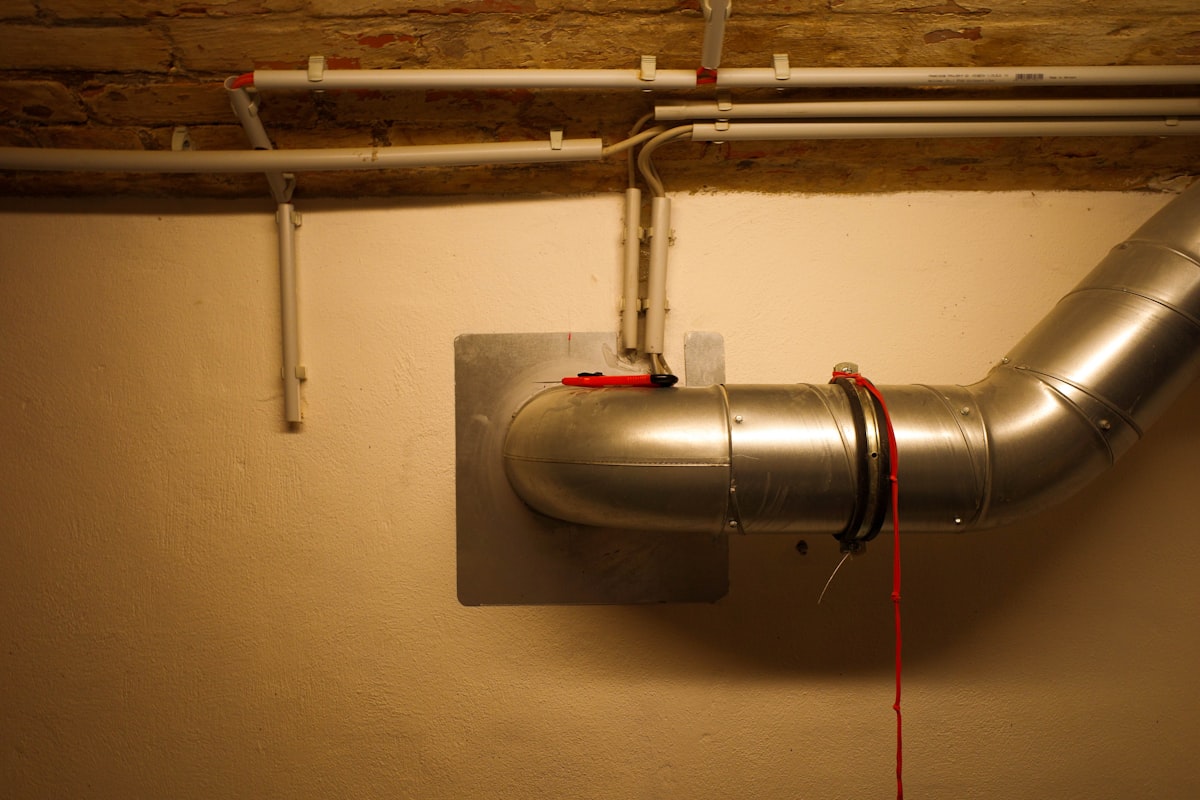
Discharge Line and Location
Where the water goes after the pump moves it out of the pit matters enormously. Poor discharge locations create a recycling problem where the same water keeps coming back.
Discharge Line Inspection
- Pipe material — PVC is standard. Flexible corrugated hose is acceptable but less durable
- Pipe diameter — Should match the pump outlet (typically 1.5" for most residential pumps)
- Connections — Check all joints and fittings for leaks, especially where the pipe exits the foundation wall
- Slope — The discharge line should slope away from the home with no low spots that could trap water and freeze
- Freeze protection — In cold climates, look for freeze guard fittings or weep holes that prevent the pipe from freezing solid
Discharge Location
This is a critical documentation point. The discharge should:
- Terminate at least 10 feet from the foundation (farther is better)
- Drain away from the home, not toward it
- Not discharge onto a neighbor's property (code violation in most jurisdictions)
- Not connect directly to the sanitary sewer (illegal in most areas — check local codes)
- Not discharge next to the home's foundation — This is the most common problem. Water discharged 2 feet from the foundation just comes right back into the pit
Key Takeaway
One of the most common sump pump issues you'll document isn't the pump itself — it's the discharge line terminating too close to the foundation. I see this in at least 30% of homes with sump systems. The pump works fine, but the water just cycles back. Note the approximate distance from the discharge point to the foundation wall and recommend extending it if it's less than 10 feet.
For context on how sump pump discharge relates to broader drainage issues, our grading and drainage inspection guide covers the exterior side of water management.
Backup Power and Battery Backup Systems
When do sump pumps fail most catastrophically? During storms — when the power goes out and the water table rises. A backup system is the difference between a dry basement and a disaster.
What to Document
Battery backup system (if present)
- Battery type and condition — Most use 12V marine deep-cycle batteries
- Battery age — Most batteries last 3–5 years. Look for a date label
- Charger status — Should show a green/charged indicator
- Backup pump — Some systems have a separate backup pump; others power the primary pump from the battery
- Test it if possible — Some units have a test button. Press it and confirm the backup pump activates
Water-powered backup (if present)
- Connected to municipal water supply
- Uses water pressure to create suction and remove pit water
- No batteries or electricity needed
- Less common but reliable in areas with stable water pressure
No backup system
- Document it. Recommend one, especially in areas with frequent storms or power outages
- This isn't a deficiency — it's a recommendation. Many homes don't have backup systems, but your client should know the risk
GFCI Protection
Sump pumps should be plugged into a GFCI-protected outlet — but this is one of those areas where code requirements and practical reality sometimes conflict.
The GFCI Debate
The NEC requires GFCI protection for all receptacles in unfinished basements and crawl spaces. This includes the sump pump outlet. However, GFCI outlets can trip nuisance-trip during power surges or moisture events — which means the sump pump loses power at exactly the worst time.
What to Document
- Is the sump pump outlet GFCI-protected?
- If GFCI, is it functioning? (Press test/reset)
- If not GFCI-protected, note it as a potential code concern but acknowledge the practical considerations
- Some jurisdictions allow a dedicated non-GFCI circuit for sump pumps — know your local code
For more on electrical inspection, check our electrical inspection checklist.
Moisture and Water Staining Around the Pit
The area surrounding the sump pit tells a story about how well the system is performing.
What to Look For
- Water staining on the floor — Indicates past overflow events. The pump couldn't keep up, or it failed.
- Efflorescence on foundation walls near the pit — White mineral deposits indicating water migration through concrete
- Damp or wet floor around the pit — Current moisture issue, not just historical
- Mold or mildew — Around the pit, on nearby stored items, or on the underside of first-floor joists above the pit area
- Rust staining — From the pump body or discharge pipe, indicating age and corrosion
- Cracks in the floor near the pit — Settlement or hydrostatic pressure
Note
Water staining around a sump pit isn't always a pump failure — it could indicate the pit is undersized for the volume of water it receives, or that a major storm overwhelmed the system. Document what you see and note the distinction: "Water staining observed around sump pit, indicating past overflow event(s). Recommend evaluation of pump capacity and drain tile system."
Our basement inspection guide and mold inspection guide cover related findings in more detail.
Pit Cover and Lid
A proper sump pit cover serves multiple purposes: it keeps debris out, reduces radon entry (in radon-prone areas), minimizes odors, and prevents items from falling in.
What to Check
- Is there a cover? Many older installations have no cover at all
- Material — Rigid plastic or sealed covers are best. Plywood or loose-fitting covers provide minimal benefit
- Sealed or vented? — In radon zones, sealed covers with gaskets are recommended to prevent radon entry from the soil gas beneath
- Access — The cover should be removable for maintenance and inspection
- Condition — Cracked, broken, or ill-fitting covers should be noted
Documentation Tips: Writing It Up
How you document sump pump findings matters as much as what you find. Clear, specific language protects you and helps your client.
Strong Documentation Examples
Instead of: "Sump pump present in basement."
Write: "Submersible sump pump observed in northeast corner of basement. Pit is approximately 18 inches in diameter with a rigid plastic basin. Pump activated when tested by pouring water into pit. Float switch (tethered type) operated properly. Discharge line exits through north foundation wall. Discharge point terminates approximately 4 feet from foundation — recommend extending to at least 10 feet to prevent water recycling."
Instead of: "Sump pump not working."
Write: "Sump pump did not activate during testing. Pump is plugged into a GFCI outlet that was found in the tripped position. After resetting the GFCI, the pump activated normally. Recommend monitoring for nuisance tripping — consider a dedicated circuit for the sump pump to prevent loss of power during storms."
Key Documentation Points for Every Sump Pump
- Location in the home
- Pump type (submersible or pedestal)
- Float switch type and condition
- Check valve presence and condition
- Discharge line routing and termination point
- GFCI protection status
- Backup system presence (or absence)
- Pit condition and cover
- Evidence of past overflow or moisture issues
- Test results (operated/did not operate/could not test)
Using a voice-based reporting tool like ReportWalk makes this kind of detailed documentation practical in the field. Instead of typing all of this on-site, you narrate what you see and the report builds itself. Available on iOS for inspectors who prefer talking over typing.
Common Sump Pump Red Flags: Quick Reference
| Finding | Severity | Action |
|---|---|---|
| Pump doesn't activate during testing | High | Recommend immediate evaluation/replacement |
| No check valve installed | Medium | Recommend installation |
| Discharge terminates less than 4 feet from foundation | Medium | Recommend extension |
| Float switch restricted/tangled | High | Recommend repair — pump may not activate during rain |
| No pit cover | Low-Medium | Recommend installation (higher priority in radon zones) |
| Water staining around pit | Medium | Document and recommend evaluation of system capacity |
| No backup power system | Informational | Recommend, especially in storm-prone areas |
| Pump connected to sanitary sewer | High | Code violation in most areas — recommend correction |
| Excessive sediment in pit | Medium | Recommend cleaning — sediment can jam float and impeller |
| Pump making grinding noises | High | Pump nearing end of life — recommend replacement |
Wrapping Up
A thorough sump pump inspection takes about 5–10 minutes. That's a small investment of time for a component that prevents catastrophic water damage. Follow this checklist systematically — pit, pump, float, valve, discharge, backup, GFCI, surroundings — and document every finding specifically.
Your clients may not think much about their sump pump. That's exactly why they're paying you to inspect it. A good sump pump write-up demonstrates the kind of attention to detail that earns referrals and builds your reputation as an inspector who doesn't cut corners.
For more inspection checklists and field guides, browse the ReportWalk blog. Got questions about documenting sump pump findings in the field? ReportWalk's voice-to-report approach makes detailed documentation practical even in tight crawl spaces and dark basements.