Retaining Wall Inspection: What Every Inspector Should Check & Document
A retaining wall inspection checklist is one of those items that separates thorough inspectors from the ones who get callbacks — or worse, claims. Retaining walls hold back thousands of pounds of soil, and when they fail, the damage cascades: undermined foundations, flooded basements, collapsed driveways, and destroyed landscaping. Yet retaining walls remain one of the most underdocumented items in residential inspection reports.
The problem isn't that inspectors ignore retaining walls. It's that many don't know what to look for beyond obvious leaning. A wall can be actively failing while still appearing vertical to the untrained eye. Drainage failures, footing exposure, surcharge overloading, and specific crack patterns all tell stories about what's happening behind and beneath the wall — if you know how to read them.
This guide gives you a systematic retaining wall inspection checklist you can use in the field, covering every wall type you'll encounter and every deficiency you need to document.
Note
Retaining walls over 4 feet in height typically require engineering design and permits. Any wall over this threshold showing signs of distress should trigger a structural engineer referral — no exceptions.
Understanding Retaining Wall Types
Before you can inspect a retaining wall effectively, you need to identify what you're looking at. Each wall type has different failure modes, expected lifespans, and inspection priorities.
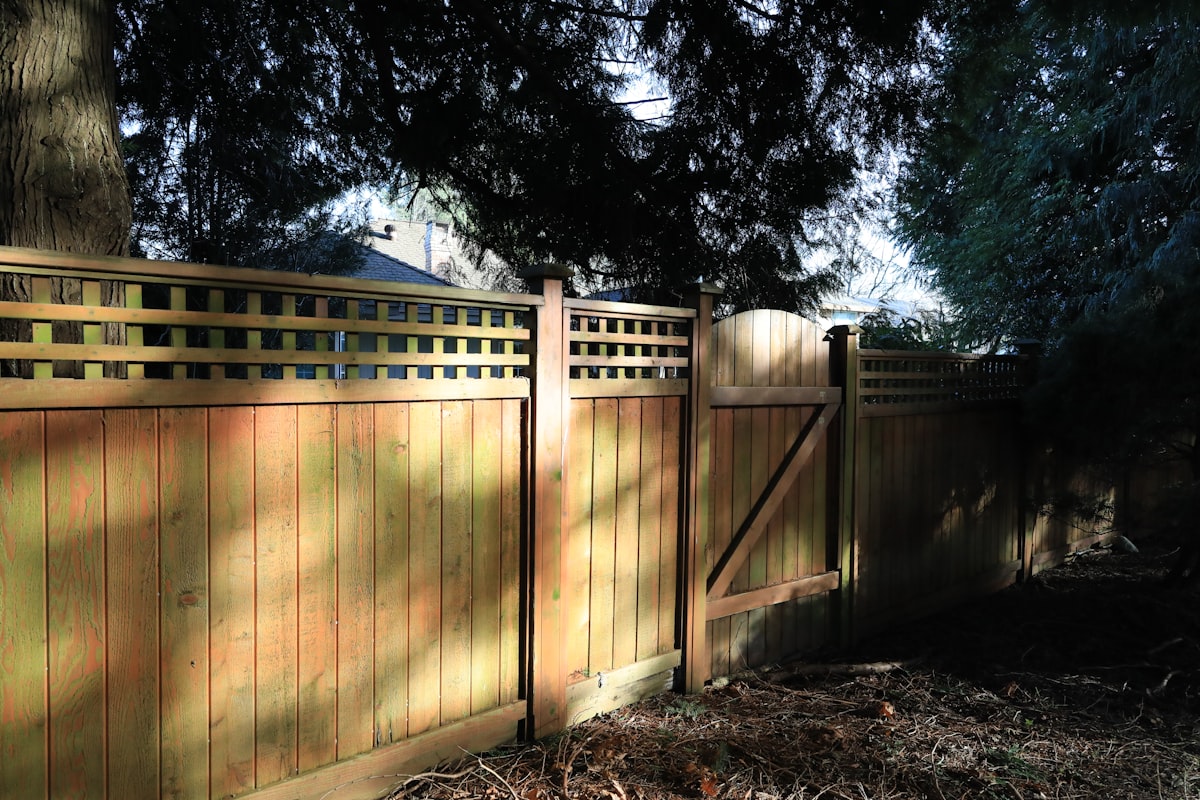
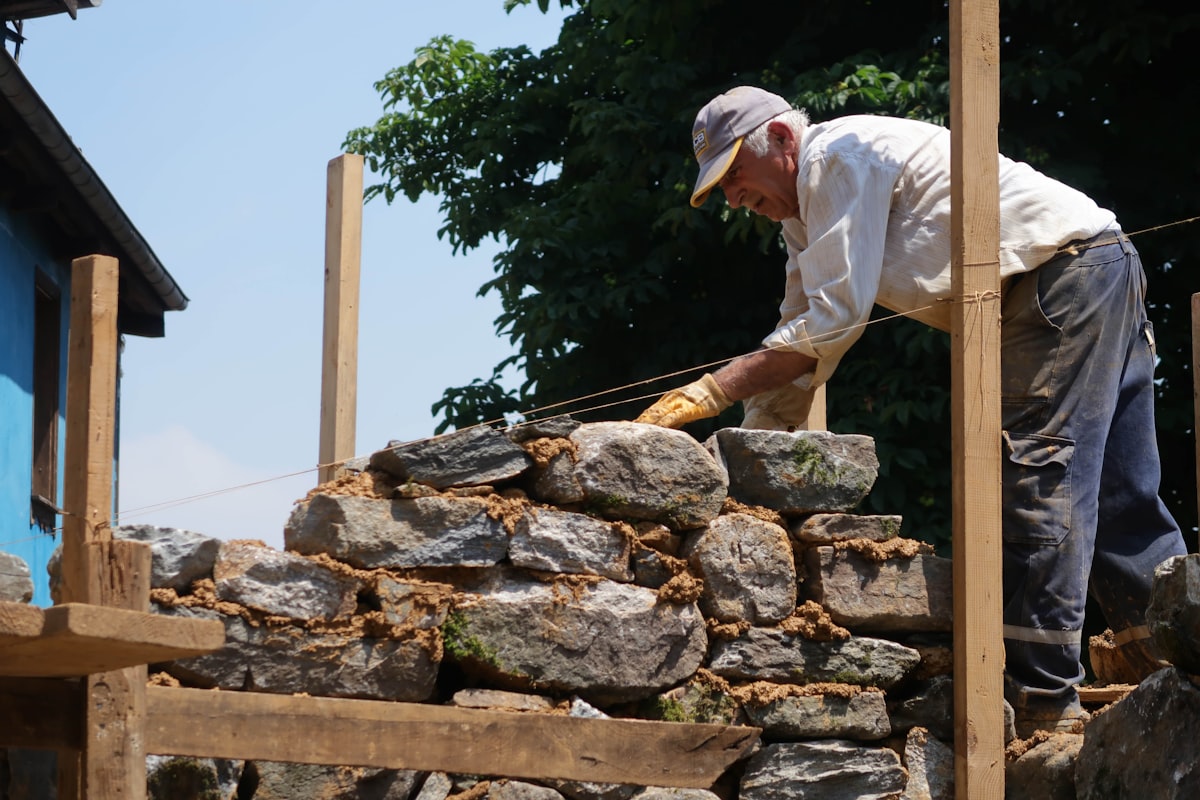
Gravity Walls
Gravity walls rely on their own mass to resist soil pressure. They're typically built from stacked stone, concrete, or masonry without reinforcement.
- Common in: Older properties, rural settings, decorative landscape applications
- Expected lifespan: 50–100+ years for stone, less for dry-stacked
- Primary failure mode: Base sliding, overturning at the toe
- Inspection focus: Base exposure, lean angle, mortar condition (if mortared), gap development between courses
Cantilever Walls
Cantilever walls use a reinforced concrete footing and stem wall that acts as a lever. The footing extends behind the wall under the retained soil, using the soil's own weight to resist overturning.
- Common in: Residential construction, driveways, grade changes over 3 feet
- Expected lifespan: 50–75 years
- Primary failure mode: Footing undermining, steel reinforcement corrosion, drainage failure
- Inspection focus: Cracking patterns (especially horizontal), drainage functionality, footing exposure at the toe, surface spalling that indicates rebar corrosion
Segmental Block (SRW) Walls
Segmental retaining walls use interlocking concrete blocks, often with geogrid reinforcement in the soil behind the wall. These are the most common retaining walls in modern residential construction.
- Common in: New construction, subdivision lots, landscape renovations
- Expected lifespan: 30–50 years (blocks last longer, but geogrid and drainage systems can fail sooner)
- Primary failure mode: Bulging from drainage failure, geogrid pullout, base course shifting
- Inspection focus: Bulging at mid-height, cap displacement, drainage outlet functionality, block lip engagement
Timber Walls
Timber retaining walls use pressure-treated landscape timbers or railroad ties, sometimes with deadman anchors extending into the retained soil.
- Common in: Older landscaping, DIY projects, rural properties
- Expected lifespan: 15–25 years (pressure-treated), less for untreated or railroad ties
- Primary failure mode: Rot at the base, deadman anchor failure, forward lean
- Inspection focus: Wood condition (probe for rot at grade level), lean angle, connection integrity, insect damage
Gabion Walls
Gabion walls use wire mesh baskets filled with stone. They're increasingly common in residential applications and have the advantage of being naturally free-draining.
- Common in: Slope stabilization, waterfront properties, modern landscape design
- Expected lifespan: 20–50 years (wire mesh is the limiting factor)
- Primary failure mode: Wire mesh corrosion and failure, basket deformation, stone settlement within baskets
- Inspection focus: Wire condition (galvanized vs. PVC-coated), basket bulging, stone voids, connection between stacked baskets
The Complete Retaining Wall Inspection Checklist
Work through these items systematically for every retaining wall on the property. Document everything with photos and measurements — retaining wall issues generate more post-inspection disputes than almost any other exterior item.
1. Leaning, Bulging, and Bowing
This is the most visible sign of distress, but it requires more than a visual impression.
- Check for forward lean — stand at the end of the wall and sight along its face. Even 1 inch of lean per foot of height is significant.
- Check for mid-height bulging — common in segmental block and gravity walls when drainage fails and hydrostatic pressure builds behind the wall
- Check for bowing — a horizontal curve in a wall that should be straight, often indicating localized soil pressure or drainage issues
- Measure and document — use a level and tape measure. "The wall appears to lean" is a weak report statement. "The wall leans approximately 2 inches over its 4-foot height toward the downhill side" gives your client and their engineer actionable information.
Key Takeaway
Photograph retaining walls from both ends (sighting along the face) and from the front. The end-on shot reveals lean that's invisible from the front.
2. Cracking Patterns
Cracks in retaining walls aren't just cosmetic — their pattern tells you what's happening structurally.
Horizontal cracks:
- Most concerning pattern in poured concrete and CMU block walls
- Indicates lateral soil pressure exceeding the wall's capacity
- Typically appears at mid-height where bending stress is greatest
- Action: Recommend structural engineer evaluation for any horizontal crack wider than 1/4 inch or any horizontal crack with displacement (one side pushed forward)
Stair-step cracks:
- Common in block and mortared stone walls
- Follows the mortar joints in a diagonal pattern
- Indicates differential settlement or lateral loading
- Action: Document width, length, and location. Refer to engineer if crack width exceeds 1/4 inch or if active movement is evident (fresh crack edges, displaced blocks)
Vertical cracks:
- Usually indicates shrinkage (in concrete) or minor settlement
- Less concerning than horizontal or stair-step patterns unless widening
- Action: Document and monitor. Recommend engineer if width exceeds 1/2 inch or if displacement is present
Map cracking / alligator cracking:
- Surface pattern of interconnected cracks
- Indicates material deterioration rather than structural loading
- Common in older concrete walls exposed to freeze-thaw cycles
- Action: Document as material deterioration. Note depth of deterioration if spalling is present.
3. Drainage Assessment
Drainage failure is the number one cause of retaining wall failure. Period. A wall that's designed to handle soil pressure will fail if it also has to handle hydrostatic water pressure.
Weep holes:
- Check for presence — every retaining wall should have weep holes or some drainage path
- Check for blockage — debris, soil, or vegetation blocking weep hole outlets
- Check for staining — mineral staining below weep holes indicates they're functioning (good sign)
- Document: Location, spacing, size, and condition of all visible weep holes
French drains / drainage aggregate:
- Look for drainage pipe outlets at the base of the wall or at the wall ends
- Check outlet condition — crushed, blocked, or disconnected pipes are common
- Evidence of drainage gravel behind the wall (sometimes visible at the top or ends)
- Note: You can't see behind the wall. Document visible drainage indicators and note if drainage provisions are not apparent.
Surface water management:
- Check grading above the wall — does surface water drain toward the wall or away?
- Look for downspout discharge directed at or behind the wall
- Check for saturated soil above the wall — probing with a screwdriver can reveal this
- Ponding water at the base is a red flag
4. Footing Exposure and Base Condition
The base of the wall is where most failures begin.
- Check for soil erosion at the base — exposed footing, undermining, or loss of bearing material
- Look for scouring from water flow at the base
- Check for vegetation growing from the base — indicates moisture accumulation
- Examine the toe (the front face at ground level) for cracking, spalling, or displacement
- Document grade level on both sides of the wall — changes in grade can indicate settlement or erosion
5. Surcharge Loading
Surcharge is any additional load placed on the soil behind or above the retaining wall. This is one of the most commonly missed factors in retaining wall distress.
Common surcharges that cause problems:
- Driveways or parking areas above or behind the wall — vehicle loads add massive lateral pressure
- Structures built above the wall (decks, sheds, additions)
- Stored materials — firewood piles, equipment, soil stockpiles
- Swimming pools above the wall
- Heavy landscaping — large trees with extensive root systems
What to document:
- Identify and photograph all surcharge loads
- Note the distance from the surcharge to the wall face — loads within a distance equal to the wall height are most concerning
- If the wall shows distress AND surcharge is present, the connection is worth noting in your report
6. Height Considerations
Wall height directly affects structural requirements and your inspection approach.
- Under 4 feet: Typically doesn't require engineered design. Failures are common but usually not catastrophic.
- 4 feet and over: Most jurisdictions require engineered design and building permits. Any wall over 4 feet showing distress warrants a structural engineer referral.
- Tiered walls: Multiple shorter walls built in a terrace pattern may collectively function as a single tall wall. If the total retained height exceeds 4 feet and the walls are close together, treat them as an engineered wall situation.
- Measure and document: Report the height of every retaining wall. This is basic information that engineers and contractors need.
7. Cap and Coping Condition
The top of the wall matters more than most inspectors realize.
- Cap displacement indicates wall movement — caps shift when the wall beneath them moves
- Missing caps allow water infiltration into the wall core (critical for hollow-core block walls)
- Cracked or deteriorated coping allows moisture penetration
- Adhesive failure — caps detached from the wall below indicate movement or material failure
8. Vegetation Impact
Trees and shrubs both help and hurt retaining walls, depending on species, location, and root characteristics.
Problems:
- Tree roots behind the wall increase lateral soil pressure and can physically displace wall sections
- Roots growing through the wall compromise structural integrity
- Trees growing from wall joints indicate moisture accumulation and will eventually destroy the wall
- Ivy and climbing vegetation trap moisture against the wall surface and obscure deficiencies
Benefits (note when present):
- Ground cover above the wall reduces erosion and surface water infiltration
- Deep-rooted vegetation on the retained slope can help stabilize soil
Document: Any trees within a distance equal to the wall height, vegetation growing from the wall itself, and root displacement of wall sections.
When to Recommend a Structural Engineer
Not every retaining wall deficiency requires an engineer. But getting this call wrong can cost you — either through an unnecessary alarm that kills a deal or a missed call that results in a claim.
Always recommend a structural engineer when:
- The wall is over 4 feet and shows any sign of distress
- Horizontal cracking with displacement is present at any height
- Forward lean exceeds 1 inch per foot of wall height
- Bulging is visible at mid-height
- The footing is exposed or undermined
- Surcharge loads are present on a wall showing distress
- Tiered walls with total retained height over 4 feet show movement
- You observe signs of recent or emergency repair (fresh concrete patches, added bracing)
Monitor and document (no immediate engineer referral) when:
- Minor vertical shrinkage cracks in concrete (under 1/4 inch)
- Surface deterioration without structural displacement
- Timber wall showing early-stage rot but no lean
- Minor cap displacement without wall body movement
Documentation and Measurement Tips
Retaining wall documentation is where many inspectors fall short. Here's how to do it right:
Photography Protocol
- Overview shots from both sides showing the full wall and surrounding context
- End-on shots sighting along the wall face (reveals lean)
- Close-ups of every crack, with a reference scale (tape measure, coin, or crack gauge)
- Drainage outlet photos
- Base condition photos showing grade, erosion, and footing exposure
- Surcharge photos showing what's loading the wall from above
Measurement Essentials
- Wall height — measure exposed face
- Wall length — approximate is fine for report context
- Lean — measure deviation from plumb using a level
- Crack widths — use a crack gauge or tape measure. Include in your report.
- Distances — from surcharges to wall, from structures to wall
Report Language
Be specific and objective. Compare these two report entries:
❌ "Retaining wall in backyard shows some cracking. Recommend monitoring."
✅ "The 5-foot-tall segmental block retaining wall along the east property line exhibits mid-height bulging of approximately 1.5 inches over a 12-foot section. Two horizontal separations between block courses were observed, each approximately 3/8 inch wide. No drainage outlets were visible along the base. A concrete driveway is located approximately 3 feet behind the top of the wall. Recommend evaluation by a licensed structural engineer to assess stability and determine necessary repairs."
The second entry protects you, informs your client, and gives the engineer useful starting information. It takes 30 extra seconds to write — or even less if you're dictating your findings with ReportWalk while standing in front of the wall.
Common Retaining Wall Mistakes Inspectors Make
After reviewing thousands of inspection reports, these errors come up repeatedly:
- Not reporting wall height — engineers need this basic measurement
- Calling all cracks "settling" — horizontal cracks and stair-step cracks have completely different implications
- Missing drainage — not checking for or documenting the presence/absence of weep holes and drain outlets
- Ignoring surcharge — failing to connect the driveway above the wall to the wall's distress below
- Inconsistent recommendations — calling a 2-foot wall with minor cracks for engineer review while glossing over a 6-foot wall with visible lean
- No measurements — "the wall leans" vs. "the wall leans 2 inches" is the difference between a vague observation and useful data
Related Resources
For more on structural and exterior inspection topics, check out these guides:
- Foundation Inspection: What Every Inspector Should Check & Document
- Grading & Drainage Inspection: How to Document Water Management Issues
- Basement Inspection: What Every Inspector Should Check & Document
Document It Right, Every Time
Retaining walls are high-liability items because failures are expensive, progressive, and often visible in hindsight. The inspector who documented the lean, measured the cracks, photographed the missing drainage, and noted the driveway surcharge looks like a professional. The inspector who wrote "retaining wall present, appears functional" looks like a liability.
Build retaining wall assessment into your standard exterior inspection workflow. Measure. Photograph. Describe what you see in specific, objective language. And when the wall tells you it's in trouble, don't hedge — recommend the engineer.
Documenting retaining walls in the field? ReportWalk lets you dictate findings while you're standing in front of the wall — measurements, crack descriptions, drainage notes, and all. Voice-to-report on your iPhone. No typing, no post-inspection catch-up.